
Balloon-Powered Car
When it comes to powering a race car, there are a lot of options. Some cars use gasoline, diesel fuel, rocket fuel, or other combustible […]

This scientific amusement is easily overlooked when you’re thumbing through the pages of an old science book. How exciting can a few candles attached to a stick really be? Don’t overlook one of true treasures of this book. The updated design makes this seesaw candle experiment a must-see part of your growing repertoire.

Using the pointed end of the scissors, poke a hole into the center of the bottom of the small plastic cup. The hole should be just big enough to allow the end of one of the straws to slide through it.
When you have the hole in the cup, slide the end of a straw through the hole. Turn the cup upside down and place it so that it is flat and sturdy on the table.
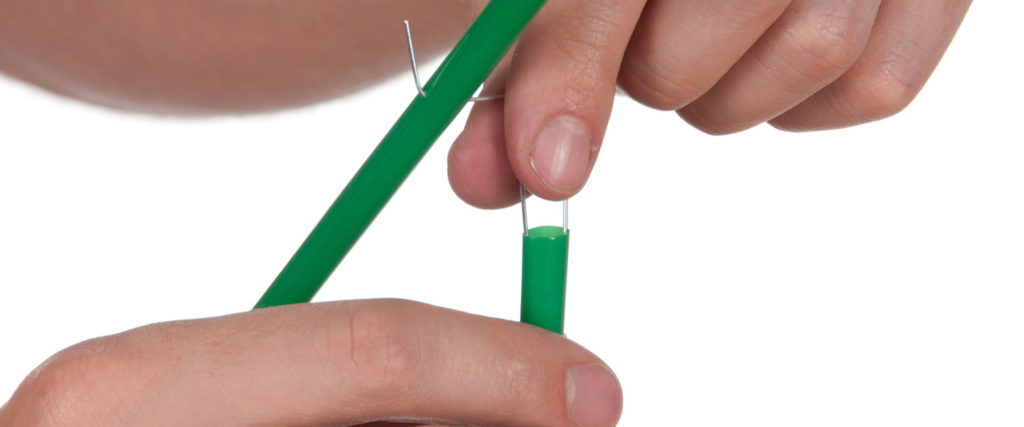
Using the ruler, find the middle of the remaining straw. Once you have found the middle of the straw, poke a hole all the way through it and out the other side using the thumbtack. Try to keep the thumbtack level as you poke through the straw.
Take one of the paper clips and straighten out the smaller loop so that it is almost straight. Take the end of the straightened side and bend it upward. The shape you end up with should look like an L connected with a J.
Slide the L end of the bent paper clip through the straw where you punched the holes. Slide the paper clip so that the straw is at the bottom of the L.
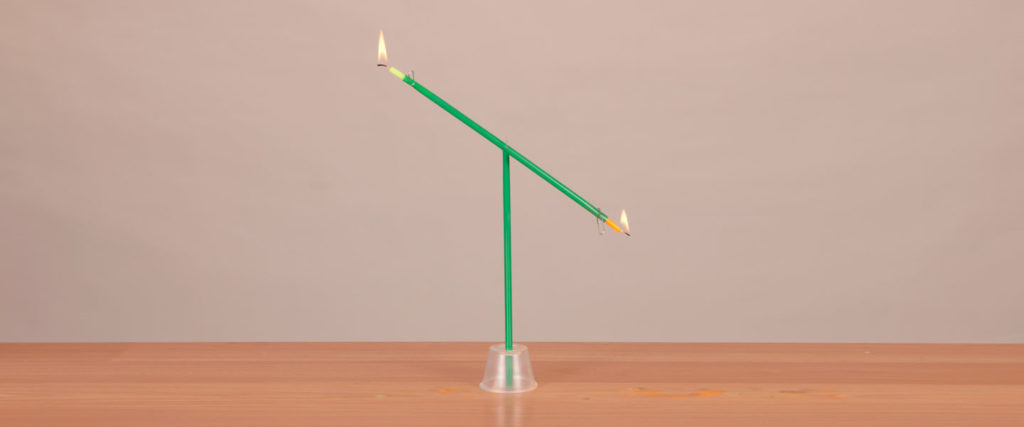
Now take the J side of the bent paper clip and put it into the top of the straw opposite the cup. Your apparatus should look like a seesaw now
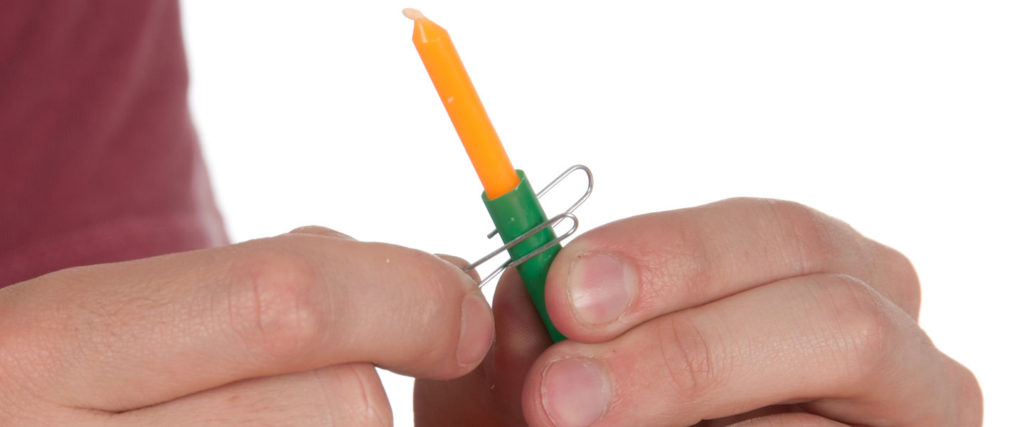
Insert the flat “wickless” end of each candle into the two ends of the seesaw straw. To hold each candle in place, slide a paper clip across the face of the straw, enclosing both it and the candle.
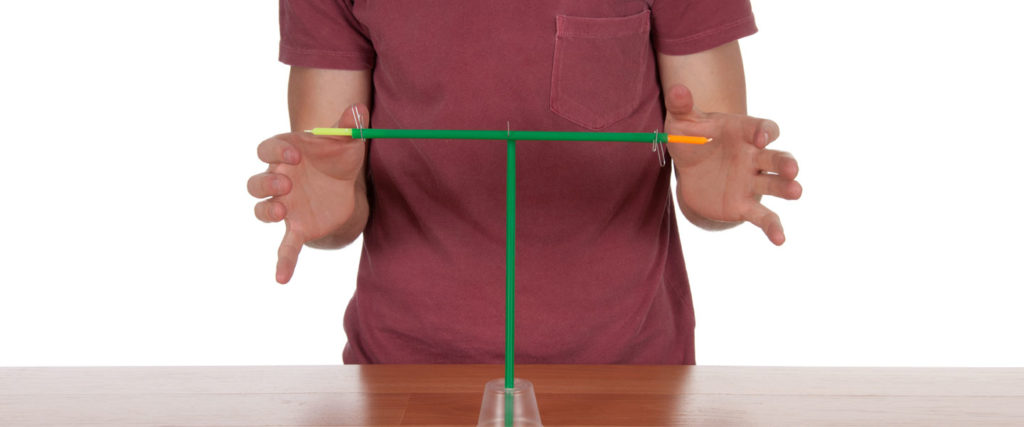
Balance the seesaw by sliding the two candles in or out of the straw.
Rest the entire setup on a piece of newspaper to catch the hot wax drippings.
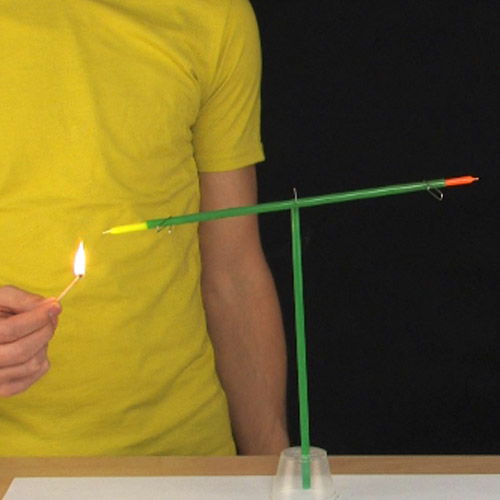
Make sure the seesaw is balanced and at rest when you pose the first question: “What will happen when I light one of the candles?” Give every person a chance to share his or her predictions. Go ahead and light one of the candles and observe what happens.
The next question seems only logical: “What will happen when I light the second candle?” After about 15 seconds, the candles will start to move up and down in a seesaw-like motion. As time goes on, the swing of the straw gets greater and greater until eventually you get a full rotation. Some people will burst out in spontaneous applause while others will stare curiously at the contraption with a puzzled look on their face.
This demonstration is a great conversation starter, so it’s important to give people enough time to ponder a solution and share their ideas before you share the science secret.
Let’s start by thinking about the seesaw you played on as a young kid. The seesaw is not just a playground toy—it is an example of a simple machine. In physics, simple machines are devices that make it easier to do work. A lever is an example of a simple machine. A lever is a straight rod or board that pivots on a stationary point called a pivot point, or fulcrum. Levers are often used to lift heavy loads. A seesaw, a shovel, a fishing pole, a pair of scissors, a baseball bat, and a wheelbarrow are all examples of levers.
What makes a playground seesaw fun is changing the masses (or the heavy loads!) on the ends of the board. However, unlike the Dripping Candle Seesaw, the playground toy moves up and down with some help from the pushing force of little legs. Since the candles don’t have legs, there has to be another explanation.
As you might have guessed, part of the secret of the Dripping Candle Seesaw is actually in the name of the activity . . . dripping. The rotational action of the Candle Seesaw comes from the changing mass of the candles—potential energy that gets turned into rotational kinetic energy.
While it might have just sounded like a polite thing to do, putting down the newspaper to catch the wax drippings is the key to understanding how this works. Over time, you noticed that the candles began to drip wax, and in doing so they lost potential energy. If both candles dripped wax at exactly the same rate, there would be no movement—but this happens only when both candles are lit at exactly the same time. As the heavier candle in the seesaw moves downward, the angled flame causes the candle wax to melt faster and drip more. When the dripping candle loses enough mass, it also loses potential energy and moves upward (just like a seesaw). Now the candle on the other end moves downward, the angled flame melts the wax, which drops onto the paper, and the seesaw is set back into motion.
The careful observer is quick to point out that the height of the swing (otherwise known as the amplitude) increases with each cycle. Eventually the kinetic energy (or the energy of motion) is great enough to produce a full rotation, and with that comes cheers of excitement (or just a smirky grin followed by the utterance, “That’s cool.”).
Bob Becker first shared this demonstration with me at a conference for chemistry teachers at Old Dominion University in Norfolk, Virginia. Interestingly enough, Bob pointed out that the demonstration was first published in H. H. Windsor’s book entitled The Boy Mechanic, Book 2: 1000 Things for Boys to Do, published by Popular Mechanics Press in 1915. While I first want to be quick to apologize for the book’s title, I also want to point out that Bob’s lesson is an important one to remember—the old is forever new.
WARNING! Since flames are involved, young scientists will need to round up some adult supervision before attempting this experiment.
When it comes to powering a race car, there are a lot of options. Some cars use gasoline, diesel fuel, rocket fuel, or other combustible […]

Notebooks are a necessity in every science setting. Graphs, observations, procedures… all of science falls by the wayside without a way of recording the information. […]

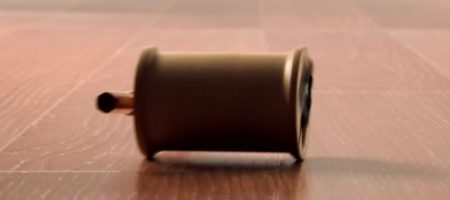
The Magic Rollback Can appears to be a normal can that was once full of coffee, but after you roll it along the ground a […]

A long chain of beads appears to siphon itself from a container as the beads twist and turn in a most mesmerizing dance. As you’ll […]

While many magicians rely on the arts of deception or slight of hand to baffle their audience, we like to use principles of science to […]
Finding creative, hands-on ways to demonstrate the difference between potential and kinetic energy can be difficult. With some simple household items and a little creativity, […]