Dry Ice Floating Bubbles
Exploration into the fascinating world of dry ice is never boring, and the same goes when you add in some bubbles! Bubbles will float on […]
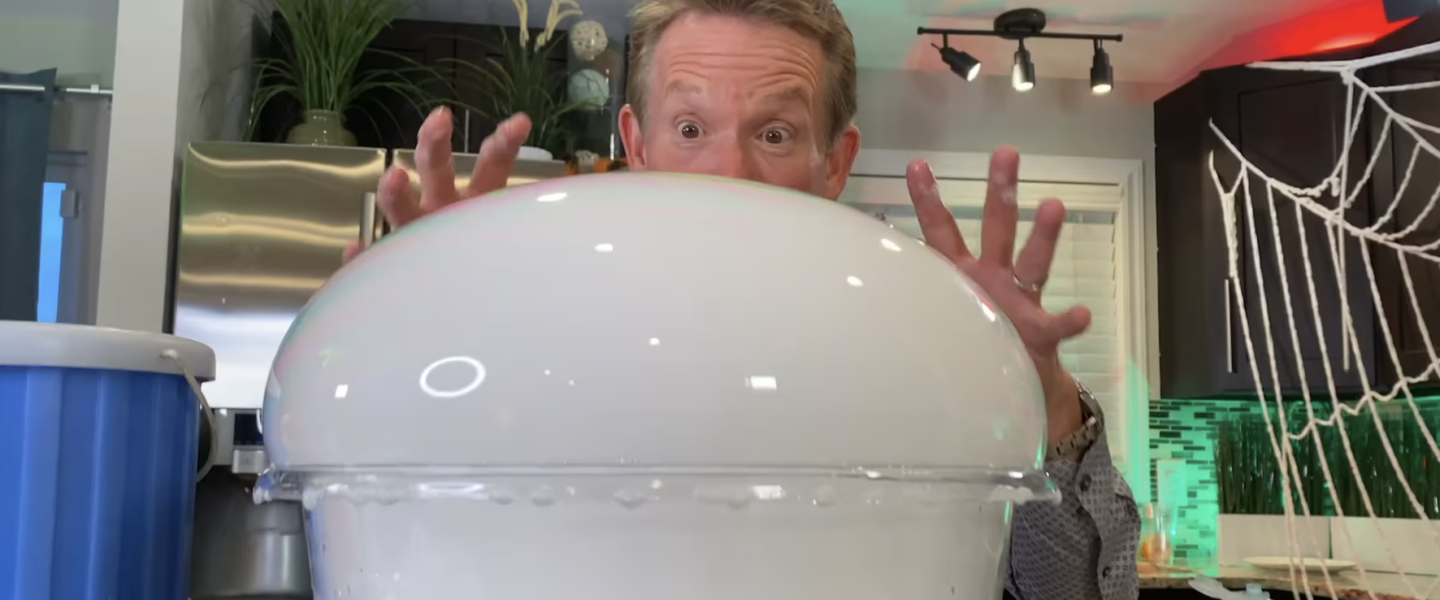
Create a soap film on the rim of a bucket and, with one other simple ingredient, you will have made the world’s coolest crystal ball.
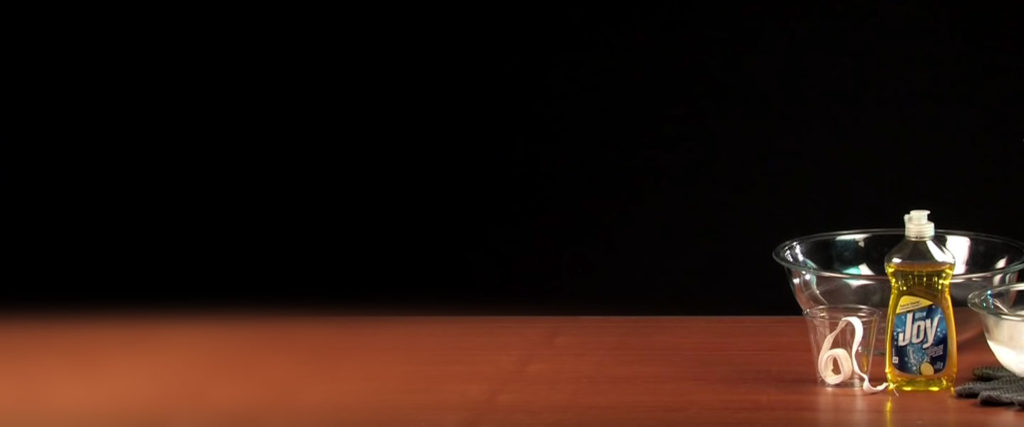
Select a bowl that has a smooth rim and is smaller than 12 inches in diameter.
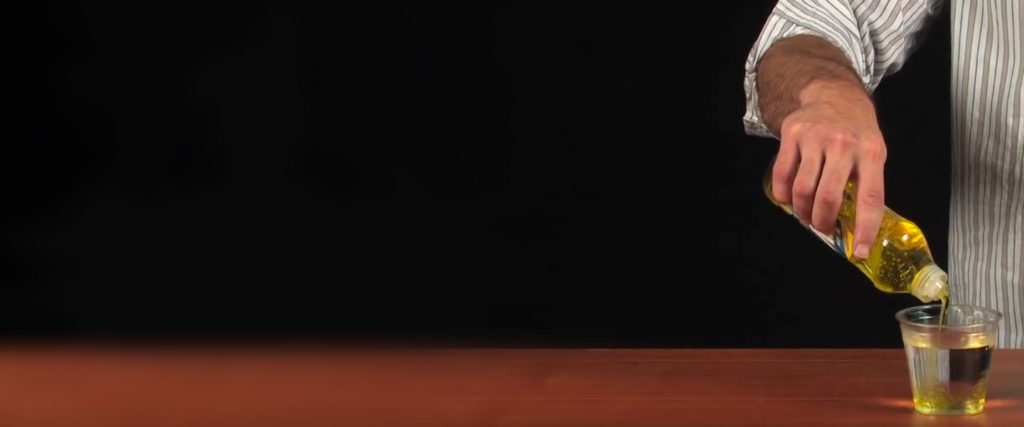
Mix 2 tablespoons (30 mL) of Dawn liquid dish soap with 1 tablespoon (15 mL)
of water in a plastic cup.
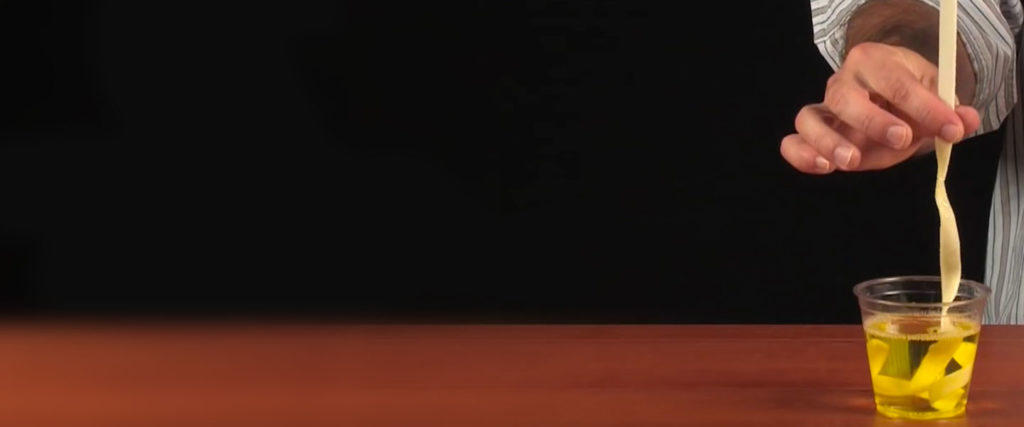
Cut a strip of cloth about 1 inch (2.5 cm) wide and 18 inches (46 cm) long. Soak the cloth in the soapy solution, making sure that the cloth is completely submerged.
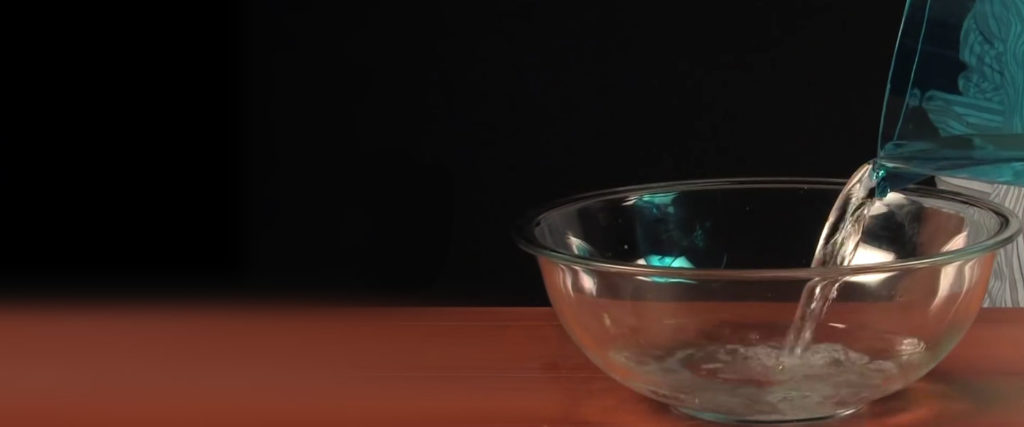
Fill the bowl half-full with warm water. Have gloves ready to transfer the dry ice into the bowl.
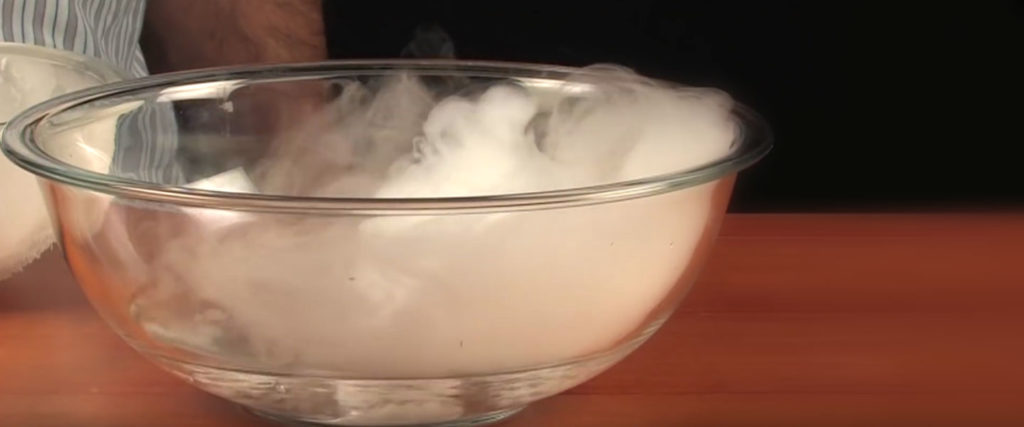
Place two or three pieces of dry ice into the water so that a good amount of fog is produced.
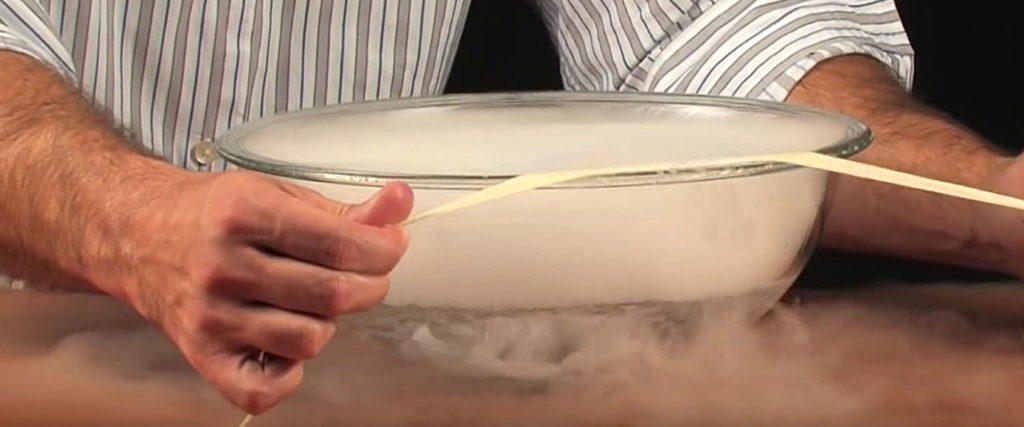
It helps to dip your fingers into some water and wet the rim of the bowl before you start. Getting the soap film to stretch across the rim of the bowl can take a little practice until you get the technique mastered. Remove the strip of cloth from the soap solution and run your fingers down the cloth to remove the excess soap. Stretch the cloth between your hands and slowly pull the soapy cloth across the rim of the bowl. The goal is to create a soap film that stretches across the entire bowl. If all else fails, try cutting a new strip of cloth from a different type of fabric (an old T-shirt works well), or change the soap solution by adding more water.
When you drop a piece of dry ice in a bowl of water, the gas that you see is a combination of carbon dioxide and water vapor. So, the gas that you see is actually a cloud of tiny water droplets. The thin layer of soap film stretched across the rim of the bowl traps the expanding cloud to create a giant bubble. When the water gets colder than 50°F, the dry ice stops making fog, but continues to sublimate and bubble. Just replace the cold water with warm water and you’re back in business.
If you accidentally get soap in the bowl of water, you’ll notice that zillions of bubbles filled with fog will start to emerge from the bowl. This, too, produces a great effect. Place a waterproof flashlight in the bowl along with the dry ice so that the light shines up through the fog. Draw the cloth across the rim to create the soap film lid and, if you are inside, turn off the lights. The crystal bubbles will emit an eerie glow and you’ll be able to see the fog churning inside the transparent bubble walls. When the giant bubble bursts, the cloud falls to the floor, followed by an outburst of ooohs and ahhhs from your audience!
NOTE: Whenever you use dry ice, always be aware of the rules for handling it safely.
Dry ice is not frozen water – it’s frozen carbon dioxide (CO2). Unlike most solids, dry ice does not melt into a liquid as the temperature rises, but instead, changes directly into a gas. This process is called sublimation. The temperature of dry ice is –109.3°F (-78.5°C). Dry ice is particularly useful for keeping things cold because of its temperature. Dry ice does not last very long, however, so it’s important to purchase the dry ice you need for these science activities as close as possible to the time you need it. The best place to store dry ice is in a Styrofoam ice chest with a loose fitting lid that allows the CO2 to escape as the ice sublimates.
Some grocery stores and ice companies will sell dry ice to the public especially around Halloween. Dry ice is typically sold as flat, square slabs a few inches thick or as cylinders that are about three inches long and about a half-inch thick. Either size will work fine for these experiments.
Remember the science when purchasing dry ice. Dry ice in a grocery bag will vanish in about a day. The experts tell us that, depending on weather conditions, dry ice will sublimate at a rate of 5 to 10 pounds (2.3 to 4.5 kg) every 24 hours even in a typical Styrofoam chest. So, again, it’s best to purchase the dry ice as close to the time you need it as possible. Last minute shopping is necessary. If you are planning to perform a number of dry ice demonstrations or have a lot of people involved, purchase 5 to 10 pounds (2.3 to 4.5 kg). A little dry ice does go a long way in these activities.
The first step in making dry ice is to compress carbon dioxide gas (CO2) until it liquefies while at the same time removing excess heat. The CO2 will liquefy at a pressure of approximately 870 pounds per square inch (4500 cmHg) at room temperature. Once liquid CO2 is formed, the CO2 is sent through an expansion valve and enters a pressure chamber. This pressure change causes the liquid to flash into a solid and causes the temperature to drop quickly. About 46% of the gas will freeze into “dry ice snow.” The rest of the CO2, about 54%, is released into the atmosphere or recovered to be used again. The dry ice snow is collected in a chamber where it is compressed into block, pellet, or rice-sized pieces using hydraulics. It’s complicated but really cool science – really cool.
Can you make your own dry ice? Sure, anything is possible, but it’s not practical (unless you have a huge tank of compressed CO2 sitting around and lots of extra time and equipment on your hands). For around $2 US a pound, it’s hard to beat the convenience of just purchasing it at the store.