Kid-Friendly Elephant's Toothpaste
This is a kid-safe version of the popular Exploding Toothpaste demonstration using materials that are easier to find. A child with a great adult helper […]
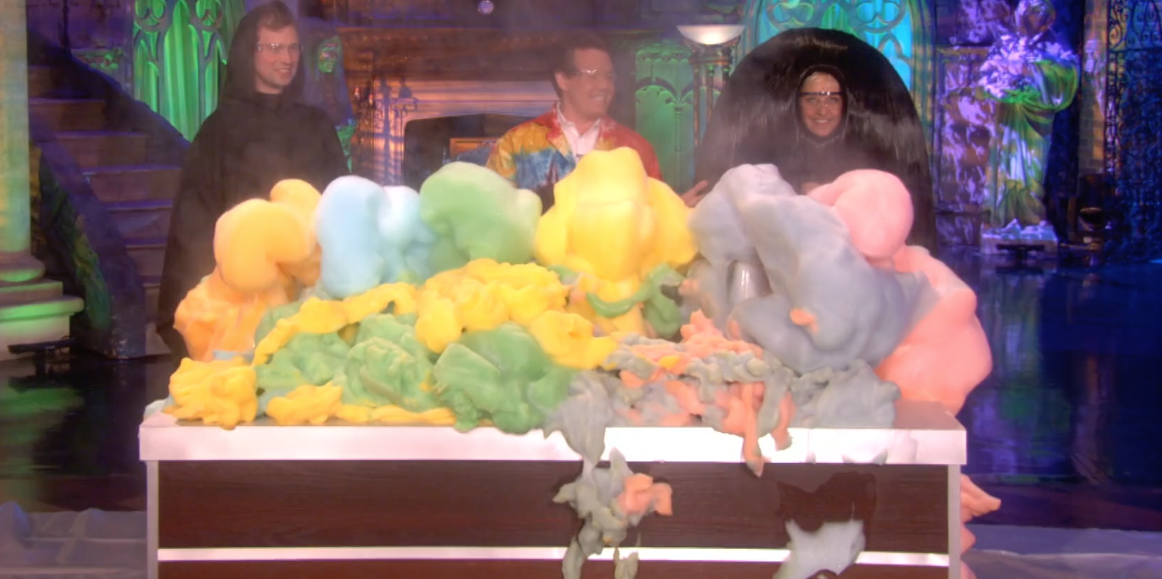
It’s the decomposition of hydrogen peroxide that produces the erupting foam that chemistry teachers love!
GOOD NEWS! This post contains a recipe for a kid-friendly version of Elephant’s Toothpaste.
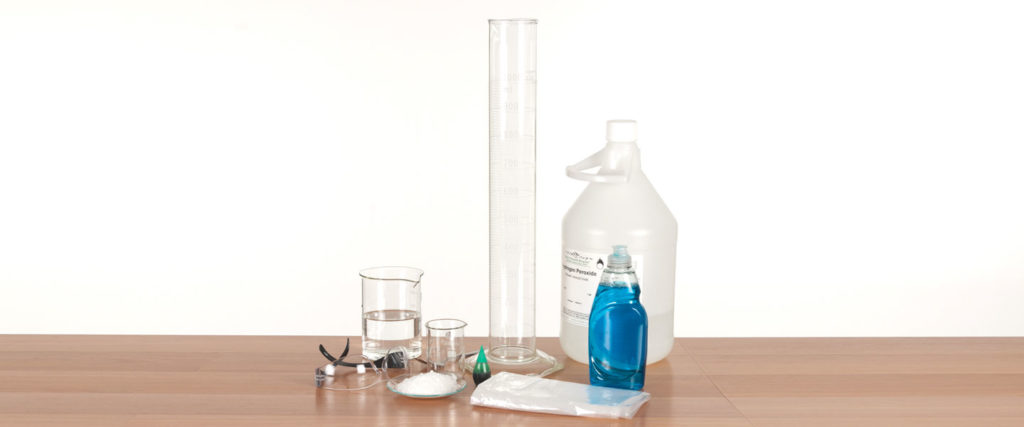
The first step is to put on your safety glasses. Since 30% hydrogen peroxide will burn if it comes in contact with your skin, it’s best to wear rubber gloves to protect your hands.
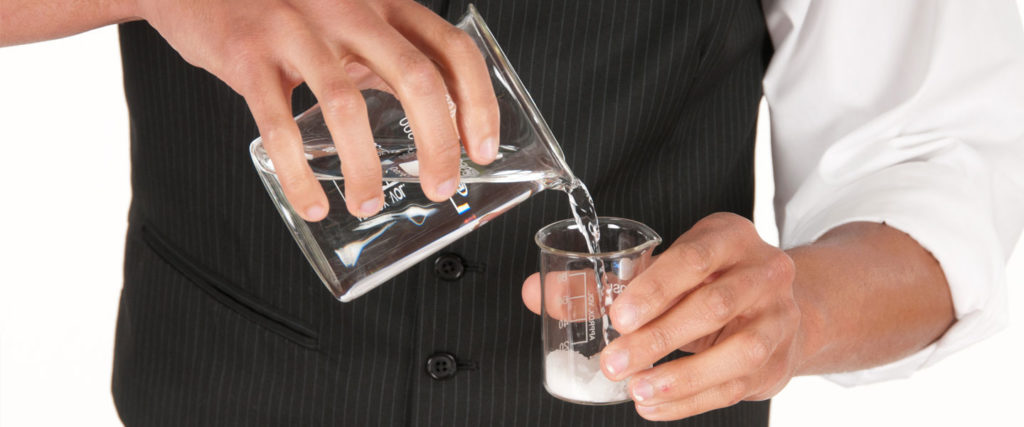
Fill the beaker with 4 ounces (that’s approximately 120 mL) of room temperature water. Add about a tablespoon of sodium iodide crystals to the water and stir with a spoon until all of the crystals have dissolved. Repeat this several times until the crystals no longer dissolve in the water. When this happens, you have what is called a saturated solution. Label the beaker “Sodium Iodide Catalyst” and set it aside to use later.
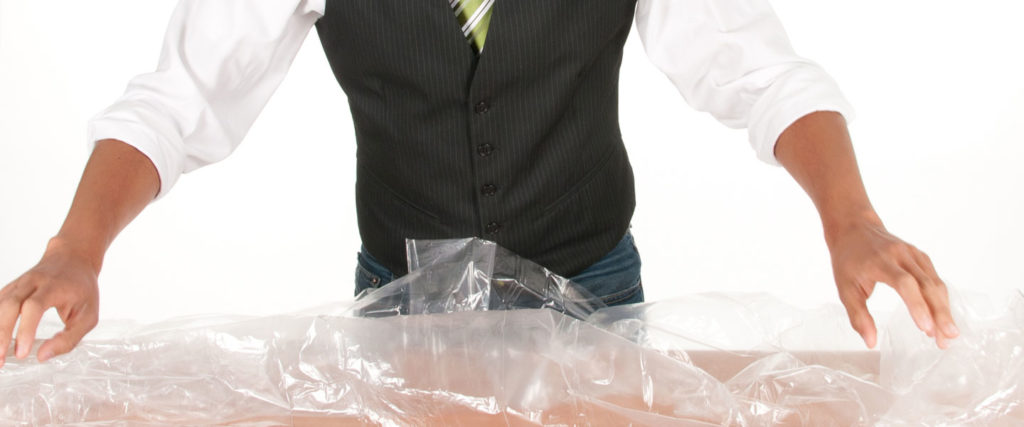
Cover the table with the plastic tarp to make cleanup easy at the end of the demonstration.
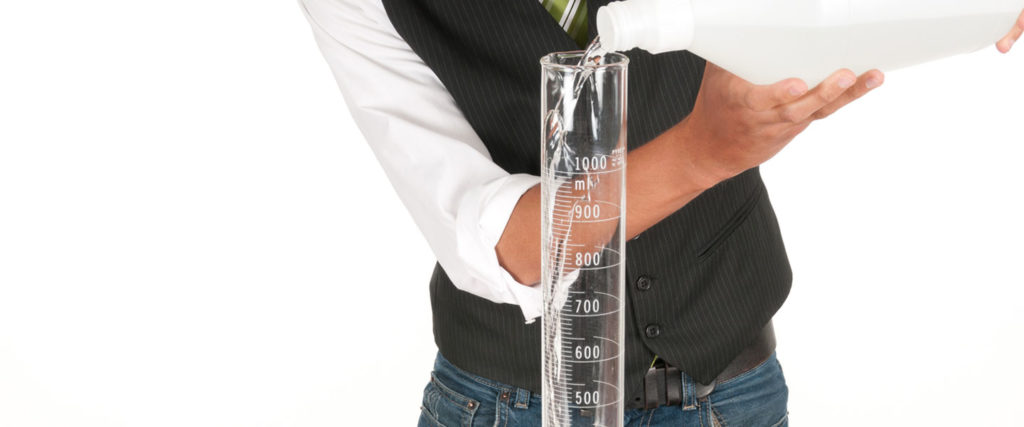
Measure 2 ounces (that’s 60 mL) of the 30% hydrogen peroxide into the graduated cylinder. Position the graduated cylinder in the middle of the plastic tarp.

Add a squirt (that’s a very technical term meaning about 5 milliliters) of dish soap to the graduated cylinder containing the 30% hydrogen peroxide.
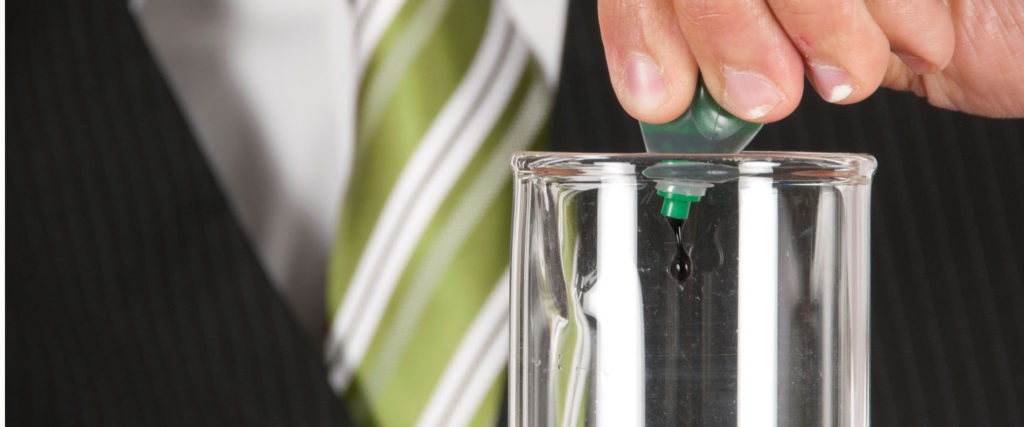
Add a huge squirt of your favorite food coloring to spice things up. Give the solution a quick swirl to mix the contents.
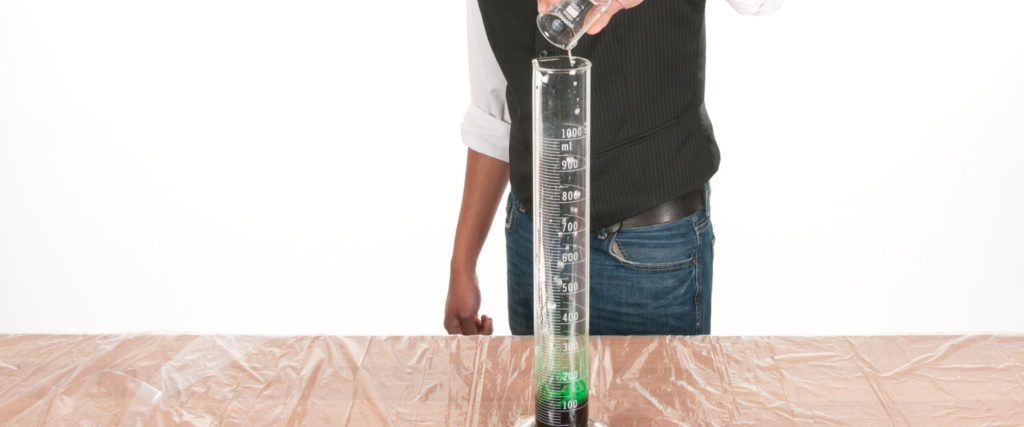
The last step is to pour a tablespoon (that’s about 15 milliliters) of the sodium iodide catalyst into the graduated cylinder and to quickly stand back. Within seconds, the reaction will occur and a mountain of erupting foam will cover the table. Note: You can even take this basic reaction one step further by switching out the graduated cylinder for a large Erlenmeyer flask, creating an even bigger and better reaction.
Everyone will want to touch the foam on the table, but you must keep the eager ankle-biters away just in case some of the hydrogen peroxide did not react with the catalyst. You don’t want anyone to get his or her hands burned or stained by touching the foam.
All of the aftermath from this reaction is safe to either throw away in the trash can or wash down the drain.
You might remember Mom treating your scraped knee or a cut with hydrogen peroxide. H2O2 is the scientific name for hydrogen peroxide, which is made up of two hydrogen atoms and two oxygen atoms. H2O2 looks like ordinary water (H2O), but the addition of that extra oxygen atom turns the molecule into an extremely powerful oxidizer. The hydrogen peroxide used in this demonstration is ten times stronger than the over-the-counter hydrogen peroxide you can find at the store. Low-grade hydrogen peroxide (3%) will not produce the massive amount of foam seen in this version of the Exploding Toothpaste demonstration. The secret ingredient is actually sodium iodide, which acts as a catalyst (something that speeds up a chemical reaction, and in this case, it’s the decomposition of hydrogen peroxide). When hydrogen peroxide (H2O2) decomposes, it breaks down to form water (H2O) and oxygen (O2). The soap bubbles that erupt from the cylinder are actually filled with oxygen. You’ll notice that the foam has a brown tint. This color is due to the presence of free iodine produced by the extreme oxidizing power of the 30% hydrogen peroxide. As the reaction takes place, you’ll also see steam rising from the erupting foam. This shows that the reaction is exothermic, meaning that it gives off heat.
Hydrogen peroxide (30% strength) will act as an oxidizing agent with practically any substance. This substance is severely corrosive to the skin, eyes, and respiratory tract. Sodium iodide is slightly toxic by ingestion. Given these safety precautions, it’s best to leave this one to the experts. Just befriend a chemistry teacher and ask her to perform the famous Exploding Toothpaste experiment.
Concentration Variations
NOTE: This would make a good science fair project—especially for a teacher to model for the class.
Because it is often hard for anyone but a chemistry teacher to obtain 30% hydrogen peroxide, you might want to test the effectiveness of other concentrations of hydrogen peroxide. For instance, 3% hydrogen peroxide is the household concentration that would typically be used for cuts and scrapes. It is safe to touch, but powerful enough to kill bacteria, viruses, and fungi on surfaces. Hair stylists can purchase peroxide that is anywhere from 6% to 12% in strength.
To make four different solutions, start with 30% hydrogen peroxide and dilute it by one-half to make a 15% solution. Dilute a small portion of the 15% solution by one-half to arrive at a 7.5% solution. One more dilution will produce a solution that is approximately 3.5%. Now you have the four solutions needed for the experiment. It is possible to purchase various concentrations of hydrogen peroxide at drugstores, beauty supply stores, and chemical supply stores, but this dilution method is easy to do if you start with a good supply of 30% hydrogen peroxide.
The most important part of the experiment is that everything stays the same except for the concentrations of hydrogen peroxide. This simple process is a very effective way to illustrate how a scientist would control a single variable (the strength of the hydrogen peroxide) to affect the outcome of the reaction. Each cylinder should have 60 milliliters of hydrogen peroxide, an equal sized squirt of dish soap, and an equal amount of the sodium iodide catalyst. The only variable you want to change is the concentration of hydrogen peroxide; otherwise, there is no way to know which variable causes the effect in the experiment. Remember, a good science experiment changes only one variable at a time.
If you don’t have four graduated cylinders, you’ll need to set up the experiment four times and collect the data after each eruption. If you do have four graduated cylinders, it’s easy to observe the differences in each eruption if you add the sodium iodide solution to each cylinder one right after the next. How does the concentration of the hydrogen peroxide affect the amount of foam that is created in each reaction?
A Halloween Twist on the Exploding Toothpaste Experiment
The classic Exploding Toothpaste experiment takes a whole new twist when you see it oozing from the face of your jack-o’-lantern!
This is what happens when chemistry teachers get tired of doing the same old Exploding Toothpaste demonstration over and over again. Instead of using a graduated cylinder, simply use a glass beaker to hold the 60 milliliters of hydrogen peroxide along with the squirt of dish soap and the food coloring. Place the beaker down inside a carved-out pumpkin and you’re almost ready to go. The only thing left to do is to make sure your safety glasses are on and the kids in the front row have moved back to the third row. After adding the tablespoon of saturated sodium iodide solution, immediately replace the lid of the jack-o’-lantern and wait for the kids to scream. The foam will ooze from the eyes, nose, and mouth of the pumpkin, and you’ll come away with a new discovery . . . ooze = ooohs!
WARNING! TEACHERS ONLY!
The Exploding Toothpaste demonstration requires chemicals that are not available to the public. Teachers and science professionals wanting to perform this demonstration must be trained in the proper way to handle and store concentrated hydrogen peroxide.
Everyone will want to touch the foam on the table, but you must keep the eager ankle-biters away just in case some of the hydrogen peroxide did not react with the catalyst. You don’t want anyone to get his or her hands burned or stained by touching the foam.
All of the aftermath from this reaction is safe to either throw away in the trash can or wash down the drain.
If you perform this demonstration enough times, you’ll have a situation where the foam spills over onto the floor. Unfortunately, the iodine that is released as part of the reaction will stain the floor or carpet, unless you know something about removing iodine stains. The secret is OxiClean®. This oxidizing, stain-removing detergent is available at any grocery store, and it does wonders for removing iodine stains. As the pitchmen say, “Use the power of oxygen to remove stains in an instant!” . . . and it works.