
Cover Your Mouth - Germ Science
Whether we like to believe it or not, we live in a world filled with germs, bacteria, viruses, and other creepy crawly things. It is […]
This activity will prove that Mom was right… “Wash your hands with soap and warm water!” A Petri dish prepared with nutrient agar (a seaweed derivative with beef nutrients added) is an ideal way to reveal the bacteria hiding all around you. You may not believe what you find hiding in all corners of every home and school and location in the world!
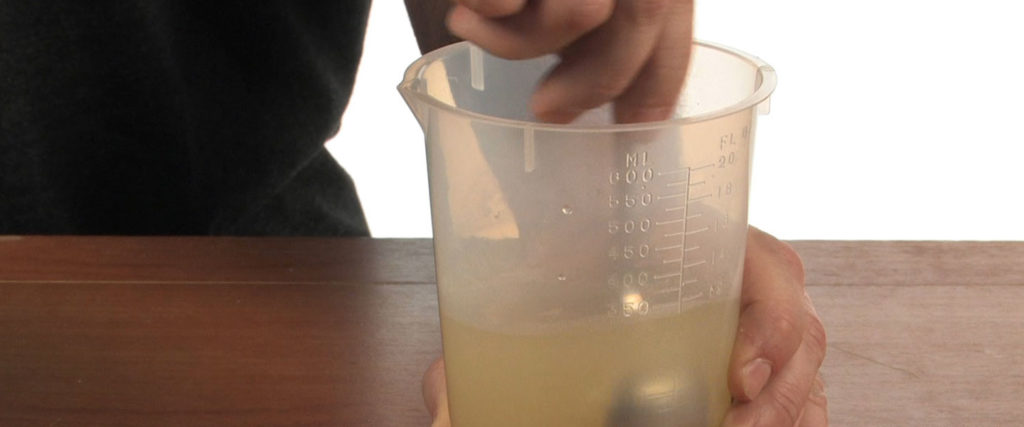
You’ll need a clean, microwave-safe container (a quart-sized bowl works great) to mix the agar with water and then boil it. These proportions make enough nutrient agar to prepare two Petri dishes. Stir these together well:
• ½-teaspoon agar (about 1.2 grams)
• ¼ cup (60 mL) of hot water

Bring this mixture to a boil for three minutes to completely dissolve the agar. CAUTION: Adult supervision is required to boil water. If you are using a microwave oven to boil the mixture, be careful not to let it boil over. The mixture should be clear with no particles floating in it after boiling.
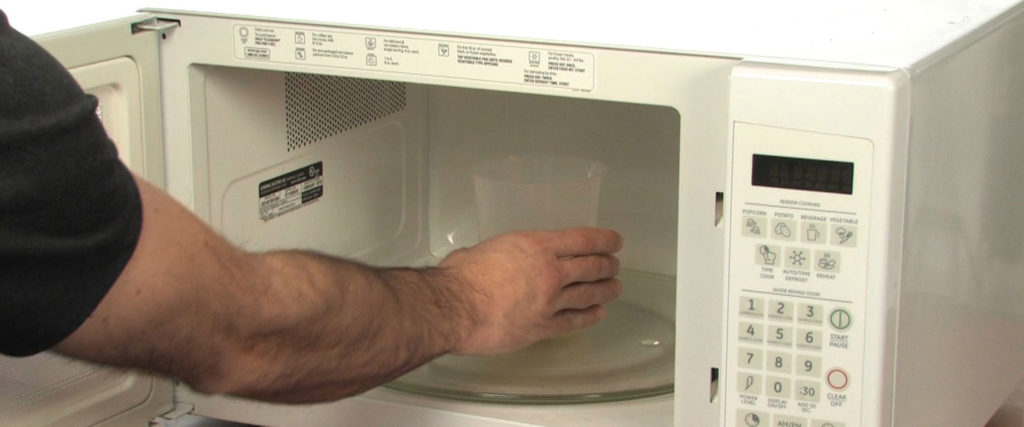
Remove the mixture from the microwave and allow it to cool for 3 to 5 minutes before moving on to the next step.
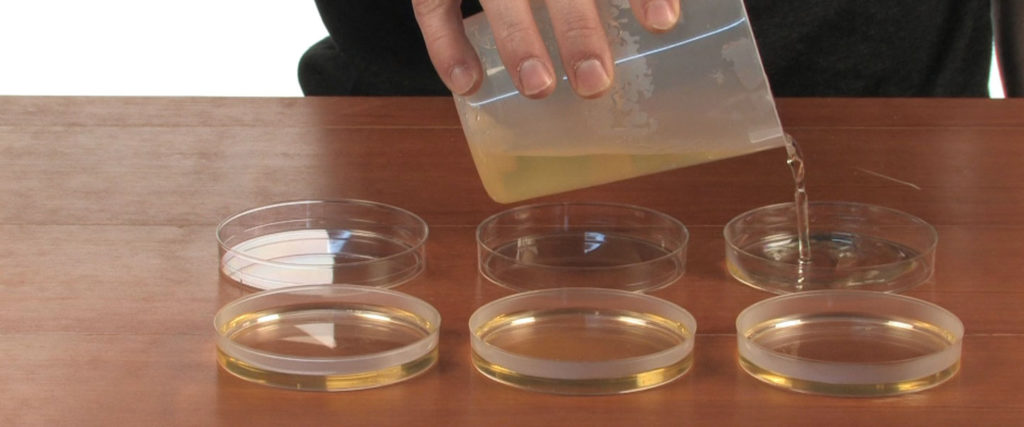
Take the lid off of the Petri dish (the lid is larger than the dish) and carefully cover the bottom-half of the Petri dish with warm nutrient agar mixture.
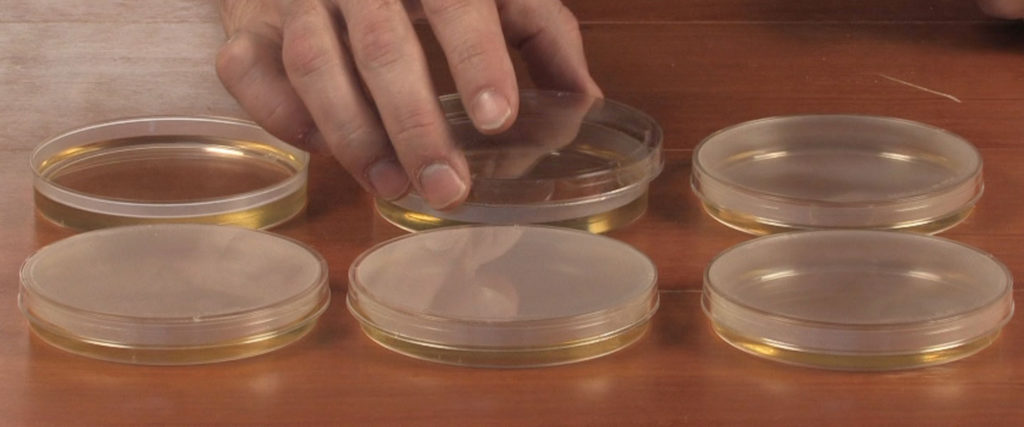
Loosely cover the bottom portion (set the lid ajar so excess moisture can escape) and allow the mixture to cool and harden for at least an hour.
NOTE: Just like gelatin, agar needs to boil for a certain amount of time to properly gel. If necessary, pour any unset mixture in each Petri dish back into the bowl (Cover the empty dishes!) and microwave it again until you see it boil. Watch it boil (but not boil over) for 10-15 seconds before turning off the microwave. There should be no “floaties” in it. Pour the hot agar mixture back into the dishes (cover them!) as you did before and it should solidify within an hour.
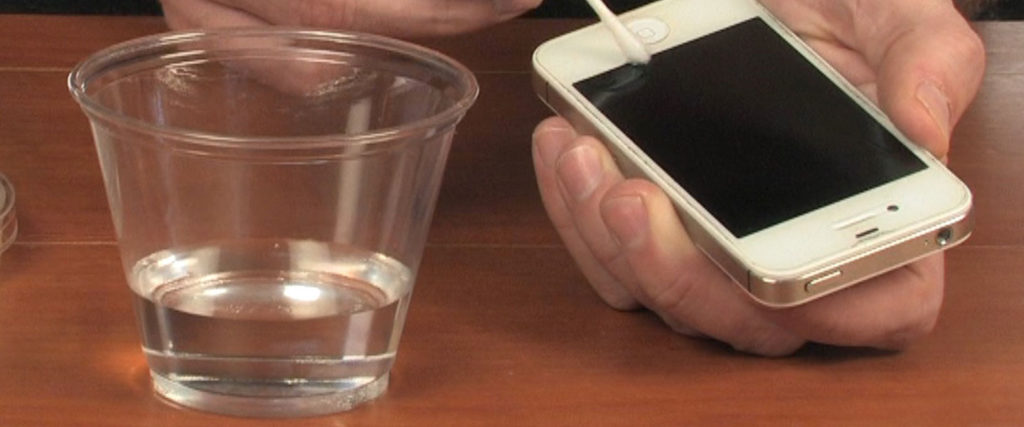
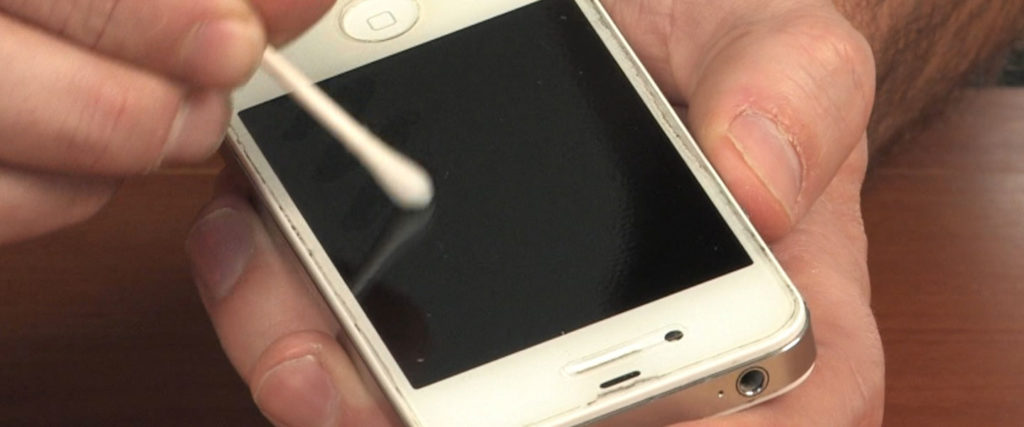
It’s time to collect some bacteria on the end of a cotton swab! The classic test is to roll a clean cotton swab in your mouth and then to lightly draw a squiggle with it on the gelled agar. However, many people like to test something even more gross like the keys on a computer, a cell phone case, the pump handle of a soap dispenser, or the TV remote control. Unless someone recently cleaned the buttons on the remote, you may be seeing some real goobers in a short time. Dampen a cotton swab and roll it in your fingers as you pull it across the surface of your choice.
NOTE: You might want to collect a sample from a computer keyboard on half of the Petri dish and leave the other half for the test in Steps 8/9. Remember, you MUST use clean cotton swabs for EACH sample. In order to get a good sample, lightly dampen the cotton swab with water. Be sure to roll the swab in your fingers so all of it touches all of the surface to be tested. You want to cover the entire cotton end of the swab with invisible bacteria. Other things that you might test include: door handles, your hands, under your fingernails, the top of a desk, a pencil or a pen, the area around a bathroom sink, a calculator, or a favorite toy.
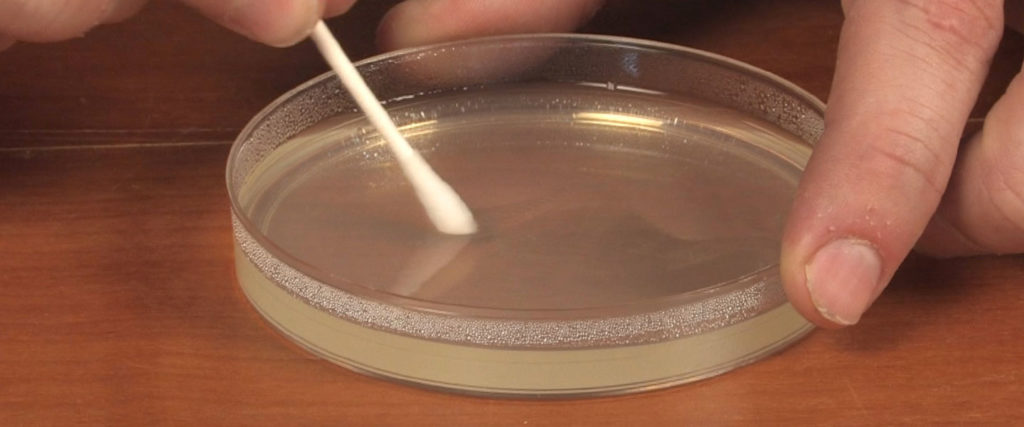
Lift the lid off the Petri dish and LIGHTLY draw a squiggly line in the agar with the end of the cotton swab. Roll the swab in your fingers as you draw the line. Replace the lid and label the dish with the date and the name of the item you tested.
NOTE: Moisture coming from the agar can be a problem. Many people turn the Petri dish over during this time to prevent moisture from dripping onto the growing colonies. A suggestion: Place a drop (no more) of a hand sanitizing gel in the middle of one of the squiggles. The hypothesis is that the antibacterial chemical in hand sanitizer will keep bacteria from growing there.
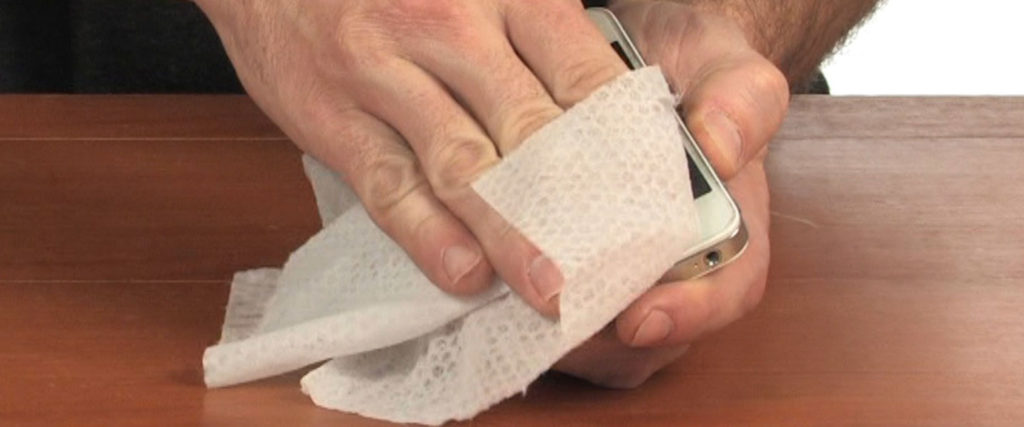
Use a sanitizing wipe to thoroughly clean one of the surfaces you tested in Step 6, e.g. cell phone
With a clean swab, redo the squiggle test in the other half of the Petri dish from Step 6 to confirm your cleaning efforts.
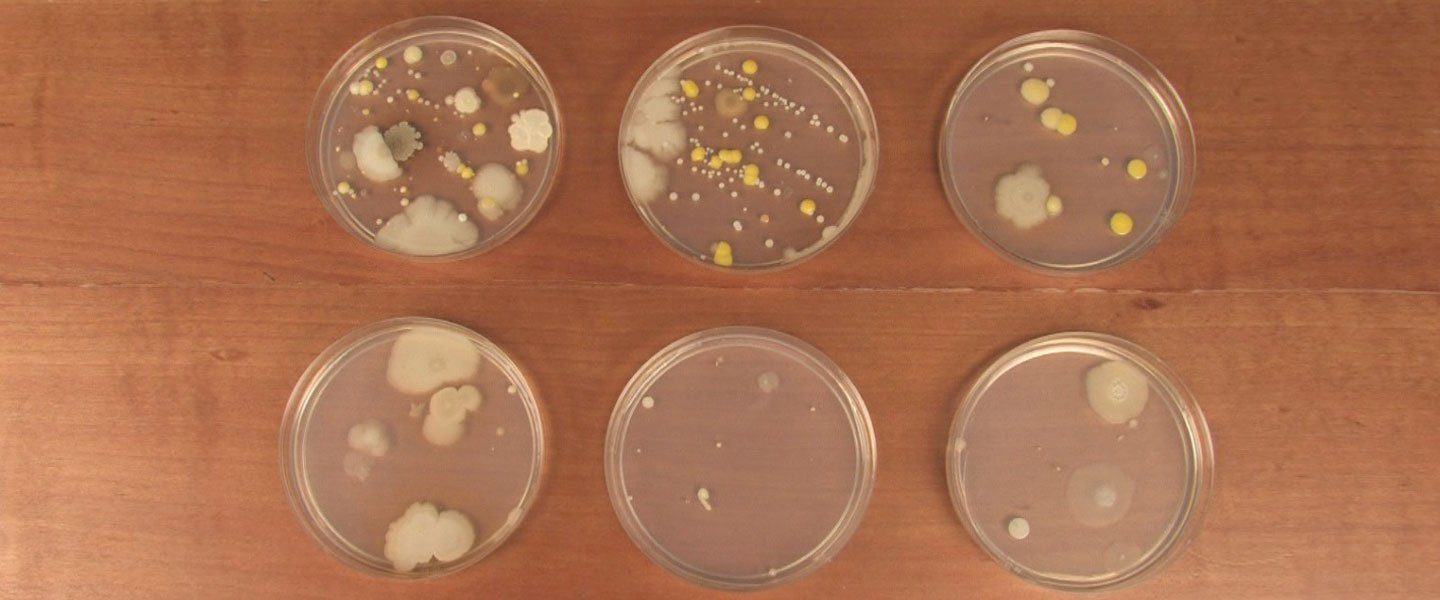
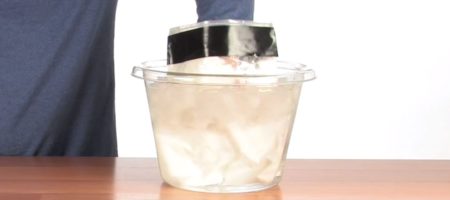
Before growing anything, some people place each Petri dish into a separate zipper-lock bag. Place the upside down dishes into a warm – about 98°F (37°C) is fine – and totally dark place to grow. In a closed box on a cable box is a great place. In a short time, you’ll be greeted by an amazing variety of bacteria, molds, and fungi. You likely see more and larger colonies over the next few days. You shouldn’t see too much growth where the disinfectants (hand sanitizers) were used. You might even see a “halo” around each location. This halo is called the “kill zone.” Measure and compare the size of the kill zone to determine the effectiveness of different antibacterial agents.
Remember: Do NOT open the dishes once things begin to grow. You could be culturing some serious goobers and not even know it. The comfort is that they were around you all the time anyway and now you can see them. Just be careful!

Goobers like you’re growing will often stink and make their presence known after a short time. These are not toys or curiosities you’re growing. Proper disposal is essential for both safety and sanitation. Seal all the Petri dishes into larger zipper-lock plastic bags. You can add a generous shot of chlorine bleach to the bag before sealing it to add another level of destruction. Remember: do NOT open the zipper-lock bags… ever! When you’re finished analyzing the cultures, dispose of the entire sealed bag in the trash.
Golly, Mom is right! It IS important to wash your hands with soap and warm water whenever you can!
You’re likely to have a huge variety of colors, shapes, and smells in your tiny worlds. Count the number of colonies on the plate, note the differences in color, shape, and other properties. Getting bacteria to grow can be a little tricky, so don’t get discouraged if you have to make more than one attempt. Allow enough time for them to grow, too. You need millions of them in one place just to see them at all. They’re really tiny! In a lab, you’d use your trusty inoculating loop to pick up a bit of the bacteria in order to create a slide for further study under a microscope.
Most bacteria collected in your environment will not be harmful. However, once they multiply into millions of colonies in a Petri dish they become more of a hazard. Be sure to protect open cuts with rubber gloves and never ingest or breathe in growing bacteria. Keep your Petri dishes sealed in the zipper-lock bags for the entire experiment. When you’re finished with the experiment, some people recommend placing the Petri dish bag in a larger zipper-lock bag along with a few drops of bleach. Seal the larger bag and dispose of it in the trash.
Just growing bacteria in a Petri dish is not a science fair experiment. Yes, it is gross and cool and fascinating, but it doesn’t meet the requirements of a science fair project. If you want to do a science fair project about germs, you have to add a variable, or something that changes in the experiment.
In the Growing Bacteria activity described above, adding an anti-bacterial hand sanitizer is a variable. Make one dish of germs and one dish of germs with a drop of the anti-bacterial sanitizer or, better yet, make three dishes: one as the control (just germs), one with an anti-bacterial sanitizer, and a third dish with another brand of anti-bacterial sanitizer. Then you can see which anti-bacterial sanitizer is more effective in killing germs. Make sure all three Petri dishes have germs collected from the same place in your home or classroom at the same time so you know they are all exposed to the same bacteria. The dishes also need to be grown in the same warm, dark place for the same amount of time so that the conditions are standardized as much as possible.
Growing Bacteria is such a popular activity that we’ve written it as a sample science fair project (see the link below). The sample project describes the swabbing technique to collect the germs and gives you lots of helpful hints about growing things. It makes suggestions about variables and gives you some ideas to make the project your own. What it doesn’t give you is the data. What fun would that be? You’ll want to do the experiment for yourself to test your own ideas and make your own discoveries!
Whether we like to believe it or not, we live in a world filled with germs, bacteria, viruses, and other creepy crawly things. It is […]
Knowing you’ll spend some time in the sun, you carefully spread a sunscreen lotion labeled “SPF 50” on exposed skin. The next day, you look […]
The animals of the Arctic and Antarctic circles spend their lives surviving subfreezing air temperatures and frigid water. Their secret is blubber, a thick layer […]
If you’ve ever changed a diaper and noticed what looked like tiny crystals on the baby’s skin, you’ve uncovered the secret of superabsorbent, disposable diapers. […]