Water Jelly Crystals
Water Jelly Crystals are an example of amazing hydrogels… superabsorbent polymers that are saving the environment. Superabsorbent polymers are rapidly becoming one of the most […]
If you’ve been outdoors when it’s really cold, there’s a good chance you’ve either used these yourself or wished you had. You can experience a variation on the science found inside a commercial warmer with some pretty basic materials. You’ll discover how an everyday chemical reaction like rusting is used to keep your digits toasty. This experimental version of the hand warmer is offered as a test idea and not as a definitive solution. You’re encouraged to share your science fair results online.
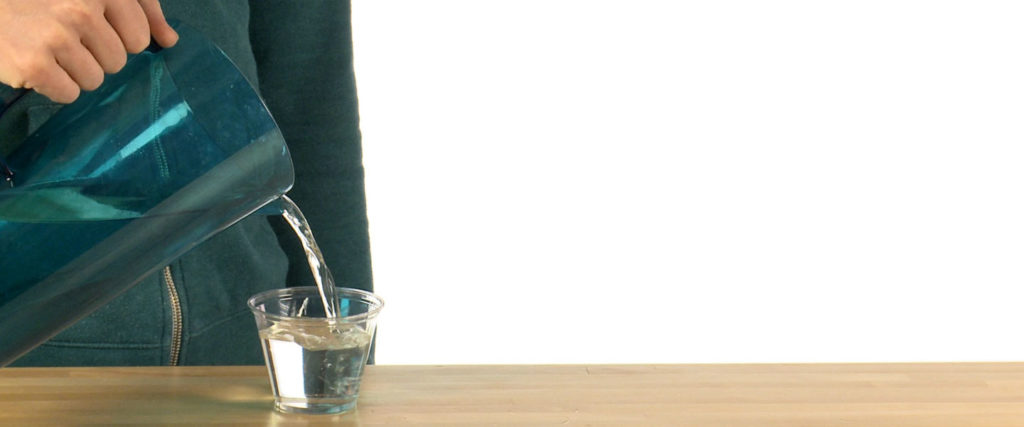
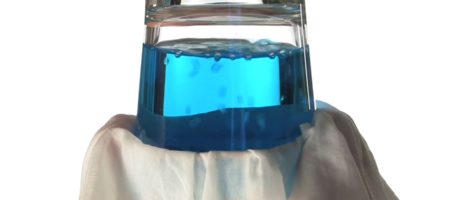
Fill the plastic cup with water. If you have some, use distilled water for this Step. It’s optional, however.
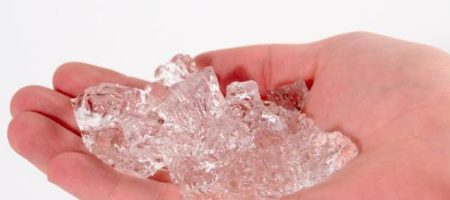
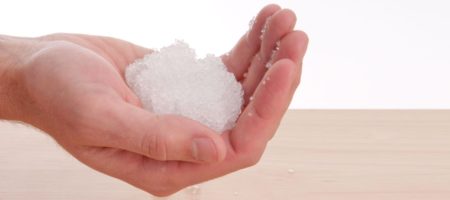
Add a rounded quarter-teaspoon of dry Water Jelly Crystals (sodium polyacrylate) to the water. That will be plenty. Really! These pebbles are a superabsorbent polymer and become huge when fully hydrated. Give them several hours or even over night to soak. If you have some soaked crystals left over, spread them on wax paper for a couple weeks and they’ll dry to their original size. You can also check the website for ways to use them.
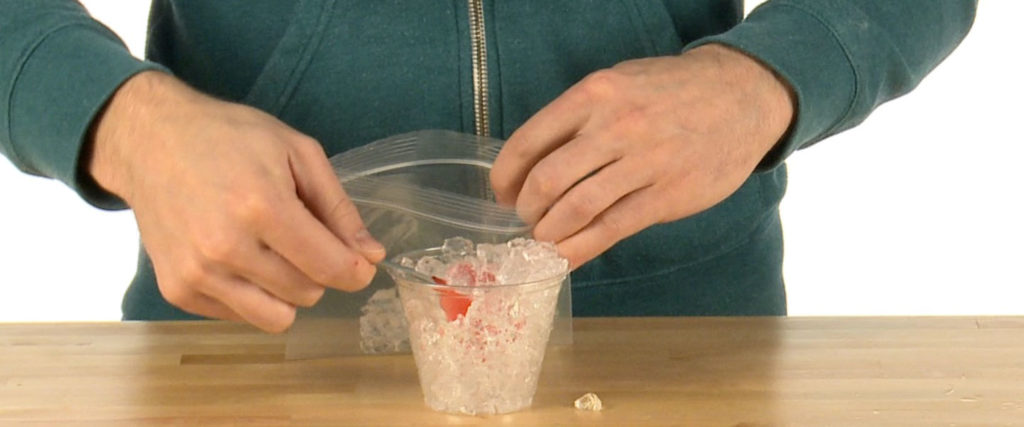
After they’ve soaked and swelled up, dump four heaping tablespoons of the Crystals into the plastic bag. You may need to break them up a bit to make them more manageable.

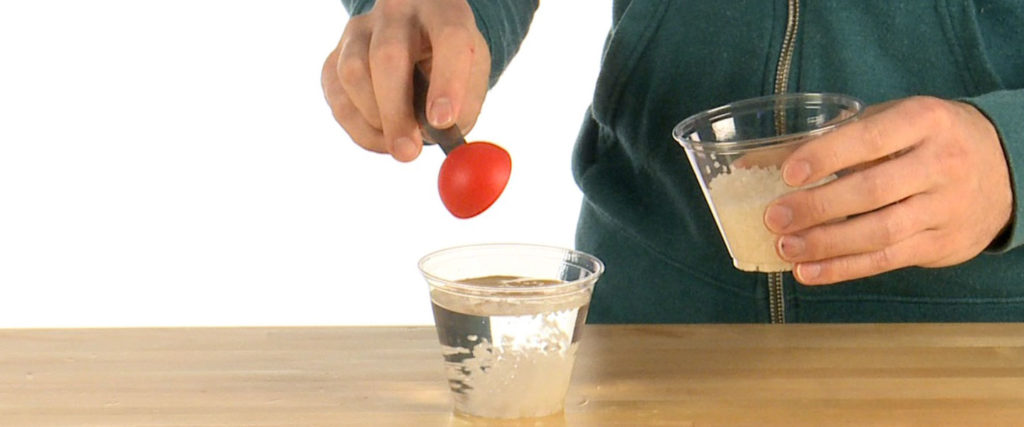
Add a tablespoon of the iron filings to the Crystals in the bag.
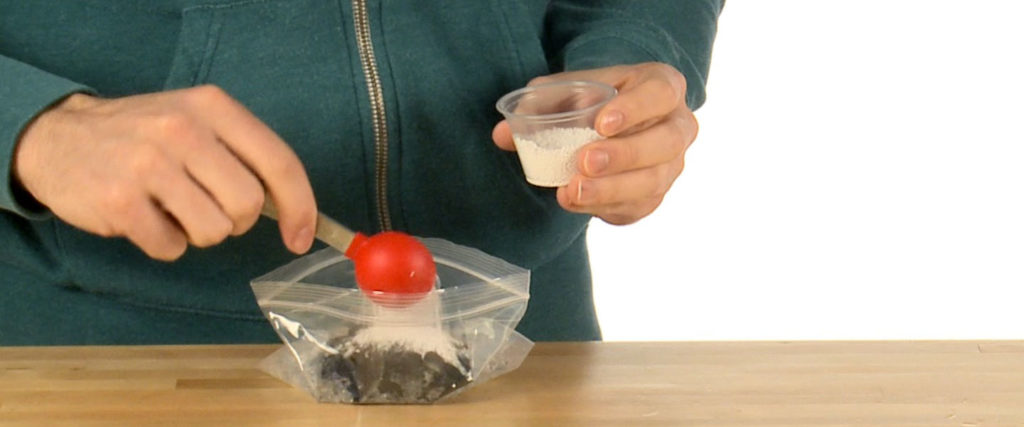
Now add 1.5 tablespoons of the calcium chloride to the mixture in the bag.
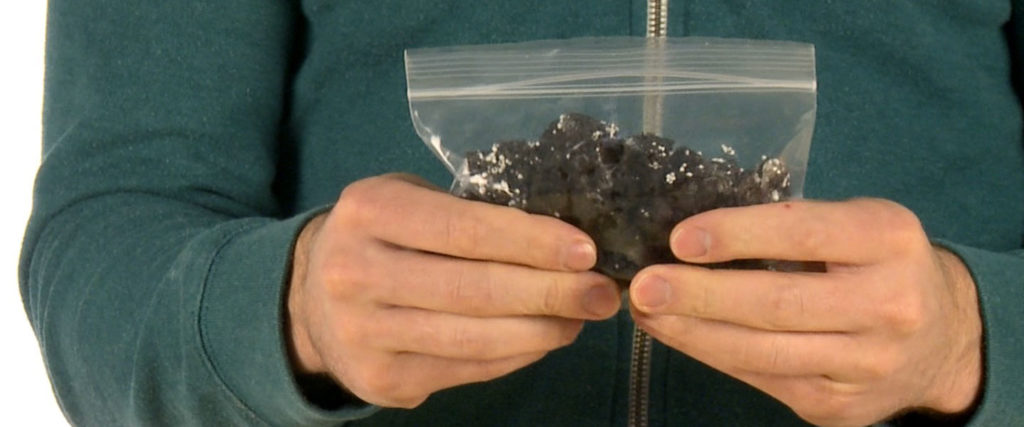
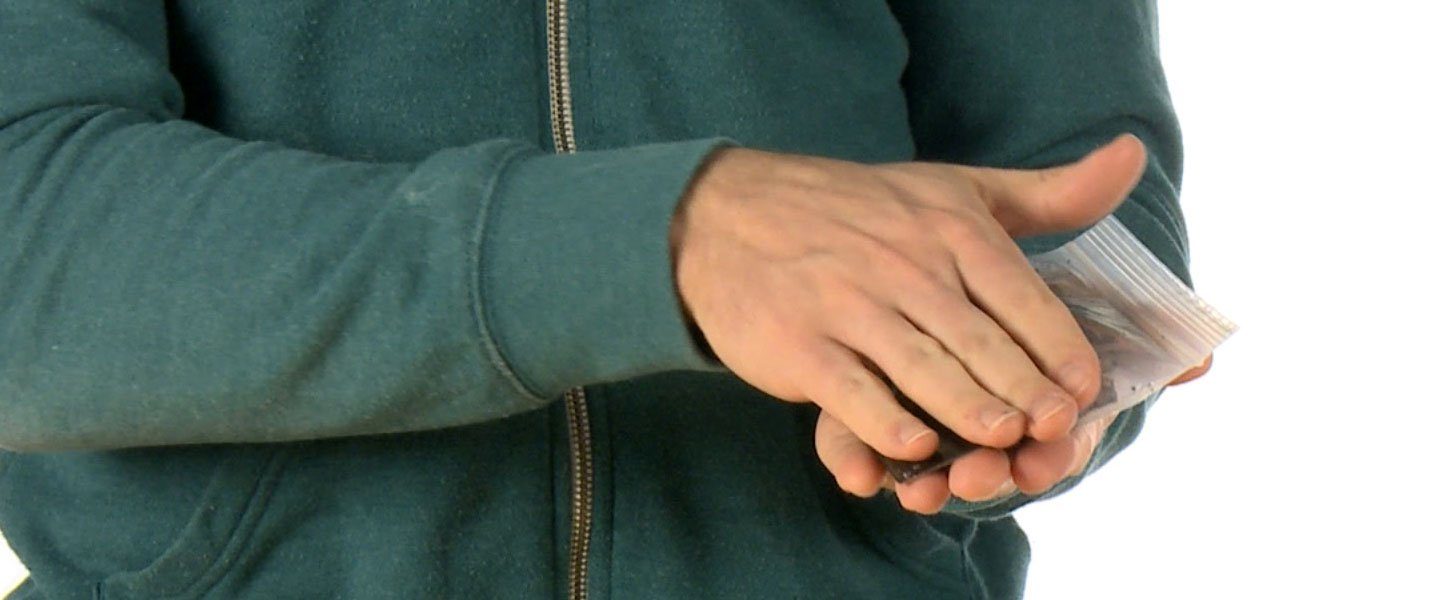
Keep the bag open and carefully mix the contents by squishing it with your fingers. Move and mix the contents all around inside the bag. When you’re satisfied the contents are mixed, push the air out of the bag and seal it tightly.
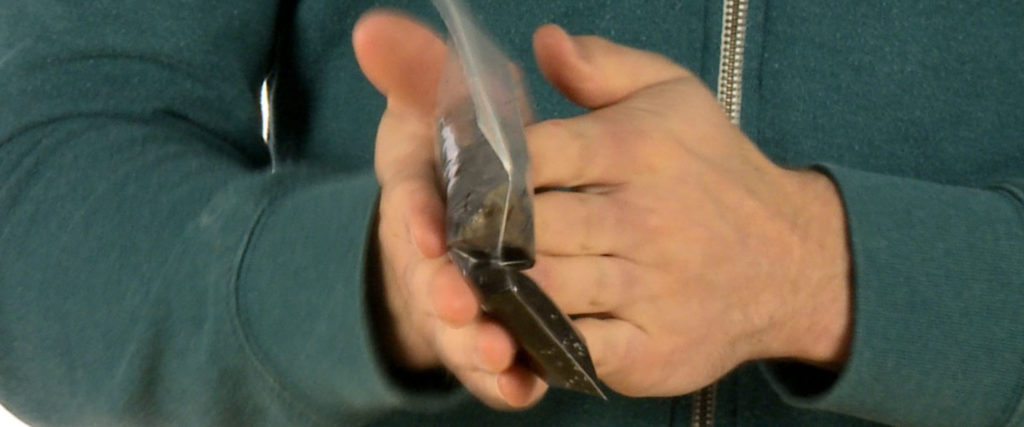
With the bag sealed, press and squish it to mix the contents even more. By now, you’re probably feeling some serious heat coming from the bag.
You know that leaving unprotected iron of any kind exposed to the elements outdoors will produce iron oxide or rust. All it takes is water in any form and the iron will be quickly covered in rust. A byproduct of the rusting process is heat. Hand warmers you buy usually have a porous pouch containing a mix of iron powder, activated charcoal, salt, and vermiculite. Activated charcoal is a very porous material that holds the water needed for the oxidizing (rusting) reaction to occur. Activated charcoal is also thermally conductive, which means it helps to spread heat evenly. The salt works as a corrosive material to help initiate the rusting process. Along with the activated charcoal, vermiculite helps diffuse the iron powder so the filings don’t get too hot too quickly and possibly burn your skin.
This experimental version is a little different from the commercial ones. The Crystals provide the water needed for the rusting process to occur. Instead of using ordinary table salt (sodium chloride), this version uses calcium chloride. It’s similar to the materiel used on icy roads but it’s much more corrosive. The theory is that the exothermic reaction (lots of heat) produced by calcium chloride and water will quick-start the oxidation of the iron powder. That’s the theory.
Again, this experimental version of the hand warmer is offered as a test idea and not as a definitive solution. You’re encouraged to share your science fair results online.
Water Jelly Crystals are available from Steve Spangler Science.
Making your own hand warmer up is pretty cool, but it isn’t a science fair project. You can create a science fair project by identifying a variable, or something that changes, in this experiment. Let’s take a look at some of the variable options that might work.
That’s just a couple of ideas, but you aren’t limited to those! Try coming up with different ideas of variables and give them a try. Remember, you can only change one thing at a time. If you are testing different liquids, make sure that the other factors are remaining the same.
Water Jelly Crystals are an example of amazing hydrogels… superabsorbent polymers that are saving the environment. Superabsorbent polymers are rapidly becoming one of the most […]

Did you know that you can use a magnet to prove there really is iron in your breakfast cereal? The next time you’re eating a […]
If you’ve ever changed a diaper and noticed what looked like tiny crystals on the baby’s skin, you’ve uncovered the secret of superabsorbent, disposable diapers. […]

If you’ve watched videos on a smartphone, then you know it can be tough to really enjoy the show on such a small screen. For […]
What would you say if we told you that you could make water boil with nothing more than your touch? Impossible, right? There is no […]