We are always looking for fun, easy and educational experiments. This one only uses a few kitchen items and requires very little set up and clean up time. It’s perfect for little scientist-artists who always are looking for new activities and wondering how it works.
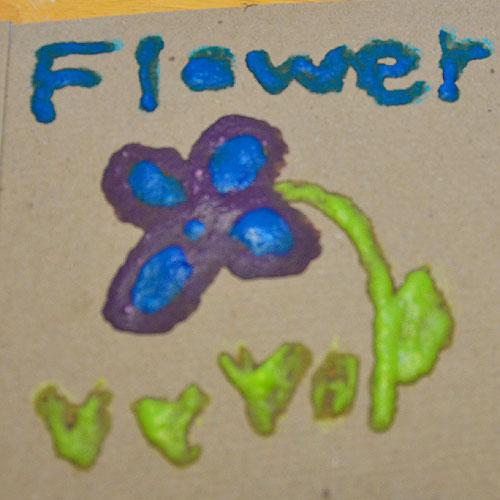
Puffy Paint in the Microwave
Sick Science! Summer Camp - It's art, it's food, it's science
Here's What You'll Need
-
Small bowls
-
Mixing spoons
-
1 tablespoon self-rising flour
-
4 Drops of food coloring
-
1 tablespoon of salt
-
Water
-
Cardboard
-
Paint brushes or cotton swabs
Experiment
- Combine the flour, salt, food coloring and enough water to make a paste.
- Mix until combined. Should be pasty and will not be smooth
- Use cotton swabs as paint brushes and paint a picture. You can also use your fingers to paint. Just make sure you get a thick coating. Thin strokes may not have enough flour and salt to puff up.
- Microwave for 10-30 seconds.
WARNING: Watch the paint in the microwave. Cardboard can start to burn if left in too long. Plus, it’s fun to watch the paint bubble and puff while it cooks. - Let dry completely. When dry, the paint will be hard and will stay puffy.
ACTIVITY TIME:
About 5 minutes to prep, 10 to create (approximately) and a few seconds in the microwave. Allow about 15 minutes for one creation. This activity can take longer or shorter depending on how detailed your designs get.
How Does It Work?
This activity calls for self-rising flour, because it contains baking powder and a little salt. All-purpose flour is a blend of hard and soft wheat only. If you use all-purpose flour, you will need to add baking power and extra salt to your paint to make it bubble.
It is an experiment in using leavening agents – ingredients added to pastries, bread and bakery to produce carbon dioxide and make them rise.
Baking soda is a leavening agent. It is also known as the chemical sodium bicarbonate. Baking power is made from sodium bicarbonate, an acidifying agent, cream of tartar, and a drying agent like starch.
When the baking soda is mixed with water, it releases a carbon dioxide gas. The cream of tartar in the baking powder is an acid that also reacts with the sodium bicarbonate in water. Add the extra salt, which also reacts with the chemicals in the baking powder to release even more CO2, and you have the makings for a bubbling paint potion.
The heat plus the water in the microwave will cause the baking powder to release small amounts of CO2, producing even bigger bubbles. It’s important that you use a thicker paper that can not only support the weight of the puffy paint, but also hold up for a few seconds in the microwave.
The starch is added to baking powder to keep it dry and prevent an explosive reaction from happening in the can.
Baking powder deteriorates with age, so don’t keep it for a long time or buy a lot at one time unless you plan to use it in the near future.
This is the same reaction that takes place when you bake a cake. The heat in the oven, mixed with the water and baking powder releases the carbon dioxide gas, producing bubbles. The bubbles try to rise and make their way to the surface, making the entire mixture rise. Not all of the carbon dioxide bubbles escape, because the heat begins to make the cake solid. Once the cake is finished cooking, the CO slowly leaves. If you look at the top of bread or cake, you can see where the tiny bubbles left the mixture and popped. This is also why bread and cakes are fluffy and soft – they are filled with tiny air holes.
Self-rising flour is usually lower in protein than other types of flours. Foods made with self-rising flour are usually lighter, fluffier and crumbly. So before you start baking, consider your ingredients and plan out your outcome. Some breads will not turn out as well with the self-rising flour. If you do use self-rising flour in a recipe, make sure to omit the baking powder so you don’t have out of control bakery that rises more than it should while cooking.
Additional Info
Additional Science Experiments:
- Experiment with using all-purpose flour vs. self-rising flour.
- Change the amount of salt added to the paint mixture.
- Make your own self-rising flour by adding baking soda, cream of tartar and salt to all-purpose flour.
Take it Further – Science Fair Projects:
- Test different rising or leavening ingredients while baking cakes, cookies or bread. What happens when you omit the baking powder? What if you substitute baking soda for baking powder? What if you omit the salt?
- Test the shelf life of flour and baking powder. What happens when you use year old flour vs. fresh? Year old baking powder vs. fresh?
- Test different types of flour -Does it rise better with self-rising, all-purpose, bread, buckwheat, organic, instant, rice, gluten, etc. Which one will rise the best?
- Don’t forget to taste test. What happens when you omit the salt? If it doesn’t rise, does it taste different?