DIY Slime - The Real Recipe
It’s one of our most frequently asked questions… How do you make real slime? Ask any special effects artist about slime and you’re sure to […]
Some things in this world just don’t mix—dogs and cats, oil and water, needles and balloons. Everyone knows that a balloon’s worst fear is a sharp object . . . even a sharpened wooden cooking skewer. With a little scientific knowledge about polymers, you’ll be able to perform a seemingly impossible task—pierce a balloon with a wooden skewer without popping it.
The first step is to inflate the balloon until it’s nearly full size and then let about one-third of the air out. Tie a knot in the end of the balloon.
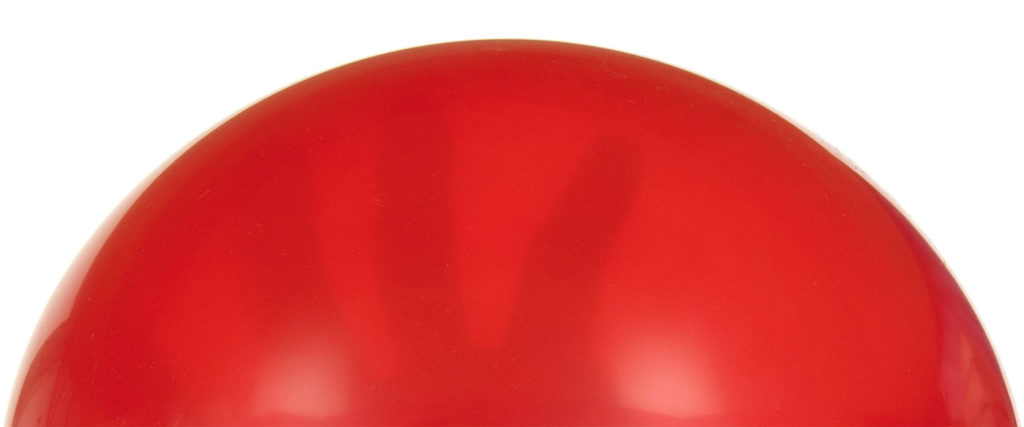
If you carefully examine the balloon, you’ll notice a thick area of rubber at both ends of it (where you tied the knot and at the opposite end). This is where you will pierce the balloon with the skewer, but not yet. Keep reading.

Coat the wooden skewer with a few drops of vegetable oil or dish soap (being careful not to accidentally get a splinter). As you probably guess, either liquid works well as a lubricant.
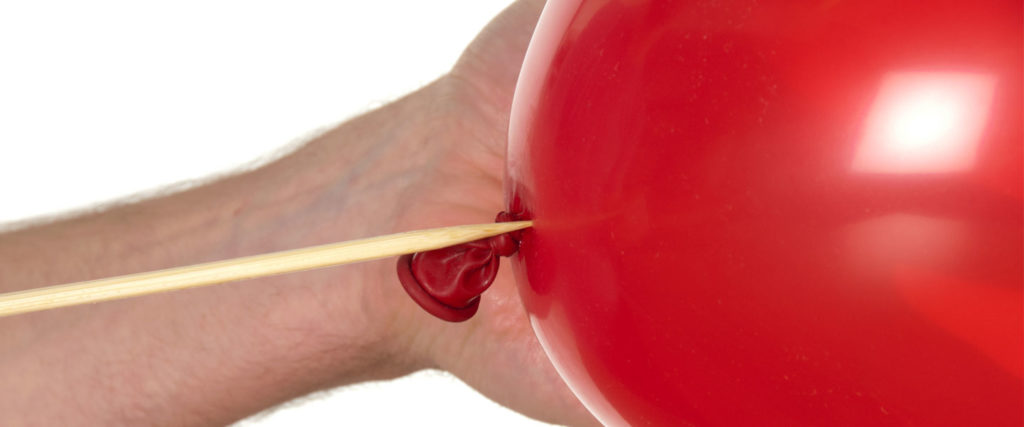
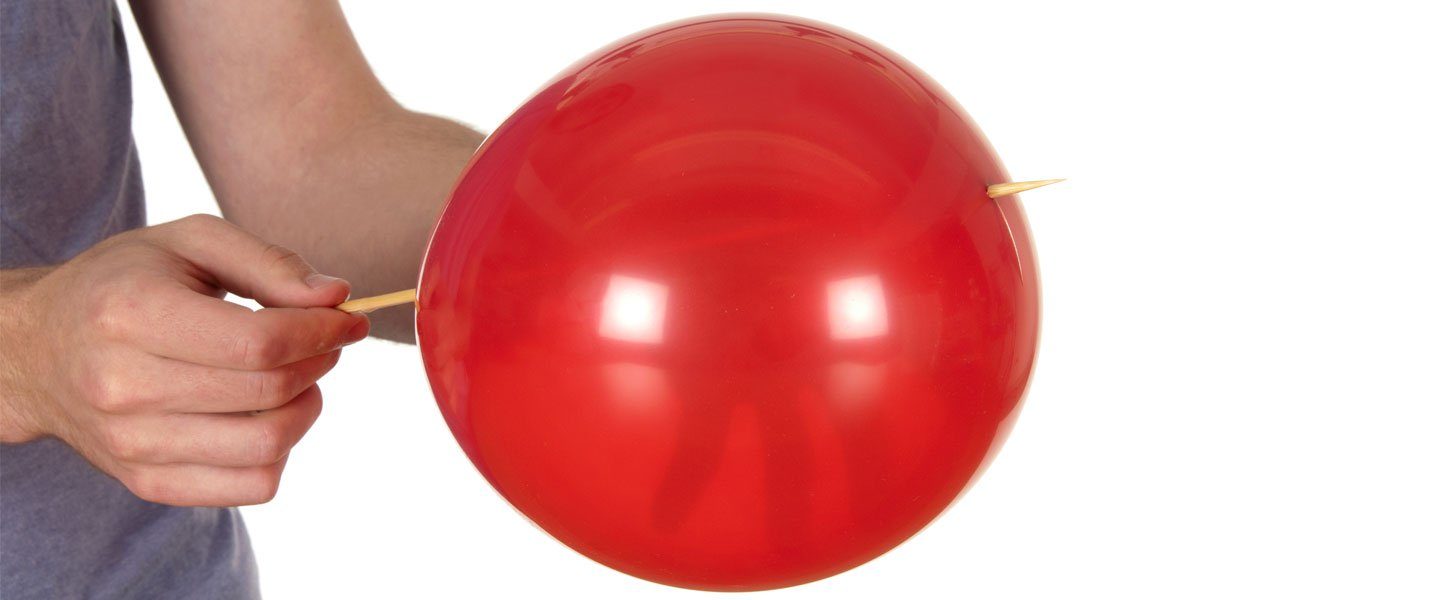
Place the sharpened tip of the skewer on the thick end of the balloon and push the skewer into the balloon. Be careful not to jab yourself or the balloon with the skewer. Just use gentle pressure (and maybe a little twisting motion) to puncture the balloon.

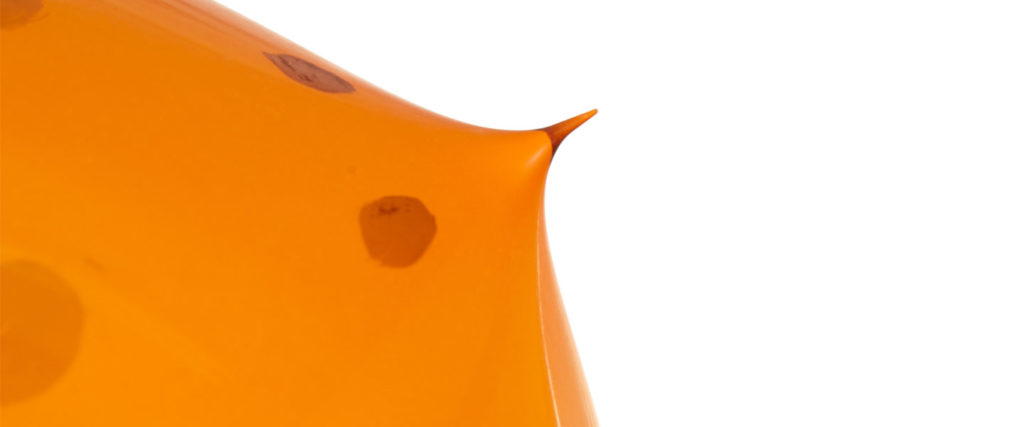
Push the skewer all the way through the balloon until the tip of the skewer touches the opposite end of the balloon, where you’ll find the other thick portion of the balloon. Keep pushing until the skewer penetrates the rubber. Breathe a huge sigh of relief and take a bow!
Gently remove the skewer from the balloon. Of course, the air will leak out of the balloon, but the balloon won’t pop.
Let’s do it again, but this time you’ll see the hidden “stress” in a balloon.
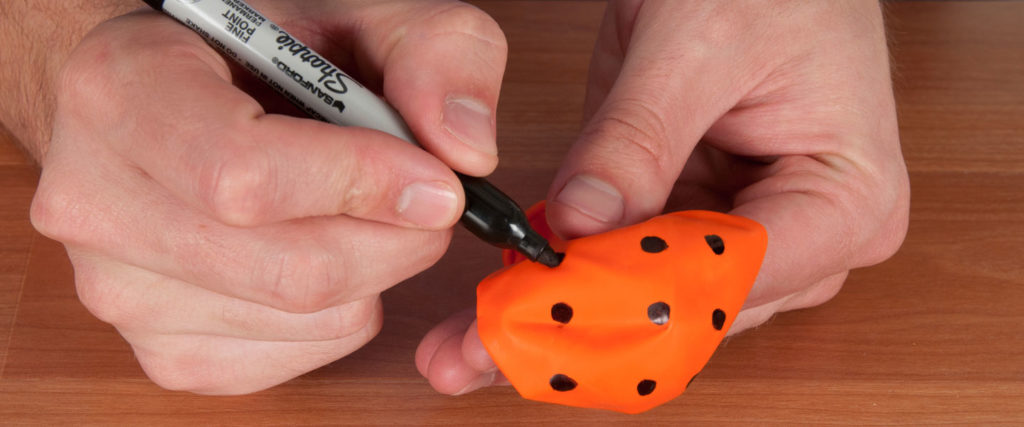
Before blowing up the balloon, use the Sharpie pen to draw about 7–10 dots on the balloon. The dots should be about the size of a dime. Be sure to draw them at both ends and in the middle of the balloon.
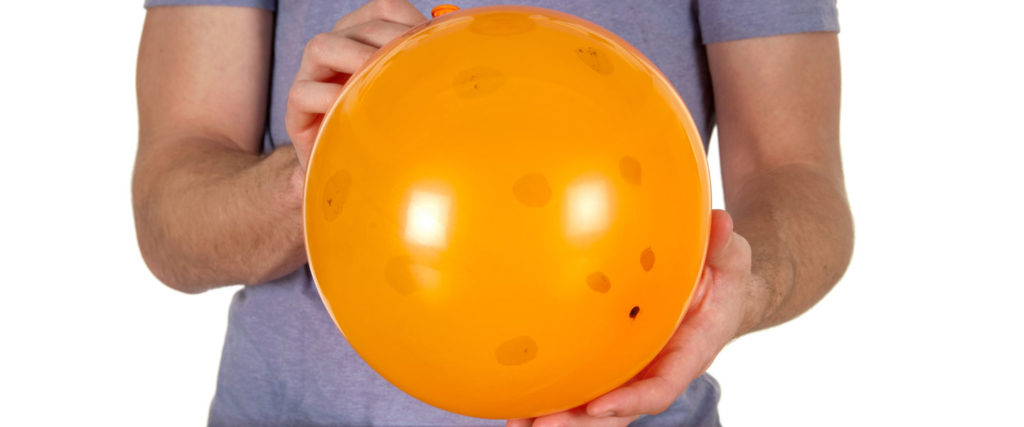
Inflate the balloon half full and tie the end. Observe the various sizes of the dots all over the balloon.
Judging from the size of the dots, where on the balloon are the latex molecules stretched out the most? Where are they stretched out the least?
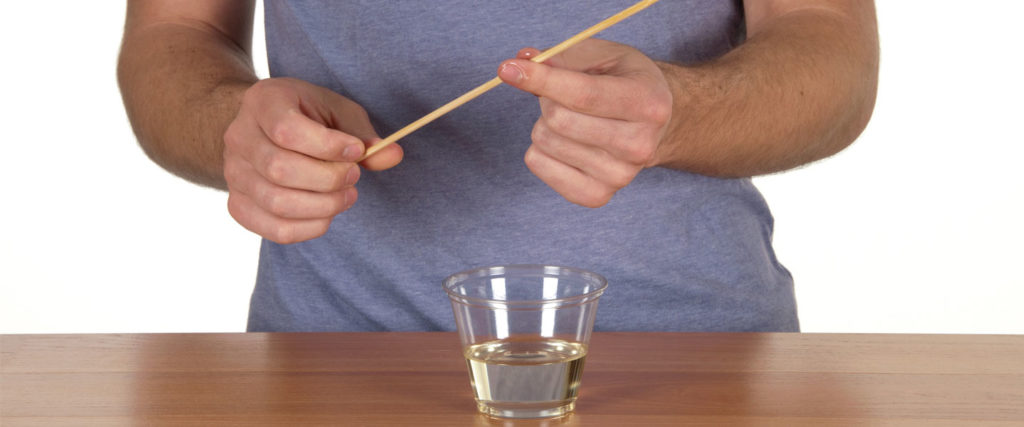
Coat the skewer with a few drops of oil or dish soap to help ease the stick through the balloon.
Use the observations that you made previously about the dots on the balloon to decide the best spot to puncture the balloon with the skewer. Of course, the object is not to pop the balloon!
The secret is to use the portion of the balloon where the rubber molecules are under the least amount of stress or strain. If you could see the rubber that makes up a balloon on a microscopic level, you would see many long strands or chains of molecules. These long strands of molecules are called polymers, and the elasticity of these polymer chains causes rubber to stretch. Blowing up the balloon stretches these strands of polymer chains.
After drawing on the balloon with the Sharpie marker, you probably noticed that the dots on either end of the balloon were relatively small in comparison to the enlarged dots in the middle section of the balloon. You’ve just uncovered the area of least stress—the ends of the balloon. You wisely chose to pierce the balloon at a point where the polymer molecules were stretched out the least. The long strands of molecules stretched around the skewer and kept the air inside the balloon from rushing out. When you removed the skewer, you felt the air leaking out through the holes where the polymer strands were pushed apart. Eventually the balloon deflated, but it never popped, right?
Trying to pierce the balloon in the middle section is nearly impossible unless you have some help from a piece of clear tape. Normally, the long chains of rubber molecules are under so much stress or tension that they tear easily with the slightest puncture. The clear tape helps to hold the rubber molecules in place, preventing them from tearing apart when the balloon is punctured. In an attempt to fool the people who know how to push a skewer through the ends of a balloon, magicians will secretly place pieces of clear tape in the middle section of a balloon to keep the balloon from popping when they puncture the balloon in this “forbidden” area. It’s just another way to make even the smartest people say, “How did you do that?”
Aside from learning about the science of polymers, the Skewer Through the Balloon activity can be used as a great way to demonstrate a life lesson on how to approach a potentially stressful situation. The key to approaching any stressful situation is to find the area of least stress and to use this as an entry point as you attempt to relieve the tension. In other words, every stressful situation has a “best point of entry” and requires a good exit strategy if you are going to be successful in diffusing the potentially volatile situation. It’s a great object lesson at any age!
Pushing a skewer through the ends of the balloon is a challenging task, but attempting the same thing in the middle of the balloon is impossible . . . unless you have a few pieces of clear tape. Blow up a new balloon and place a small piece of clear tape in the middle of the balloon. Position the sharpened point of the skewer in the middle of the tape and carefully push the end of the skewer into the balloon without popping it! Try it again, but this time use a straight pin or the sharpened end of a safety pin. What role does the tape play in keeping the balloon from popping?
It’s one of our most frequently asked questions… How do you make real slime? Ask any special effects artist about slime and you’re sure to […]
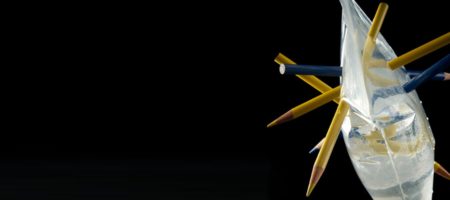
Who would have ever thought that a plastic bag, some water, and a few pencils would have adults screaming with fear? learn how to poke […]
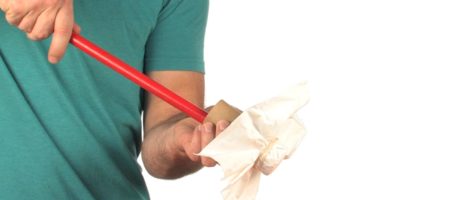
Tissues are known for a few things. For example, tissues are soft and nice for blowing your nose. Tissues are not, however, known for their tensile […]