Sharpie Pen Color Science
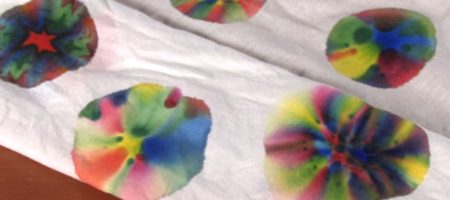
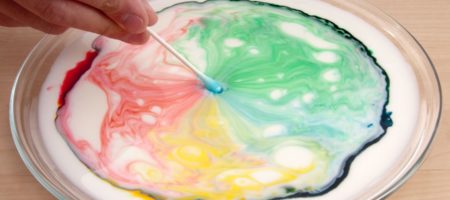
We did some research and found out there’s a fun, easy, and quick way to create tie dye patterns in an instant using markers. It’s […]
Here’s an amazing way to combine scientific principles of physics with the visual science of color mixing to create a gizmo that will have you twirling and spinning for hours. The activity isn’t just visually spectacular, it’s scientifically sound and filled with just enough open-ended curiosity that you’re bound to make many versions of the Color Mixing Wheel.
Creating the Color Mixing Wheel
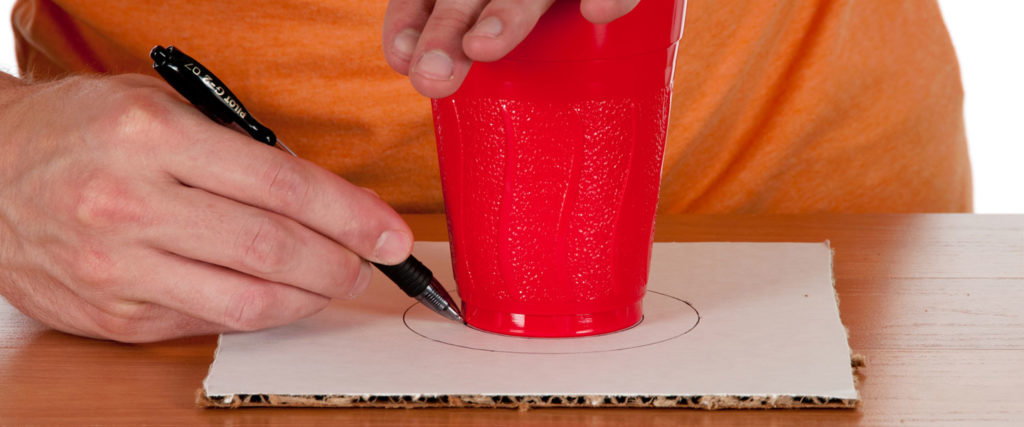
The mouth of a plastic cup works great as a template for the circle. Use the cup to trace a circle onto a piece of white corrugated cardboard. Try to get the circle to be between 4 to 6 inches in diameter.
Use the bottom of the plastic cup to trace a smaller sized circle onto the cardboard disc.
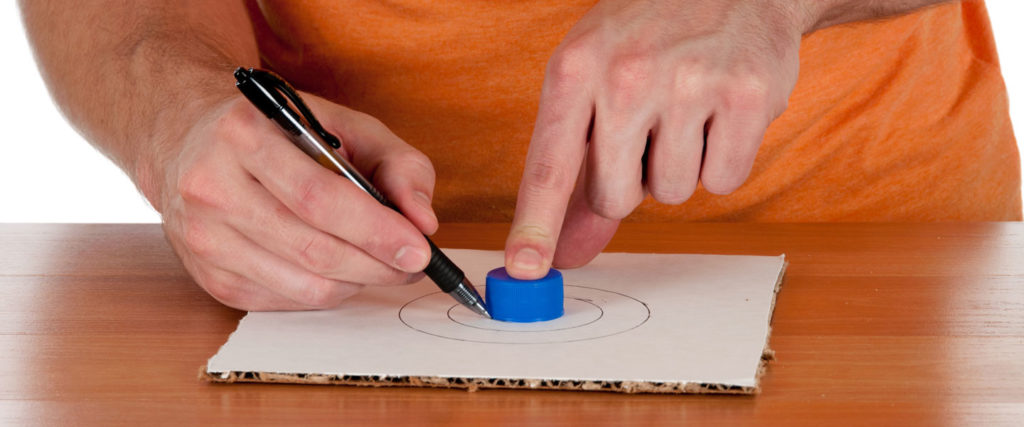
For the third circle, trace around a plastic soda bottle cap. Of course, you can use anything you want to make the circles, but the goal is to make each circle smaller than the other ones by roughly the same amount (an inch or two). Think of a colorful archery target in which the bands of red and blue and yellow are all about the same width. This will enhance the visual aspect of the experiment.
Draw a single line through the middle of the disc that spans the entire diameter of the disc. Each of the three circles in the disc should now be divided in half.
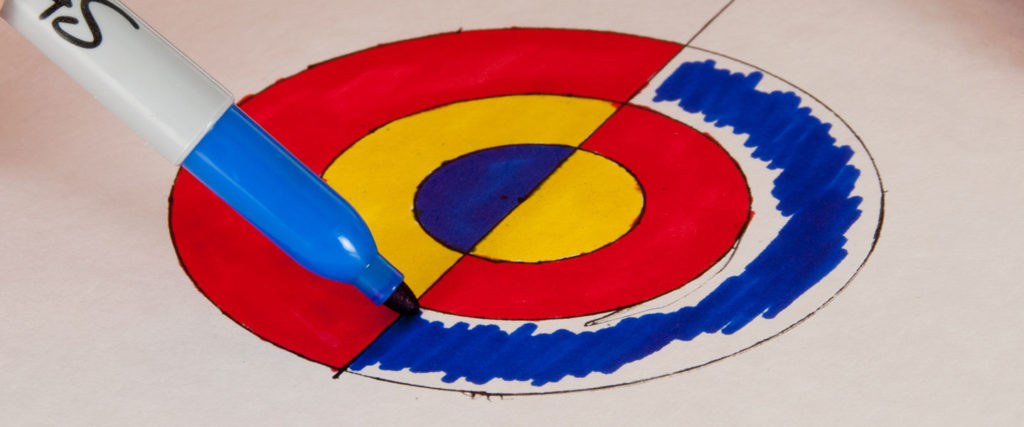
Color half of the smallest circle blue and the other half yellow. Color the middle circle half red and half yellow. Finally, color the largest circle half blue and half red.
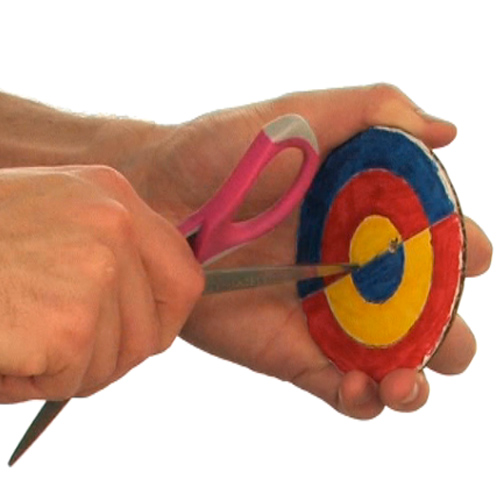
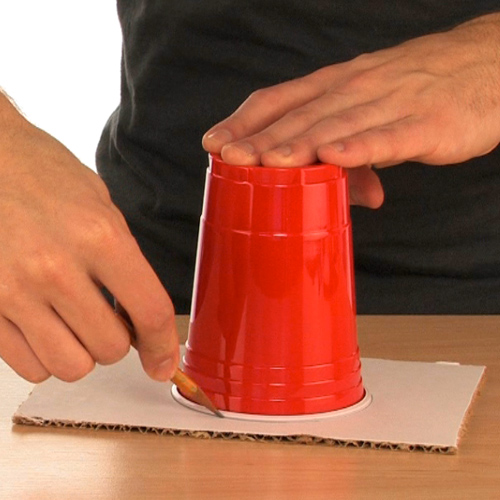
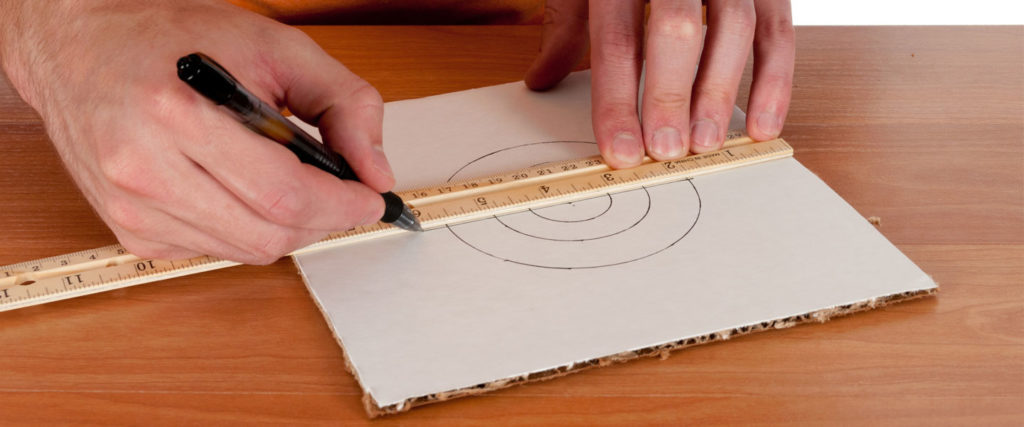
find someone who’s good with scissors for the next step. Cut out the circle, using the pointed tip of the scissors, place two holes in the cardboard disc. Use a ruler to make sure the holes are an equal distance from the center of the disc and are about 1 inch apart
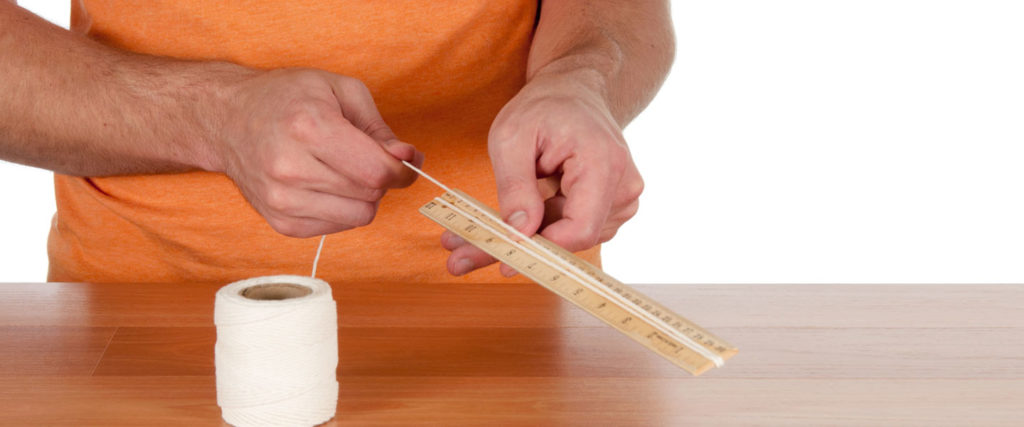
Use the scissors to cut a piece of string or yarn that is 4 feet long.
Thread the string or yarn through each of the holes in the disc and tie the ends of the string together. Make sure the knot you tie is reliable and able to withstand a substantial amount of force. You are going to be tugging pretty hard on it.
Performing the Experiment
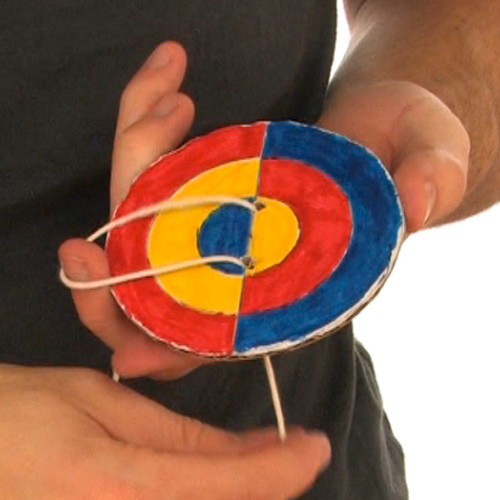
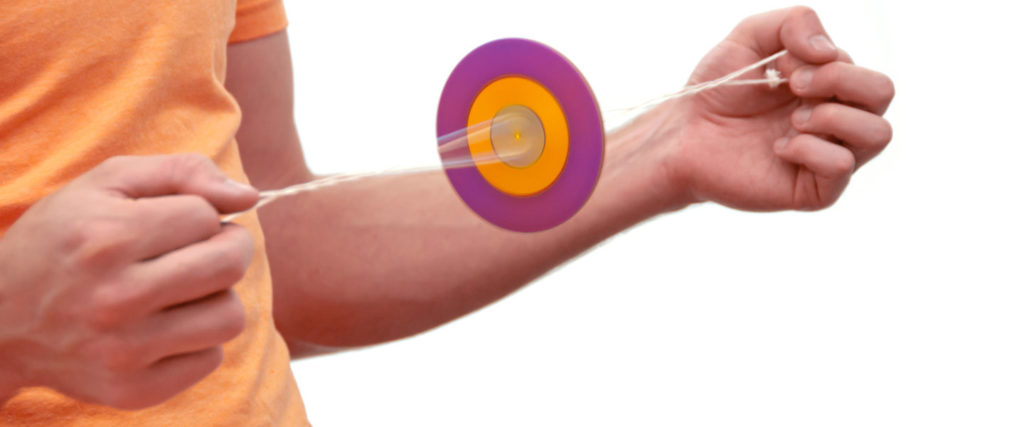
Start by holding the string on both sides of the disc with your hands. Make sure to slide the disc to as close to the center of the string as possible.
Spin the disc in a motion similar to turning a jump rope. This is a quick way to get the string wound up.
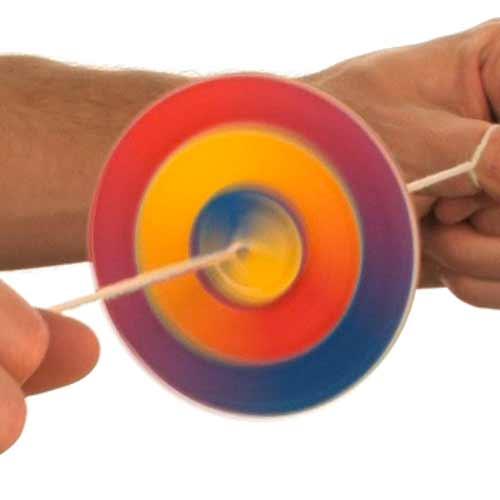
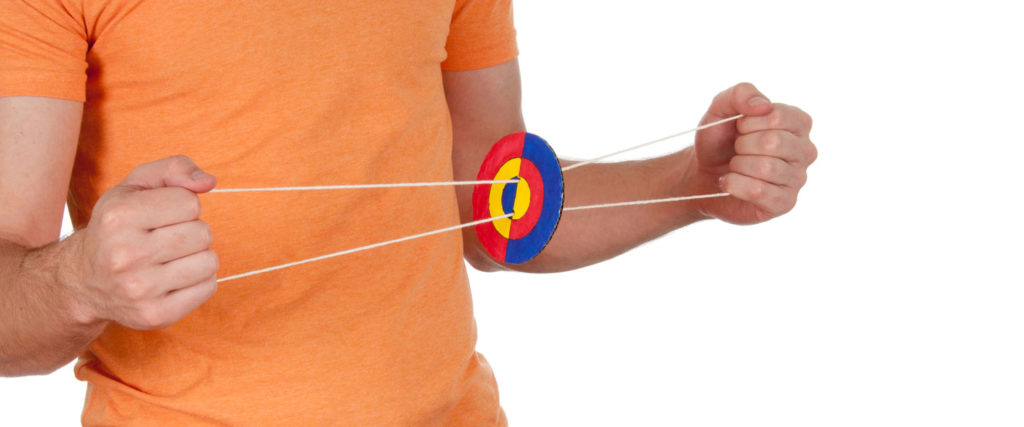
Once the string on both sides of the disc is twisted, pull the string tight to get the Color Mixing Wheel spinning. It might take a little practice to get it just right.
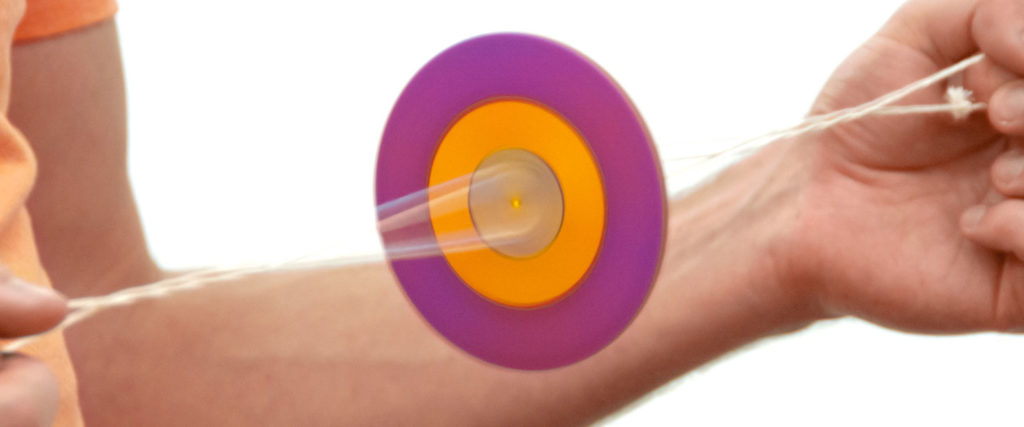
Once you have the hang of how the Color Mixing Wheel works, you’ll be able to keep it going as long as you want.
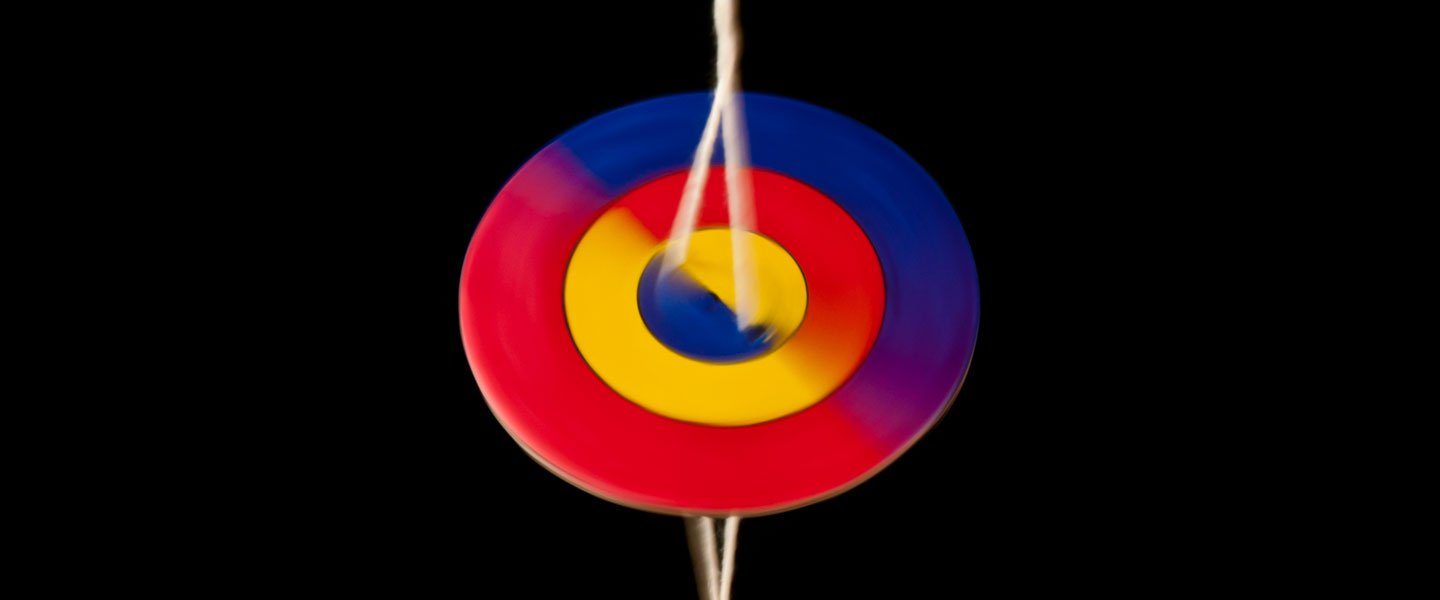
You may have noticed that the colors you put on the Color Mixing Wheel were the three primary colors: red, blue, and yellow. Once you start spinning the wheel, what do you notice about each of the three colored circles on the cardboard disc? What do you think makes this happen?
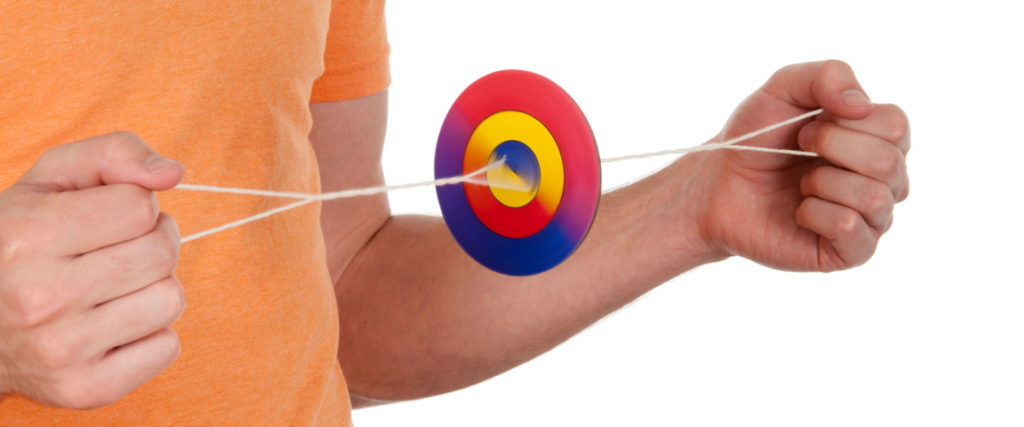
Let’s start with the visual part of the experiment—color mixing. The colors you put on the Color Mixing Wheel are the three primary colors: red, blue, and yellow. When you combine two primary colors, you get the secondary colors: purple, green, and orange. Obviously, the individual colors on the wheel are not mixing. The color mixing that happens is due to the speed at which the wheel is spinning as the string twists. The colors are spinning at such a rate that your brain is unable to process them as the individual colors that are on the wheel. Instead, your brain takes a shortcut and creates the secondary colors.
Now, why does the string continue to twist? The answer lies in physics and, in particular, momentum. Once you have the string twisted, pulling on each end causes it to go tight. When the string is pulled tight, it wants to be completely straight. In going straight, the string unwinds itself and causes the disc to spin in one direction. But the string doesn’t stop once it’s unwound. It speeds past and gets twisted again in the other direction. The momentum from pulling the string tight keeps the disc spinning until all the momentum is gone. Then you pull the strings tight again and set the disc spinning in another direction.
We did some research and found out there’s a fun, easy, and quick way to create tie dye patterns in an instant using markers. It’s […]
When Sick Science! first got its start, we introduced an experiment called the Color Mixing Wheel. This spinning science toy was a great way to […]
This unforgettable hands-on learning experience is fun and easy—no wonder it’s one of Steve Spangler’s most popular experiments! Learn how to turn this activity into […]
Candies come in all shapes and sizes. You might find spheres in all the colors of the rainbow or find tiny discs that are colored […]
What color is black? Some people answer with a simple “black,” while others respond with something like “black is the absence of all color.” If […]

Is it?… Can it be?… Why YES! There is an entirely new medium for mixing colors! Teachers worldwide have been blending primary colors into secondary […]