
Dry Ice Balloon
Blowing up balloons can be quite the task. You’ll spend a ton of time huffing and puffing while blowing your breath into the rubbery orb. […]
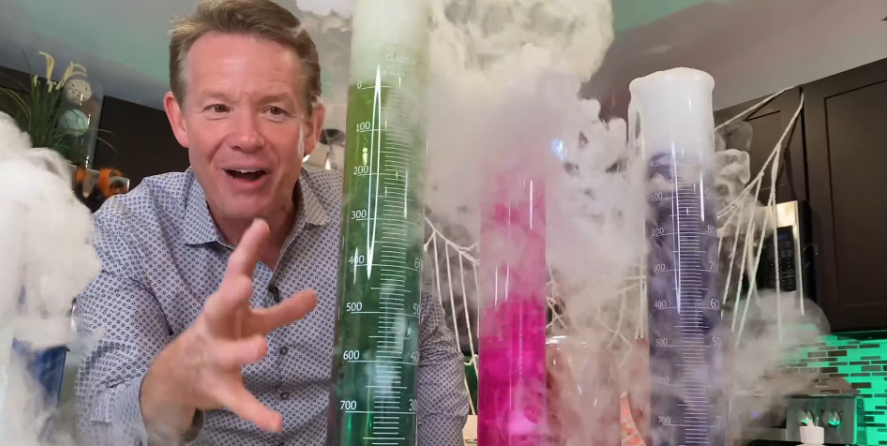
If a science activity bubbles furiously, belches clouds of water vapor while changing colors, and does it safely all at the same time, then you’ve hit the sweet spot of chemistry. With some planning and an eye on safety, you can combine materials that colorfully reveal a solution’s change from basic to neutral to acidic using leaves of purple cabbage and dry ice.
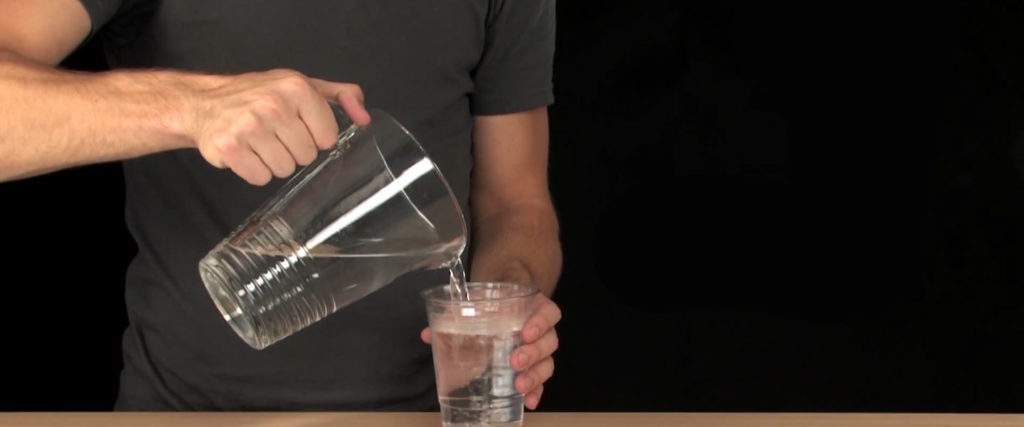
Fill one cup almost full with water.
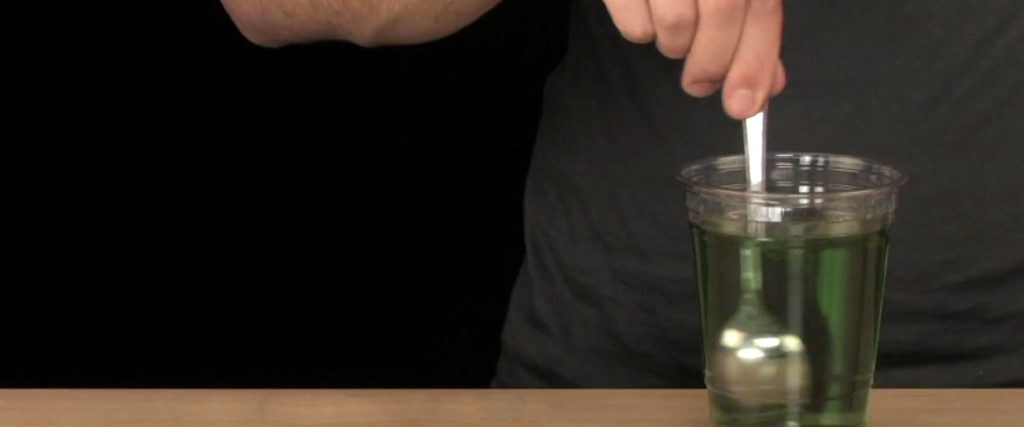
Add 1 teaspoon (5 ml) of universal indicator solution (or red cabbage juice solution) to the cup of water. Stir it.
NOTE: To make red cabbage juice solution:
a) Tear two red cabbage leaves into small pieces. Leave out the big stems.
b) Dump the pieces into a saucepan and cover with double the water.
c) Boil and stir the solution. Mash the pieces as you stir. (Hold your nose.)
d) Strain the purple solution into a shallow dish and let it cool. Add some ice cubes to cool it quickly.
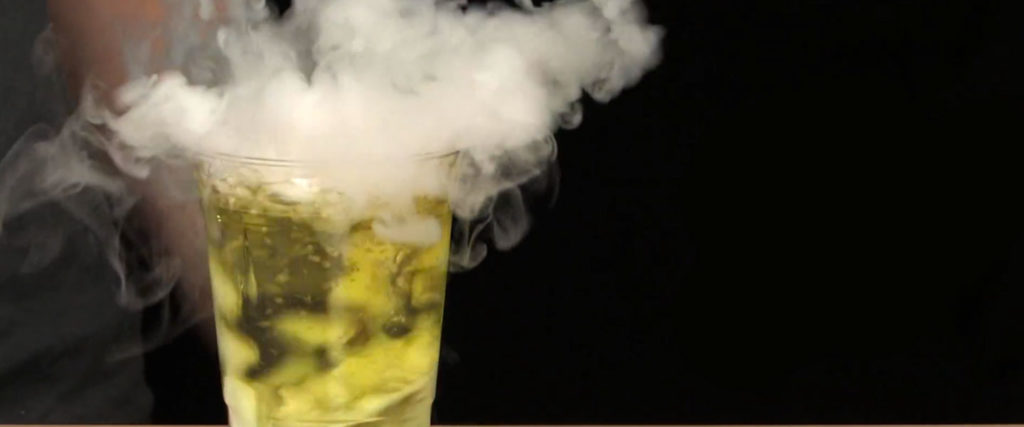
Wear the heavy gloves and add a few small pieces of dry ice to the water. Watch the bubbling, the clouds, and the color changes closely. This gives you an idea of what to expect next. Let the dry ice disappear completely.
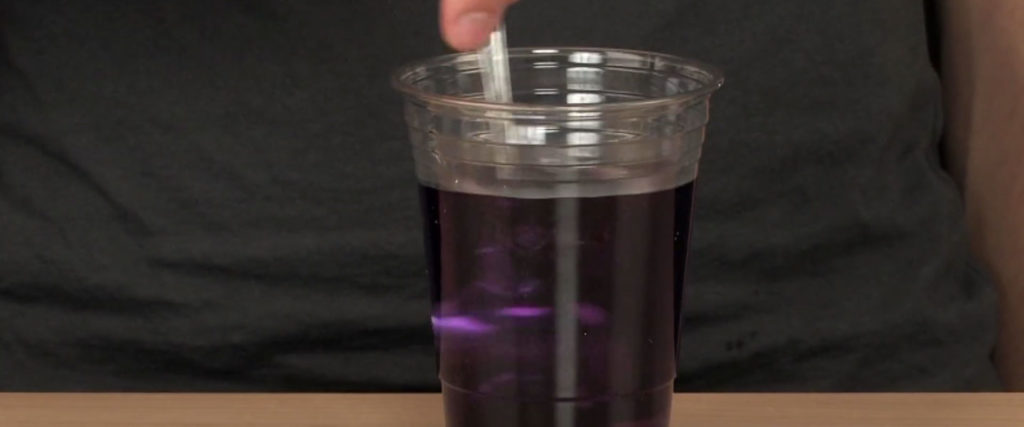
Fill the second cup almost full with water. Add 1 teaspoon (5 ml) of household ammonia and 1 teaspoon (5 ml) of universal indicator (or red cabbage juice solution) and stir. Notice any unusual color changes as you stir the solutions.
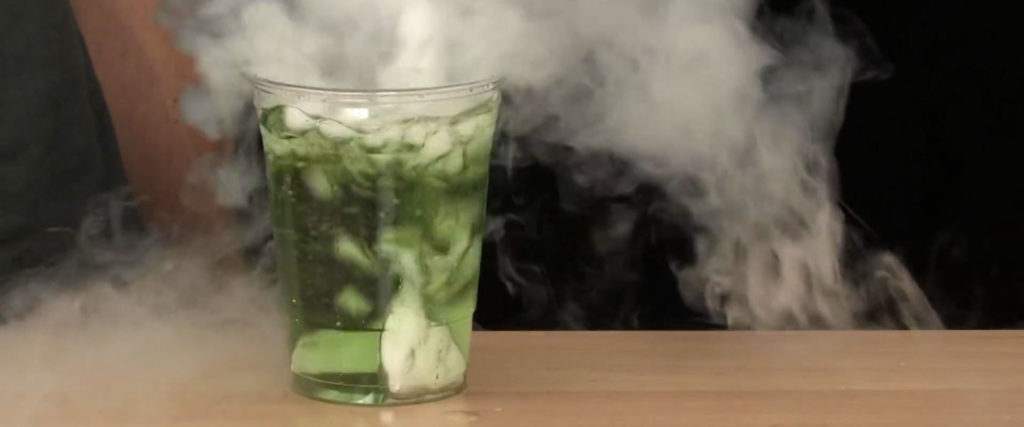
Wearing gloves again, add a few pieces of dry ice to the mixture in the cup. Watch the bubbling, the clouds, but especially the color changes closely. How do you account for the colors you see?
Chemically speaking, when you add dry ice to water, the result is a slightly acidic solution. While you can taste the tangy acidity of soda pop, you need something like universal indicator (or red cabbage juice) to actually detect the change in pH (by seeing the different colors). Remember that water usually has a neutral pH of 7.0. Acidic solutions have a pH range from 1.0 to 6.9 and basic solutions are 7.1 to 14.0. Adding dry ice to water results in a solution that has an acidic pH of about 4.5.
Universal indicator is actually a combination of many different acid/base indicators that produce different colors as the pH changes. Adding universal indicator to plain water gives you a good benchmark of the color of a “neutral” solution. Adding dry ice lowers the pH and results in a color change related to chemistry, not temperature.
Ammonia water is a basic solution (high pH). It works well for this demonstration but other bases like a weak solution of sodium hydroxide (washing soda) or sodium bicarbonate (baking soda) also work. Adding universal indicator (or red cabbage solution) to a solution of water and ammonia causes the indicator to turn a beautiful purple (a basic pH of about 11.6). Adding dry ice to this solution results in many color changes as the solution drops from basic down to neutral down to acidic.
NOTE: Whenever you use dry ice, always be aware of the rules for handling it safely.
Dry ice is not frozen water – it’s frozen carbon dioxide (CO2). Unlike most solids, dry ice does not melt into a liquid as the temperature rises, but instead, changes directly into a gas. This process is called sublimation. The temperature of dry ice is –109.3°F (-78.5°C). Dry ice is particularly useful for keeping things cold because of its temperature. Dry ice does not last very long, however, so it’s important to purchase the dry ice you need for these science activities as close as possible to the time you need it. The best place to store dry ice is in a Styrofoam ice chest with a loose fitting lid that allows the CO2 to escape as the ice sublimates.
Some grocery stores and ice companies will sell dry ice to the public especially around Halloween. Dry ice is typically sold as flat, square slabs a few inches thick or as cylinders that are about three inches long and about a half-inch thick. Either size will work fine for these experiments.
Remember the science when purchasing dry ice. Dry ice in a grocery bag will vanish in about a day. The experts tell us that, depending on weather conditions, dry ice will sublimate at a rate of 5 to 10 pounds (2.3 to 4.5 kg) every 24 hours even in a typical Styrofoam chest. So, again, it’s best to purchase the dry ice as close to the time you need it as possible. Last minute shopping is necessary. If you are planning to perform a number of dry ice demonstrations or have a lot of people involved, purchase 5 to 10 pounds (2.3 to 4.5 kg). A little dry ice does go a long way in these activities.
The first step in making dry ice is to compress carbon dioxide gas (CO2) until it liquefies while at the same time removing excess heat. The CO2 will liquefy at a pressure of approximately 870 pounds per square inch (4500 cmHg) at room temperature. Once liquid CO2 is formed, the CO2 is sent through an expansion valve and enters a pressure chamber. This pressure change causes the liquid to flash into a solid and causes the temperature to drop quickly. About 46% of the gas will freeze into “dry ice snow.” The rest of the CO2, about 54%, is released into the atmosphere or recovered to be used again. The dry ice snow is collected in a chamber where it is compressed into block, pellet, or rice-sized pieces using hydraulics. It’s complicated but really cool science – really cool.
Can you make your own dry ice? Sure, anything is possible, but it’s not practical (unless you have a huge tank of compressed CO2 sitting around and lots of extra time and equipment on your hands). For around $2 US a pound, it’s hard to beat the convenience of just purchasing it at the store.
Blowing up balloons can be quite the task. You’ll spend a ton of time huffing and puffing while blowing your breath into the rubbery orb. […]
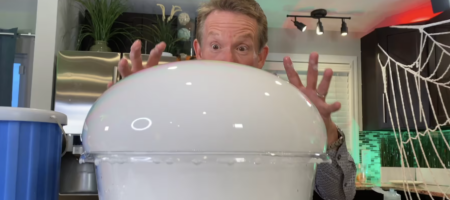
Create a soap film on the rim of a bucket and, with one other simple ingredient, you will have made the world’s coolest crystal ball. […]
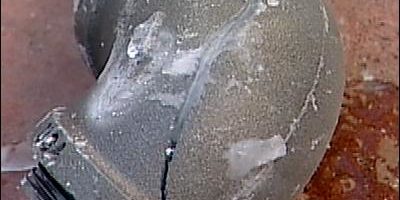
Water is a very unique liquid. Unlike almost every other substance in the world, water actually expands when it freezes. This is very cool because […]
You could use your foot, your hands, or even your head (not advised) to crush a soda can. But nothing compares to the fun you’ll […]
You know that materials have different densities. For a perfect, amazing example of how to demonstrate these different densities, check out our 9 Layer Density […]