DIY Slime - The Real Recipe
It’s one of our most frequently asked questions… How do you make real slime? Ask any special effects artist about slime and you’re sure to […]
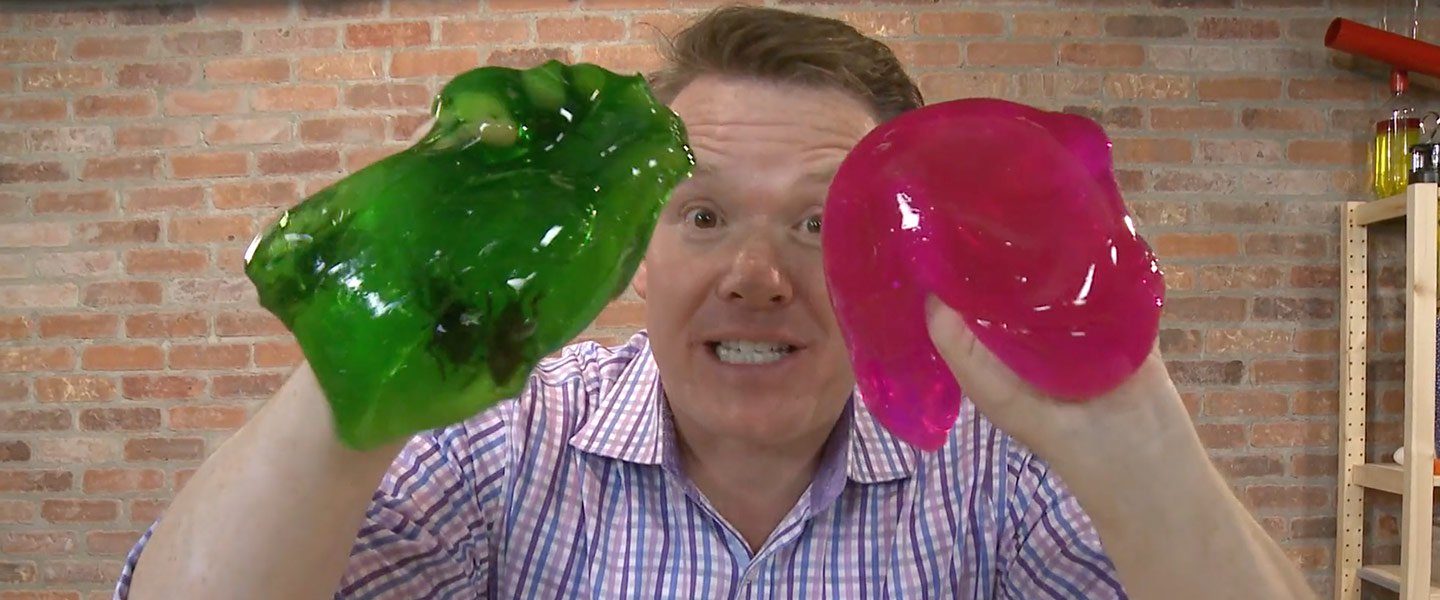
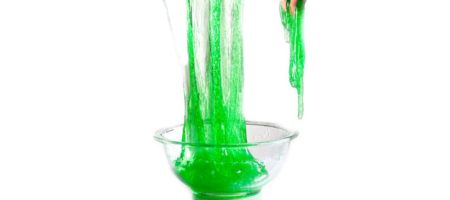
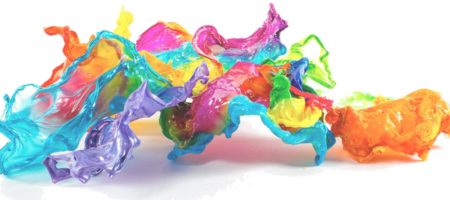
Expert slime makers agree that Elmer’s glue makes the best DIY slime. However, there are some tricky variations that can turn your slime from just ho-hum to amazing. Steve Spangler shares his best recipes to make slime stringy, snotty, runny, gooey, bumpy or even magnetic. This popular version of do-it-yourself Elmer’s slime is easy to make, clean (mostly), and a great tool for studying the properties of polymers.
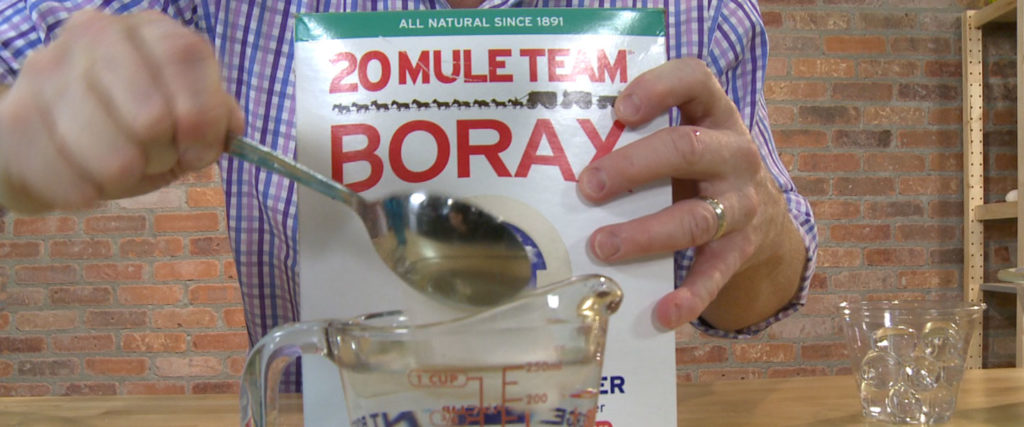
Mix approximately 1 tablespoon of borax with one cup (237 ml) of water. Stir it so the borax dissolves completely.
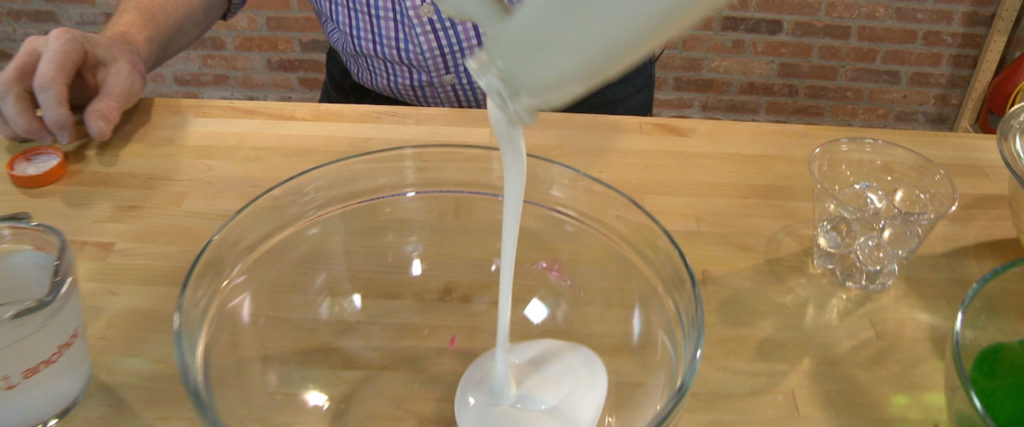
In the large mixing bowl, add as much white glue as you’d like. Just leave enough room in the bowl to add borax solution.
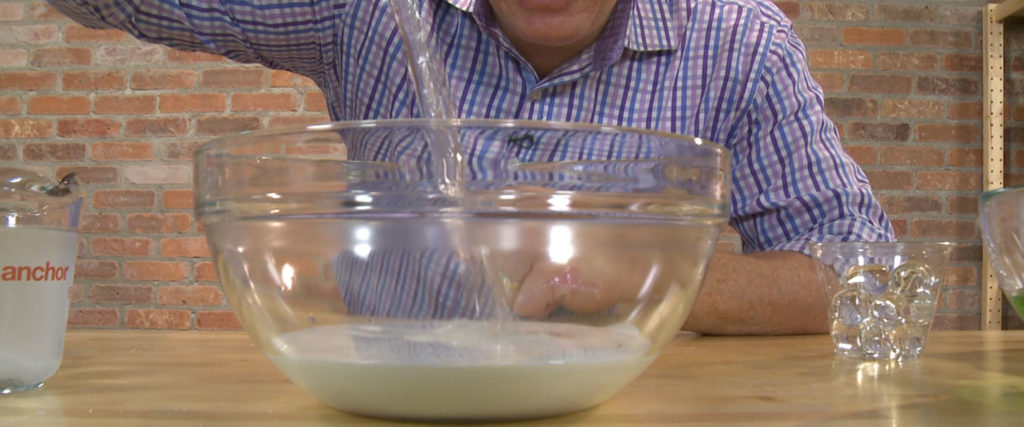
Add water to the mixing bowl with the white glue. Use the same amount of water as glue. Hint: If you used a full 8 oz (237 ml) bottle of glue, just fill it with water, swirl it to mix any extra glue, and pour it in. That’s the perfect amount of additional water.
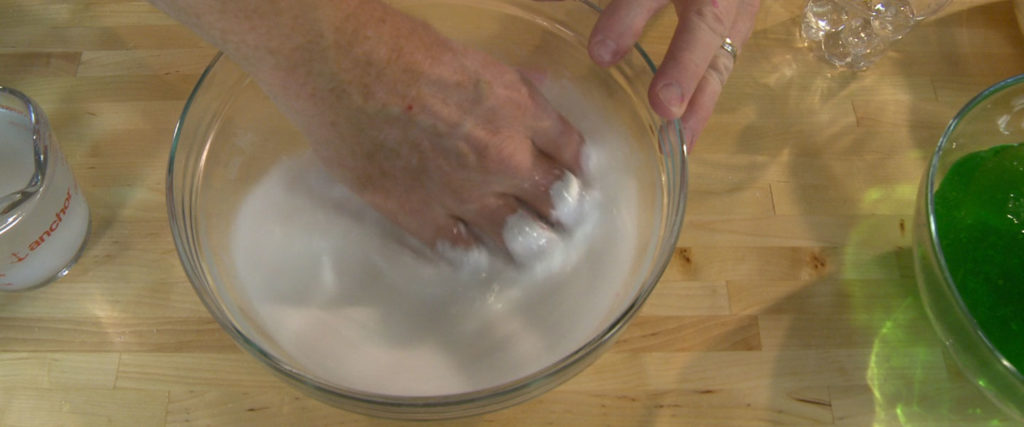
Wash your hands! (You don’t want dirt and germs in your new slime before you’ve even made it.) It’s time to get messy in the name of science. Use your hands to mix the water and the glue solution in the bowl.
If you want colored slime, now’s the time to add a few drops of food coloring. Not too many because a few go a long way here.
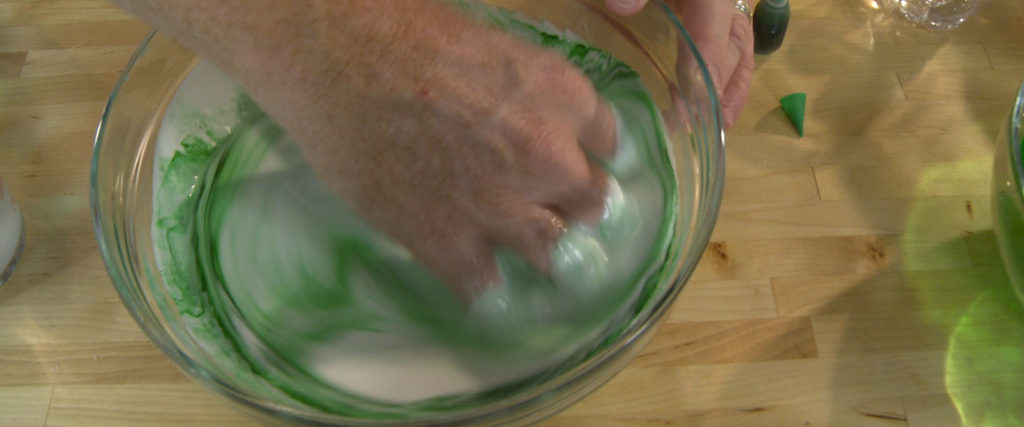
Mix it together with your (clean) hands so the color is even throughout the mixture.
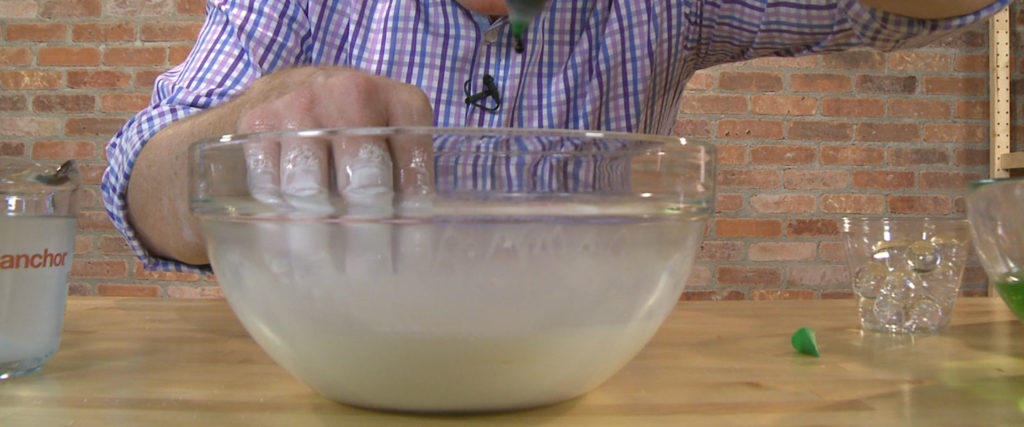
So you’re probably thinking, “This is way too sticky to be slime.” It is because you haven’t added the final ingredient yet.
Add just a little bit of the borax solution at a time and keep mixing as you do. Adding the borax gradually gives you the consistency of slime you want in the end. It may take several additions to get it, too.
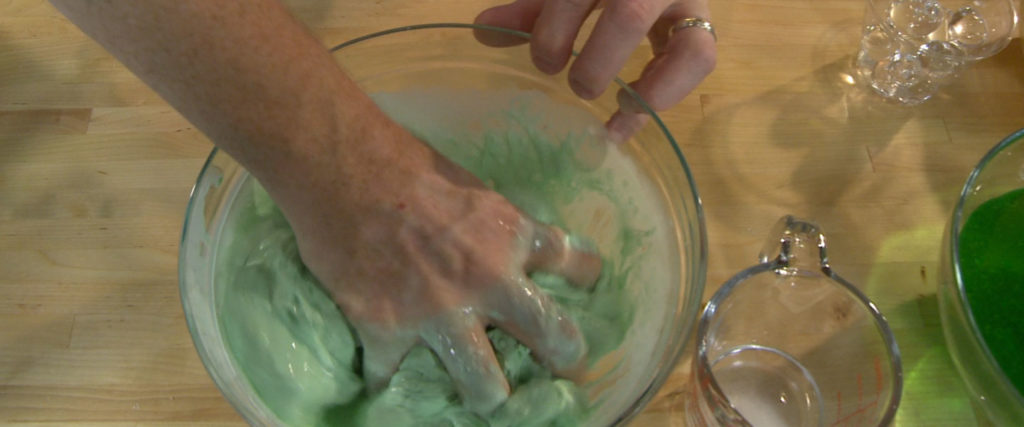
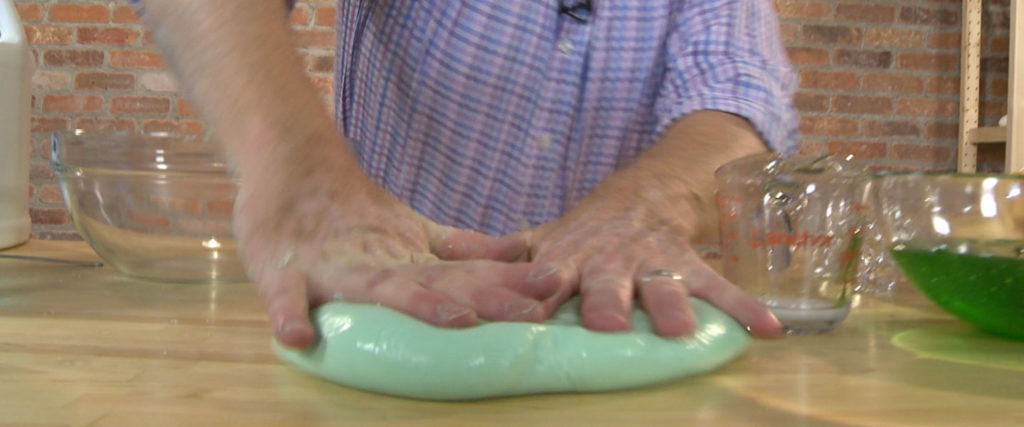
Keep kneading and working the goo until it has a smooth consistency throughout. It should start sticking together a little like bread dough. When you get the slime you want, take it out of the bowl and play with it – uh, that is, explore its properties – on the plate or in the baggie. Be careful to not get any on the carpet. The food coloring will stain fabrics.
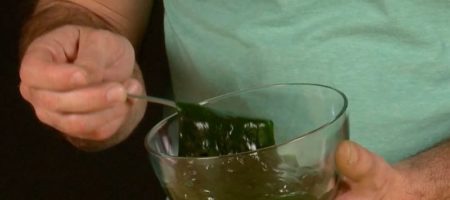
If you want to mix in alien eggs or any other surprises you’ve worked up, here’s where you add them.
When you’re done learning as much as you want with your slime, just bag it up and throw it away in the trash. Luckily, you’ve got lots of Borax left to make it again and again, too!
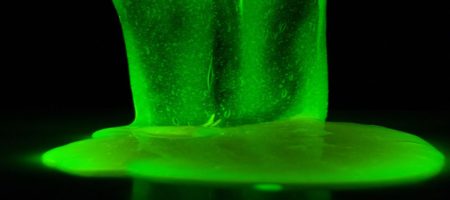
The solution of school glue with borax and water produces a putty-like material that’s elastic and flows very slowly. The glue is actually made of a polymer material. In simplest terms, a polymer is a long chain of identical, repeating molecules. You can use the image of tiny steel chains to understand why this polymer behaves the way it does. Each link in a chain is a molecule in the polymer and one link is identical to another. When the chains are in a pile and you reach in to grab one, that’s what you get: one. If you dump them on the floor, they’re not connected to each other so they spread out everywhere like water. The strands flow over each other like the liquid glue in the bowl. Something caused a change, however.
Let’s say you toss a few trillion tiny, round magnets into the pile of steel chains. Now when you reach in to grab one strand, you grab hundreds because the magnets have linked the strands together. If the molecules stick together at a few places along the strand, then the strands are connected to each other and the substance behaves more like a solid. Sodium tetraborate is the chemical in borax that linked the polymers in the glue to form the putty-like material. This process is called cross-linking.
The only way to make a thicker or a runnier slime using white glue is to add more or less borax solution as you mix it together. You can’t just add water to make it runnier. This means you can make a variety of test consistencies of slime in several cups and figure out proportions of ingredients for the one(s) you need or like best. Then all you do is scale-up the formula to the quantity you want to have/need.
This slime flows and the speed of the flowing depends on the viscosity of the mixture. A thick, gooey slime has a high viscosity and flows slowly. A low viscosity slime spreads out evenly and fairly quickly. Place a glob on a fingertip or the corner of a desk to determine the viscosity of your slime. You know what to do to change it, too.
If you make a batch that you absolutely love, you can keep it in the fridge for a little while. The reminder to wash your hands before and after making and using your slime is to keep dirt, germs, and goobers out of it for as long as possible. Eventually, it will have to be tossed into the trash, however. It is very easy to make more, though!
The blob you made reminds a lot of people (mostly older people, too) of a toy that was very popular in the last half of the 20th Century. Binney & Smith, the makers of Crayola, bought the rights to Sill Putty® in 1977 and it’s still on the market today.
In 1943 James Wright, a chemical engineer, was attempting to create a synthetic rubber to help the war effort during WWII. He was unable to achieve the properties of rubber he was looking for and put his creation on the shelf. He did entertain friends with it and after the war, a salesman for the Dow-Corning Corporation used the putty to entertain some customers. One customer saw that the putty had potential as a new toy and “Silly Putty” was introduced in 1950. In 1957, after being advertised on the kids’ shows “The Howdy Doody Show” and “Captain Kangaroo”, Silly Putty became a toy fad. Recently, new uses such as a grip strengthener and an art medium have been developed for it. Silly Putty went into space on the Apollo 8 mission and has seen the inside of the Smithsonian as well.
The polymers in Silly Putty have covalent bonds within the molecules, but hydrogen bonds between the molecules. The hydrogen bonds are easily broken. When low amounts of energy are slowly applied to the putty by twisting or pulling it, only a few bonds are broken and the putty stretches or “flows.” When higher amounts of energy are applied by yanking quickly and hard, there are many hydrogen bonds that break, causing the putty to break or tear.
The same thing applies to the slime you just made, too. Try it!
It’s one of our most frequently asked questions… How do you make real slime? Ask any special effects artist about slime and you’re sure to […]
There’s a good chance you’ve (1) already worked with magnets and (2) made slime many times. It’s a good bet you haven’t done it at the same time, […]
Slime is a staple of Halloween, chemistry, and science, in general. What could be better than stretching a glob of goo between your hands or […]

Making slime is super easy if you know the secret recipe. Too much or too little of either solution and you’ll get something that looks […]
We all know that playing with slime is one of the best things in the world. But, what do you do when you’re done. You […]
Welcome to make-the-best-slime-in-the-world boot camp with a spooky Halloween twist. Ask any special effects artist about slime and you’re sure to hear the term polyvinyl […]