How to Make Slime - Elmer's Glue Recipes
Expert slime makers agree that Elmer’s glue makes the best DIY slime. However, there are some tricky variations that can turn your slime from just […]

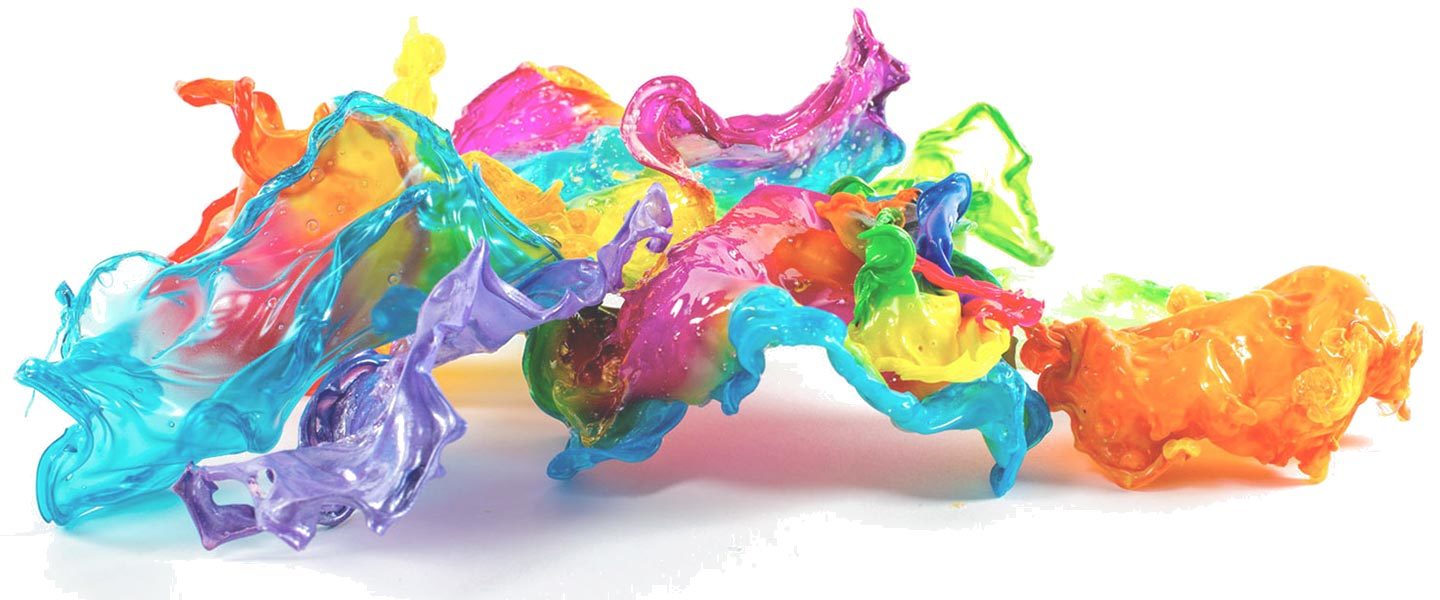
We all know that playing with slime is one of the best things in the world. But, what do you do when you’re done. You can put it into a zip-lock bag and save it for later, or you can make Slime Art. What exactly is Slime Art? Well, once you leave slime out to dry it will turn into an amazing piece or sculpture.

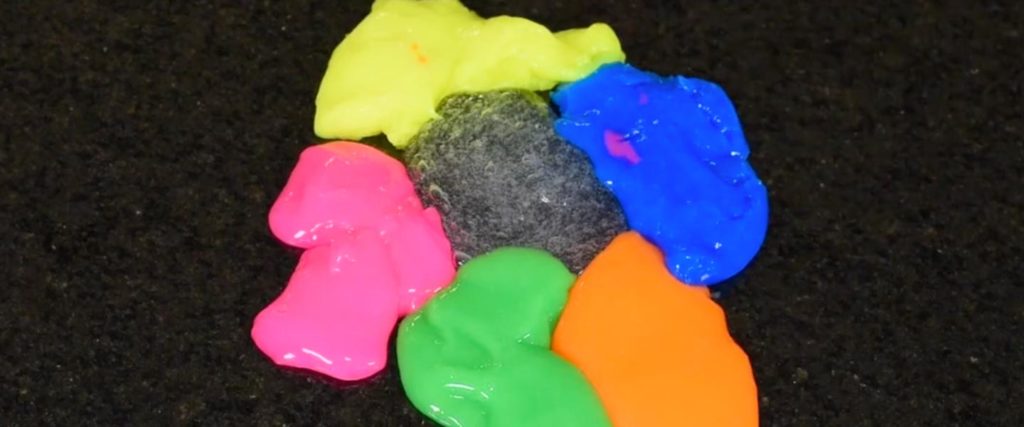
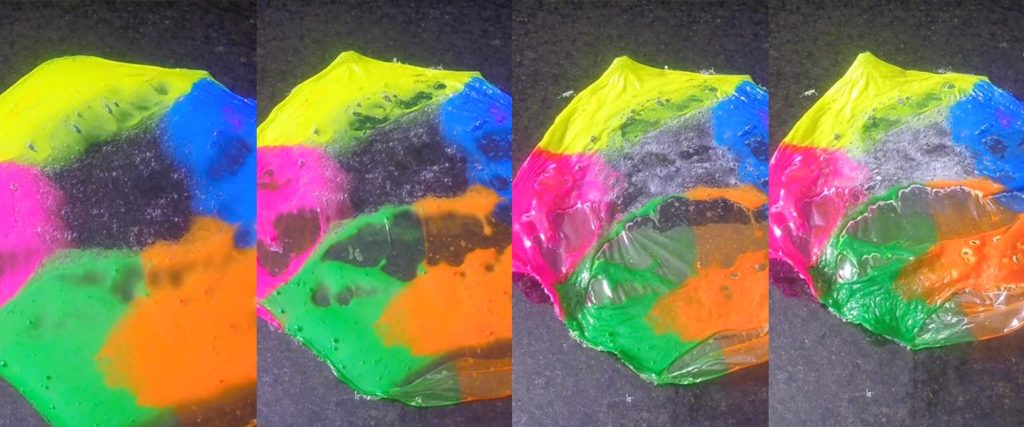
Take a blob of slime and lay it out on a flat non porous surface, for example a granite counter top, a laminated surface or even a glass table. Slowly press down on the slime to make it thin. If you have multiple colors of slime try pressing them together, they will blend together during the next step.

Let the drying process begin…this can take anywhere from 2-4 days depending on the humidity level of your location. In Colorado, we have extremely low humidity levels so the slime will dry a bit quicker.
Use a fan. If you use a fan to blow on the slime it also will dry much faster and make it wavy.
Once your slime has started to dry on the edges you can slowly lift up the edge to allow more airflow.
When slime dries the water and PVA alcohol are slowly evaporating, however the color of the slime maintains. If you’re using clear slime the final piece of art will look like bent glass.
Try different environments to dry your slime. Does a humid environment change the final results? Does using a fan quicken the drying process? Does spreading out the slime thin vs thick change the look of the art? Even if you can’t find a suitable Science Fair Connection you can enter your Slime Art into an art show.
While slime is safe to experiment with, always wash your hands after use.
Make sure your slime is drying on a large enough surface that as it initially spreads out, it does not end up on the floor.
[optin-monster slug=”khpahbaf0tixs2wnkzl4″ followrules=”true”]