
Amazing 9 Layer Density Tower
With this science magic trick, you’ll put a new spin on our famous Seven-Layer Density Column demonstration. First, you’ll discover how to stack seven or […]
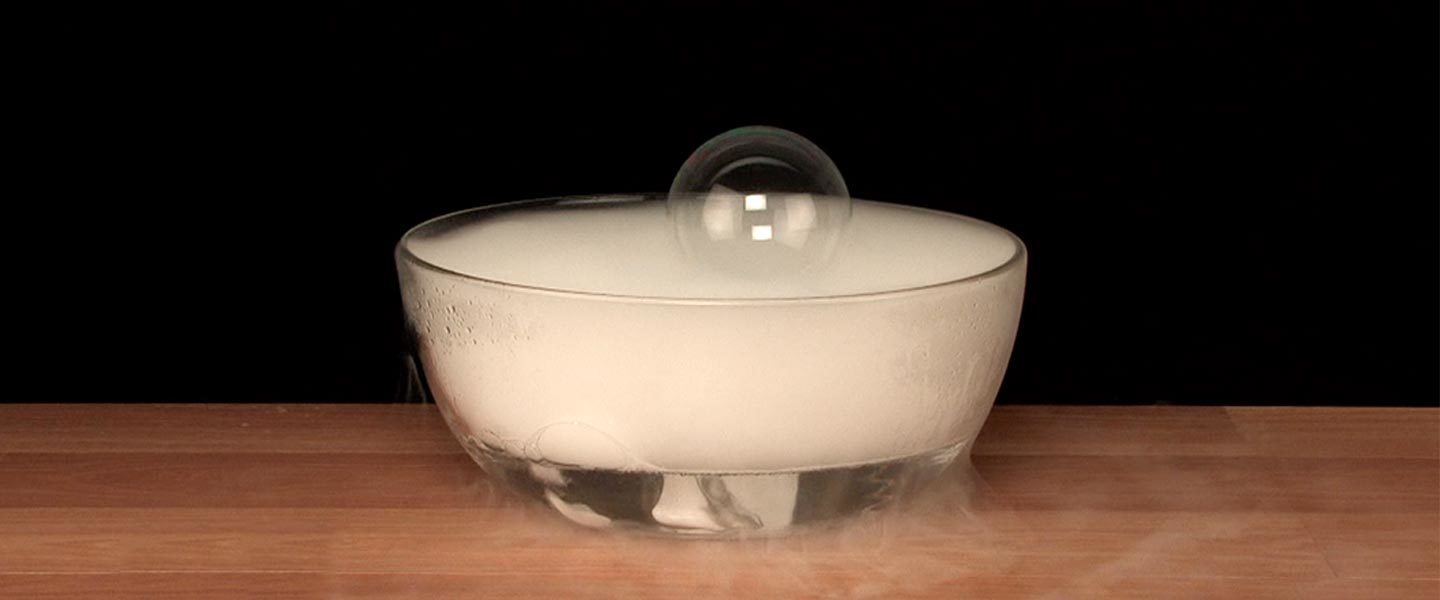
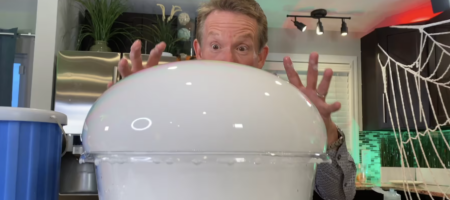
Exploration into the fascinating world of dry ice is never boring, and the same goes when you add in some bubbles! Bubbles will float on dry ice vapor.
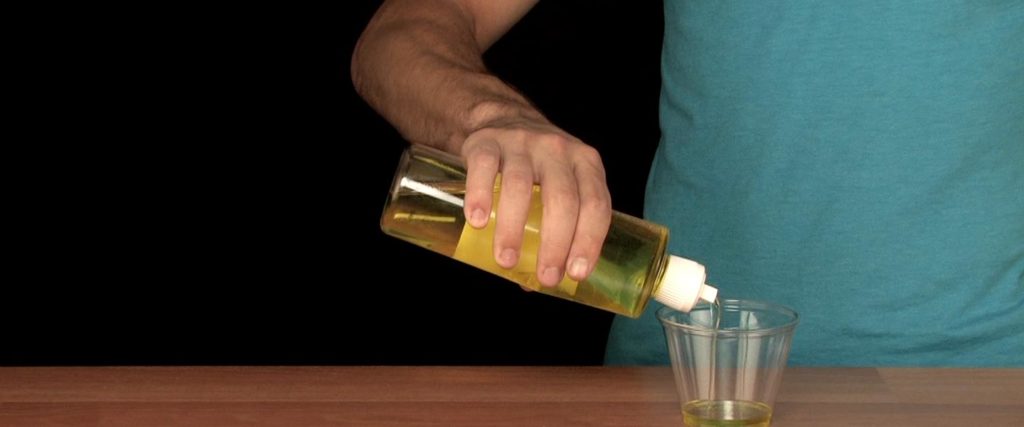
In the small cup, add some dish soap.
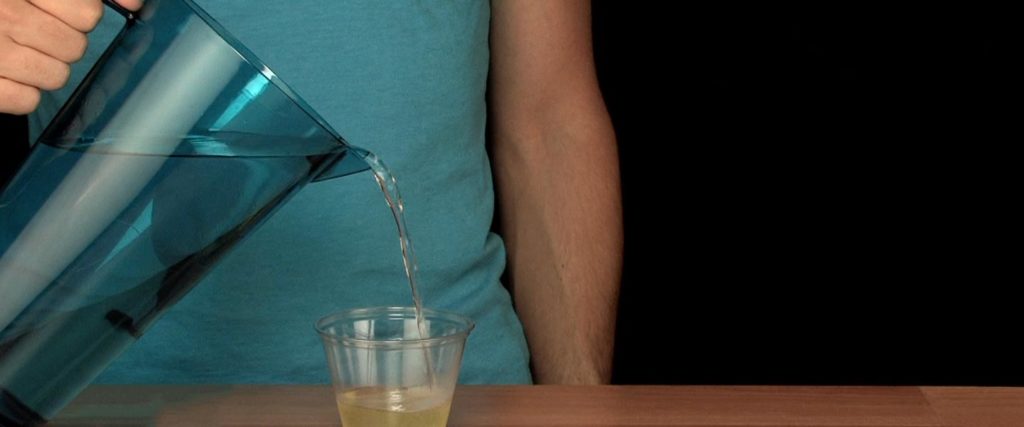
Add water to the small cup with dish soap and stir it up!
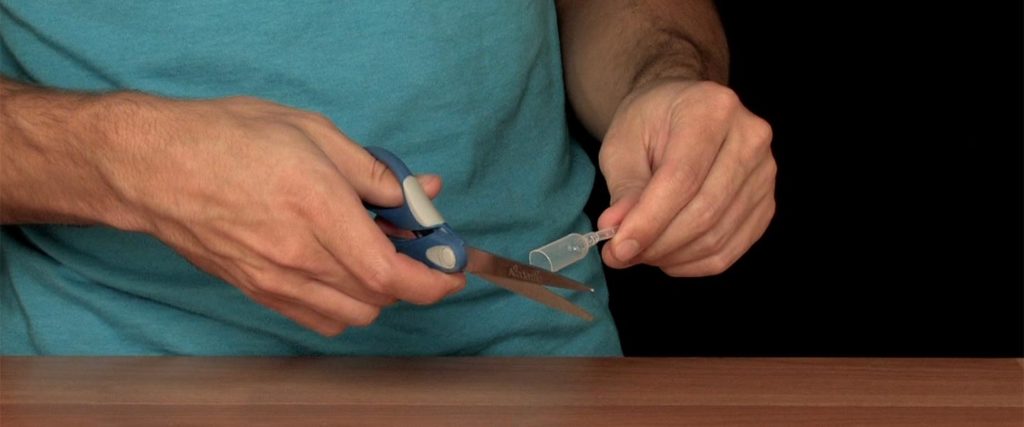
If you don’t have a bubble blower, simply cut off the top of a pipette.
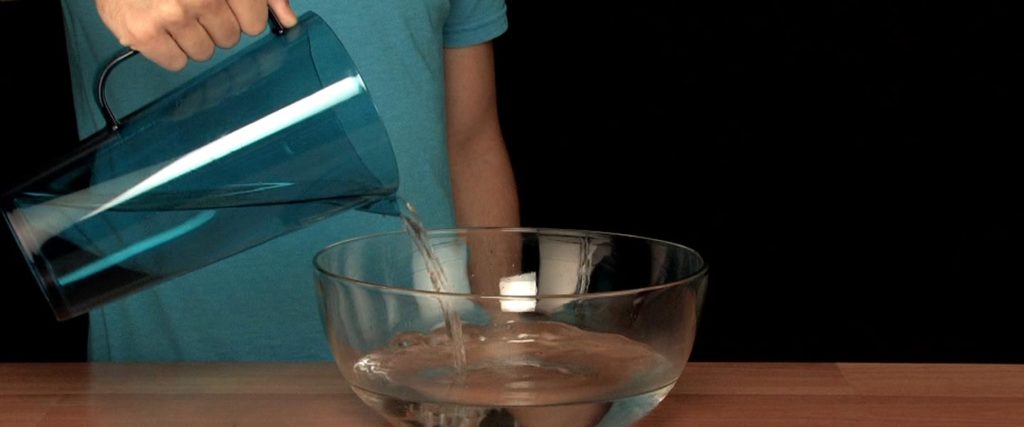
Pour warm water into a large, clear plastic bowl until about an inch of warm water covers the bottom of the bowl.
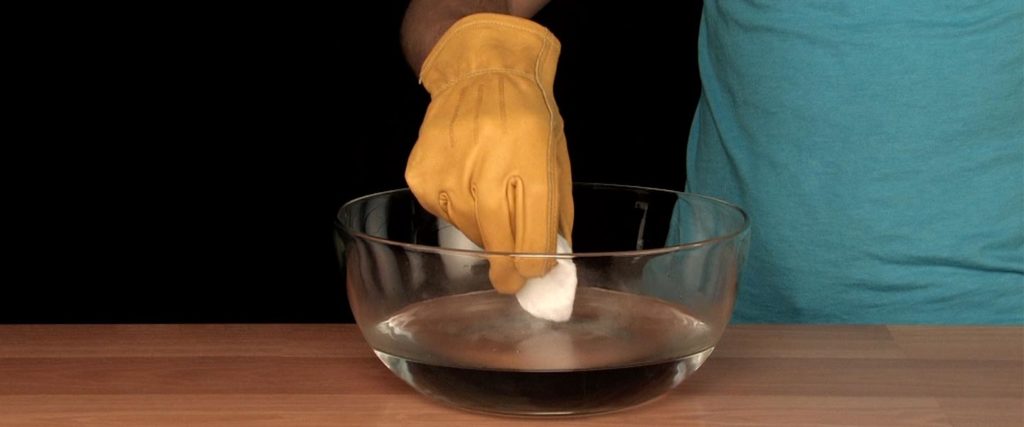
Use gloves or tongs to add a few pieces of dry ice to the warm water in the bowl. Take a second to observe the effect that is created when warm water and dry ice mix.

Using a bubble wand and some bubble solution, blow a few bubbles into the bowl.
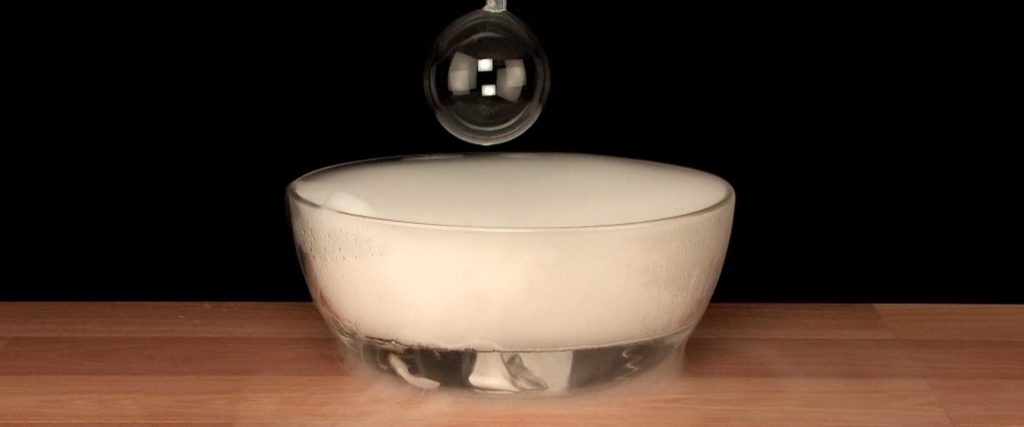
Once you get a bubble into the bowl, watch as the bubbles float on the sea of smoke!
You noticed that when you added dry ice to the water, a cloud of carbon dioxide and water was produced. But unlike smoke from a candle or fire, the dry ice smoke doesn’t float. Instead, it settles onto the ground or, in this case, on top of the water. Why is that? The smoke is actually a combination of carbon dioxide gas and water vapor. This gaseous dry ice smoke is heavier than the air around it, so it sinks in the air rather than rising.
The same relation between air and dry ice smoke explains why the bubbles float on top of the dry ice smoke. The air exhaled into the bubble is less dense than the gases comprising the dry ice smoke, but slightly heavier than the air surrounding the bubble. So although the bubble doesn’t float in the air, it does float on the heavier dry ice smoke.
NOTE: Whenever you use dry ice, always be aware of the rules for handling it safely.
Dry ice is not frozen water – it’s frozen carbon dioxide (CO2). Unlike most solids, dry ice does not melt into a liquid as the temperature rises, but instead, changes directly into a gas. This process is called sublimation. The temperature of dry ice is –109.3°F (-78.5°C). Dry ice is particularly useful for keeping things cold because of its temperature. Dry ice does not last very long, however, so it’s important to purchase the dry ice you need for these science activities as close as possible to the time you need it. The best place to store dry ice is in a Styrofoam ice chest with a loose fitting lid that allows the CO2 to escape as the ice sublimates.
Some grocery stores and ice companies will sell dry ice to the public especially around Halloween. Dry ice is typically sold as flat, square slabs a few inches thick or as cylinders that are about three inches long and about a half-inch thick. Either size will work fine for these experiments. When you need to break it into smaller pieces, wear goggles and gloves and be sure to cover it so tiny pieces don’t go flying in all directions.
Remember the science when purchasing dry ice. Dry ice in a grocery bag will vanish in about a day. The experts tell us that, depending on weather conditions, dry ice will sublimate at a rate of 5 to 10 pounds (2.3 to 4.5 kg) every 24 hours even in a typical Styrofoam chest. So, again, it’s best to purchase the dry ice as close to the time you need it as possible. Last minute shopping is necessary. If you are planning to perform a number of dry ice demonstrations or have a lot of people involved, purchase 5 to 10 pounds (2.3 to 4.5 kg). A little dry ice does go a long way in these activities.
The first step in making dry ice is to compress carbon dioxide gas (CO2) until it liquefies while at the same time removing excess heat. The CO2 will liquefy at a pressure of approximately 870 pounds per square inch (4500 cmHg) at room temperature. Once liquid CO2 is formed, the CO2 is sent through an expansion valve and enters a pressure chamber. This pressure change causes the liquid to flash into a solid and causes the temperature to drop quickly. About 46% of the gas will freeze into “dry ice snow.” The rest of the CO2, about 54%, is released into the atmosphere or recovered to be used again. The dry ice snow is collected in a chamber where it is compressed into block, pellet, or rice-sized pieces using hydraulics. It’s complicated but really cool science – really cool.
Can you make your own dry ice? Sure, anything is possible, but it’s not practical (unless you have a huge tank of compressed CO2 sitting around and lots of extra time and equipment on your hands). For around $2 US a pound, it’s hard to beat the convenience of just purchasing it at the store.
Did you know that dry ice is often mixed with regular ice to save shipping weight and extend the cooling energy of water ice? Dry ice gives more than twice the cooling energy per pound of weight and three times the cooling energy per volume than regular water ice.
With this science magic trick, you’ll put a new spin on our famous Seven-Layer Density Column demonstration. First, you’ll discover how to stack seven or […]

Bubbles are cool, but bubbles filled with fog are even more cool. Just imagine the cool factor going up tenfold if you could bounce and […]

I remember as a kid diving to the bottom of the swimming pool to retrieve unopened cans of soda pop. Our parents tossed the unopened […]
Create a soap film on the rim of a bucket and, with one other simple ingredient, you will have made the world’s coolest crystal ball. […]