Amazing 9 Layer Density Tower
With this science magic trick, you’ll put a new spin on our famous Seven-Layer Density Column demonstration. First, you’ll discover how to stack seven or […]
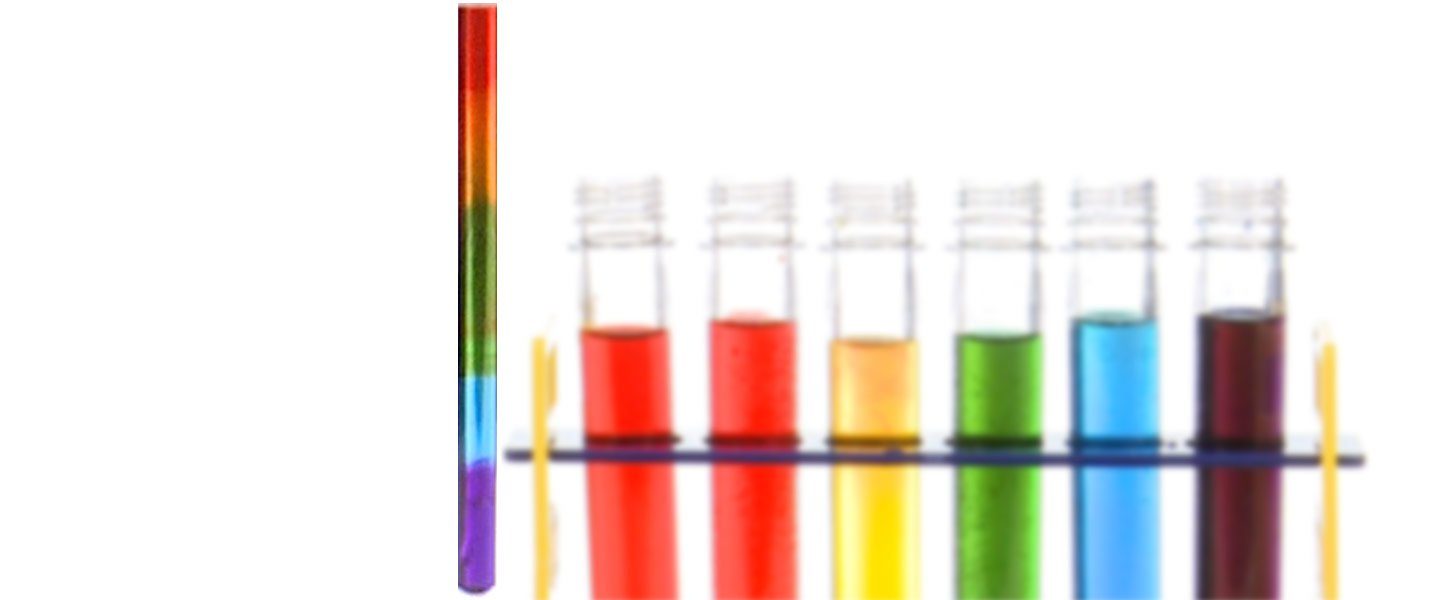
Density can be a difficult scientific property to grasp. With that in mind, we found a way to make the science of density a colorful, fun, and (most importantly) simple experience! This project is the epitome of kitchen science. You’ll use kitchen-safe materials to make science accessible and fun. It’s quite the kid-friendly experiment when you create a colorful experience that will have young scientists understanding density in moments.
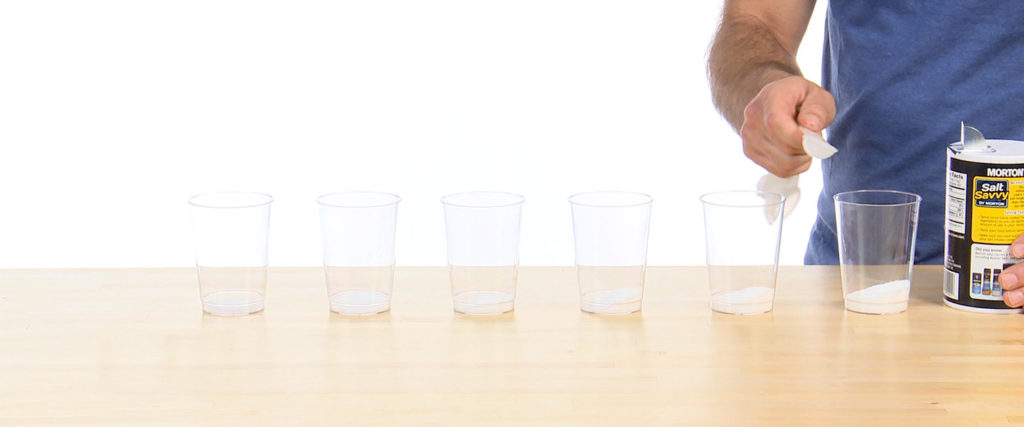
Using small cups (9 oz works great), put 1 tsp of salt into Cup #1, 2 tsp of salt into Cup #2, 3 tsp in #3, etc. up to #6. Label each cup.
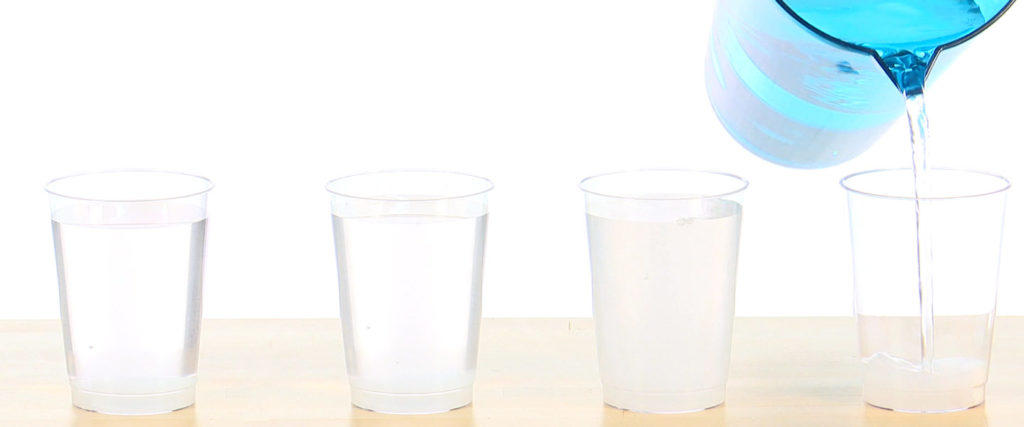
Add about 9 oz of warm water to each cup. Stir the salt and water solution until all of the salt has completely dissolved.
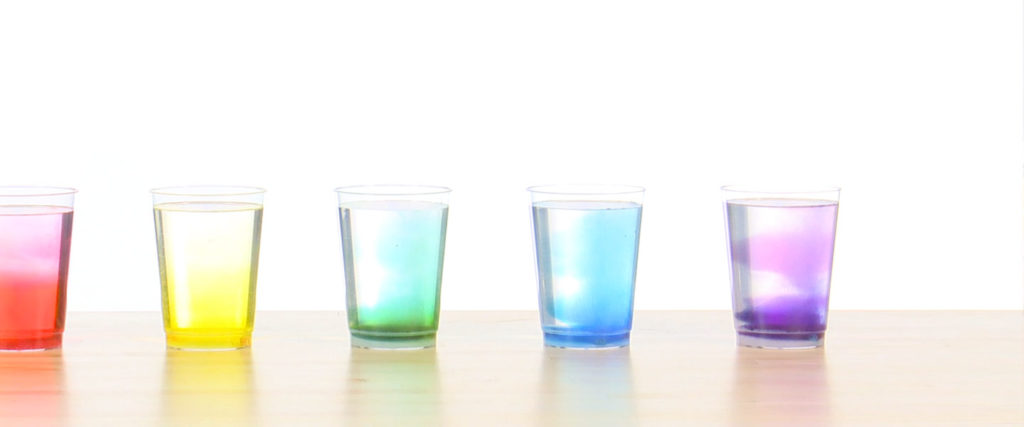
Use the food coloring to dye the solutions in each cup a different color. If you want to make a rainbow of colors then add the following combinations of color to each cup.
Add red to cup #1, red and a yellow to Cup #2, yellow to Cup #3, yellow and blue to Cup #4, blue to Cup #5, and blue and red tablet to Cup #6.
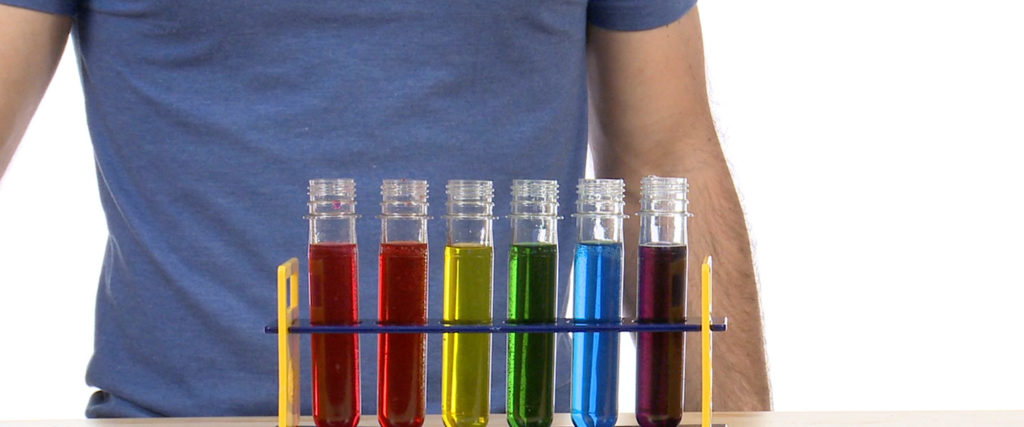
Carefully transfer the liquids to the six tall containers like Baby Soda Bottles, and place them in order from #1-6.

Grab a clear drinking straw. Keeping both ends open, dunk the bottom end of the straw about 1 inch into the liquid of the “1 tsp” solution. Cap the top of the straw firmly with your thumb and remove the straw from the solution.

Now that you have the first solution in the straw, dip the end of the straw into the “2 tsp” solution. This time, dip the straw about 1 inch deeper than you did into the first solution. After you’ve dipped the straw, lift your thumb and replace it.

Continue the dipping process until you have all six colored solutions inside the straw. It’s a density column of salt water!
Density is the measurement of how much “stuff” is packed into a measured space. Nearly every substance and material imaginable has a different density. This is especially true for the six solutions you made using salt and water. By increasing the amount of salt in the solution but keeping the amount of water constant, you create solutions that have increasing densities. The more salt that is mixed into a measured amount of water, the higher the density of the solution. As the Density Straw shows, a solution with a low density stacks on top of a solution with a higher density.
So, density explains why the solutions stack on top of each other inside the straw, but what keeps the solutions in the straw? You might expect the solutions to just fall out of the straw as you lift the straw from a solution. However, because of cohesion (similar molecules attracting each other) and adhesion (different molecules attracting each other), there is surface tension sealing the water at the bottom of the straw. The surface tension is strong enough to help hold the solutions in the straw as long as air pressure inside the straw is lower than all the air pressure outside the straw. Gravity tugs the solutions downward which creates a slight vacuum in the empty part of the straw. That lowers the air pressure inside the straw which is why you need your thumb to cap the straw. This prevents air pressure from equalizing in the straw. If you remove your thumb, the air pressure equalizes, and gravity simply moves the colored solutions out.
What would happen if you added the layers to the straw in reverse order? How about if you went completely out of order and added colors from #1, then #3, then #5?
You may have mastered the Liquid Layers experiment, but now it is time to turn this experiment into a science fair project. You can make it one simply by identifying a variable (something that might change the outcome) in the experiment, then testing that variable, and correctly reporting the results.
These are just a couple of ideas, but you are not limited to just them! Come up with different ideas of variables to test and give them a try. Remember, you can only change one variable at a time for each test. For example, if you are testing different liquids, make sure that all other factors in the test remain the same!