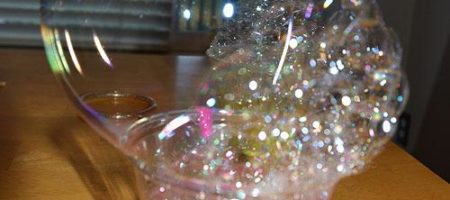
Bubble Inside a Bubble
There’s something amazing about a bubble. True, it’s just a little puff of air trapped inside a thin film of soap and water but its […]
Everyone agrees that bubbles are totally cool. At Spangler Science, we love bubbles and will help you make all kinds and shapes and sizes of bubbles. You can blow them, bounce them, and even play catch with them. In this activity, we’ll show you how to make a giant bubble that’s over 3′ (1 m) high. Once you know the secret behind these monster bubbles, you can make one large enough to surround a friend!
Dawn® is a registered trademark of Proctor & Gamble, Cincinnati, OH, USA.
Depending on it’s size and depth, fill the wading pool with about 2″ (5 cm) of water. (NOTE: Distilled water is best for bubble making but tap water will work fine, too.) Add an amount of Dawn dish soap equal to about a third of the water amount.
Stir the mixture gently to avoid making it foamy and full of bubbles. FACTOID: Bubble solution improves with age. If possible, leave the mixture in the open, uncovered, for at least a day before using it. This will allow the bonds in your bubble solution to “strengthen” and that means better bubbles. Your patience will be rewarded!
For tougher, longer lasting bubbles, you can add glycerin at this point. Perfectly good bubbles can be made without adding glycerin, but it slows evaporation of water on the surface of a bubble. That makes a bubble stronger and more likely to last longer. You won’t need to add very much glycerin, either.
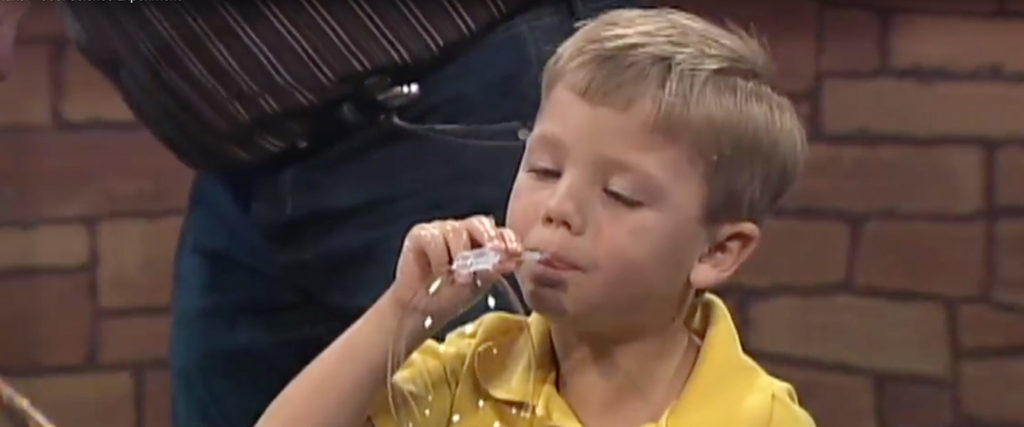
The Pipette Bubble Blower
The perfect bubble blower you can use is masquerading as a pipette. Snip the rounded, bulb end (the end you squeeze) off of the pipette. Dip this end into the bubble solution and blow through the skinny end of the pipette. You’ll get a perfect bubble nearly every time! (To find out how to bounce and catch that bubble you’ve made, see our Bouncing Bubble Experiment.) The problem is, of course, these are NOT giant bubbles.

Making a Bubble Wall
Grab the PVC pieces and thread the string through both. Tie the ends of the string together and slide the knot into one of the pipes.
Hold one piece and the pipes should be separated by about 3′ (1 m). Soak the entire contraption in the bubble solution and slowly lift it out. You will find that the bubble solution grabs onto the string and the pieces. It looks like a wall made out of bubble film!
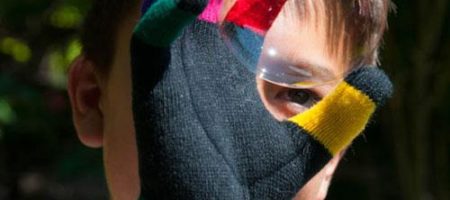
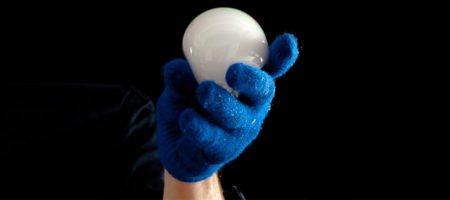
If you blow lightly into the bubble film, it bulges outward. Slide a dry hand into the bubble wall. It pops! Moisten your hand in the bubble solution first to coat it with solution and try it again. It goes right through the film without breaking the wall!
Grab a small hoop. You will have a bubble that you can put your hand through or even blow out smaller bubbles.

Giant Bubbles
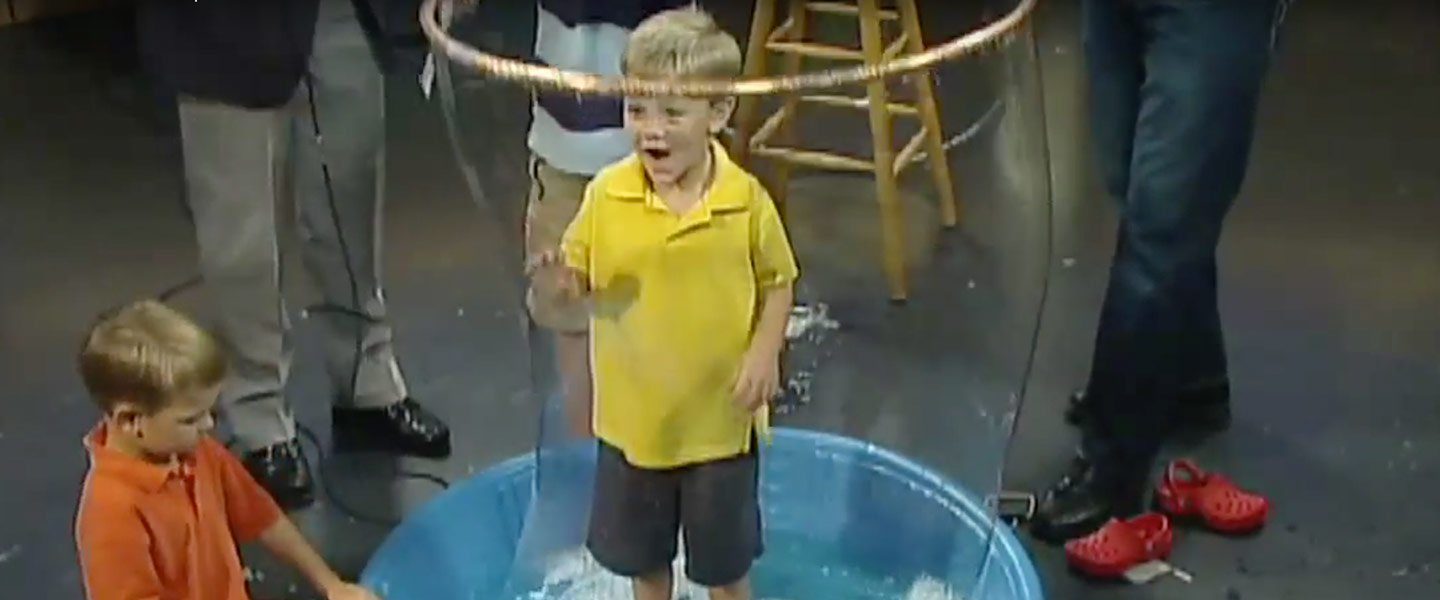
Place a large hoop in the bottom of the pool. Ask a brave volunteer to “lose the shoes” and to step into the center of the hoop in the soap solution.
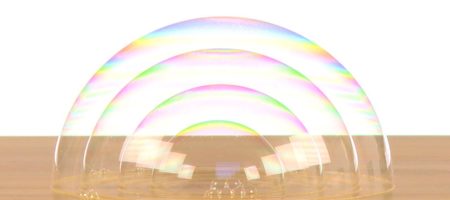
Slowly, and with a steady hand, lift the hoop straight up. Lift the hoop to the top of your volunteer’s head. Before anyone can blink, your volunteer is “trapped” inside a human-sized bubble wall!
Bubbles form because of surface tension of water that comes from atoms attracting each other. Hydrogen atoms (a negative charge) in one water molecule are attracted to oxygen atoms (a positive charge) in another water molecule. They like each other so much that they cling together and don’t want to separate. This causes “surface tension” which allows some insects to “walk” on water and paper clips to float on it. It’s just the water molecules clinging to each other electrically and providing a “surface” on the water.
The bubble solution is mostly water, of course, but the dish soap is a vital ingredient. Strangely, soap molecules chemically ruin surface tension but in so doing, they stabilize water molecules so that they can easily move and “stretch” into a spherical shape. Without soap, bubbles would be destroyed as the water molecules quickly link back together (try blowing long-lasting bubbles in plain water). Soap molecules also reduce evaporation on the surface film of the bubble. It’s evaporation that pops a bubble faster than almost anything else.
So, why do bubbles usually come out as round? Physicists will tell you that bubbles “enclose a maximum volume of air with a minimum amount of surface area” and a round surface does that with the least stress. Nature isn’t lazy, just smart. A water drop, a bubble, and the Sun are all nearly perfect spheres (the Earth is slightly fatter around its equator than it is from pole to pole so it’s “spheroid” or “like” a sphere). A sphere has the smallest surface area for the volume inside it which means the soap film can be the same thickness over its entire surface. It’s a very stable shape.
When you stuck your dry hand into the soap film of the bubble wall, it instantly popped. Oils, dirt particles, and other goobers on your skin broke the bonds of the film and it disappeared. When you coated your hand with bubble solution first, the oils on your skin were covered and the film of the bubble wall clung to solution and not your skin. The film didn’t break up as easily.
About the Ingredients
Water – The single most important part of the bubble solution is the water. Good quality water that does not contain high levels of iron, minerals, or purification chemicals is best. If you’re uncertain as to the quality of your tap water, invest in distilled water from the grocery store and use a smaller wading pool or container.
Soap – When it comes to dish soap, Dawn® just seems to work the best for homemade bubble solutions. Of course, a scientist will test a variety of other kinds of soaps to make sure. You’ll want to avoid using dish soaps that contain antibacterial ingredients.
Glycerin – Glycerin is the secret additive that gives a bubble extra strength because it slows down evaporation. Good quality glycerin can be pricey. Remember, you only need a small amount. (Note: Some bubble recipes suggest substituting clear Karo Syrup® for glycerin.)
A bubble’s worst enemies are oil and dirt and gravity. A bubble will usually bounce off of a surface free of oil or dirt particles that would normally cause a break in the thin soap film of the bubble. The problem with gravity and evaporation is that, due to gravity, the water film gets very thin (down to a millionth of an inch) on the top surface as time passes. It finally gets too thin to hold onto itself and the wall collapses completely.
Similar to the way we perceive the colors in a rainbow or on an oil slick in water, we see colors on a bubble through the reflection and the refraction of light waves from the outer and inner surfaces of the water layer in the film. The rainbow colors and dark lines you see on the bubble are the result of how the wavelengths of light are mixing after they leave the bubble. You can’t “color” a bubble since its wall is only a few millionths of an inch thick and the water layer between the soap layers is only a few molecules of that. A bubble will also reflect light and colors from its surroundings.
There’s something amazing about a bubble. True, it’s just a little puff of air trapped inside a thin film of soap and water but its […]
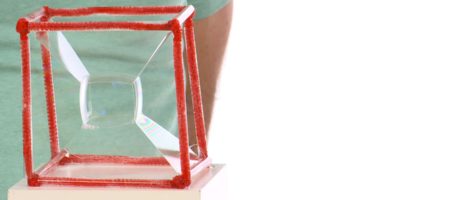
Soap bubbles that are not spherical are unusual and they don’t happen without a little help. Nature is funny like that. Square bubbles are easy to […]

With the Bouncing Bubble, that little puff of air trapped in a thin soap film will bounce. What?!?! It’s true! These bubbles are formulated to […]
The key to great bubbles is in the bubble solution. The best homemade bubble solution is made with glycerin and dish soap and allowed to […]
Bubbles are cool, but bubbles filled with fog are even more cool. Just imagine the cool factor going up tenfold if you could bounce and […]
We are often asked about coloring bubbles. No matter how you color bubbles, bubbles will always appear clear. If you mix a little bubble solution […]