
Brown Sugar Homemade Ice Cream
Food always tastes better when it’s homemade, and the same is true for ice cream. We went out and got some brown sugar from Imperial […]
Like most sodas, root beer is a combination of really good water, sugar, some flavorings, a little color, and a bit of carbonation using carbon dioxide gas (our old friend CO2). You can make your own batch a couple of different ways, too. This method is pretty simple and will get you started in the bottling business with some tasty brew to use in a root beer float. If you get serious about it, up your game with a kit that uses an entirely different technique to make an even better root beer.
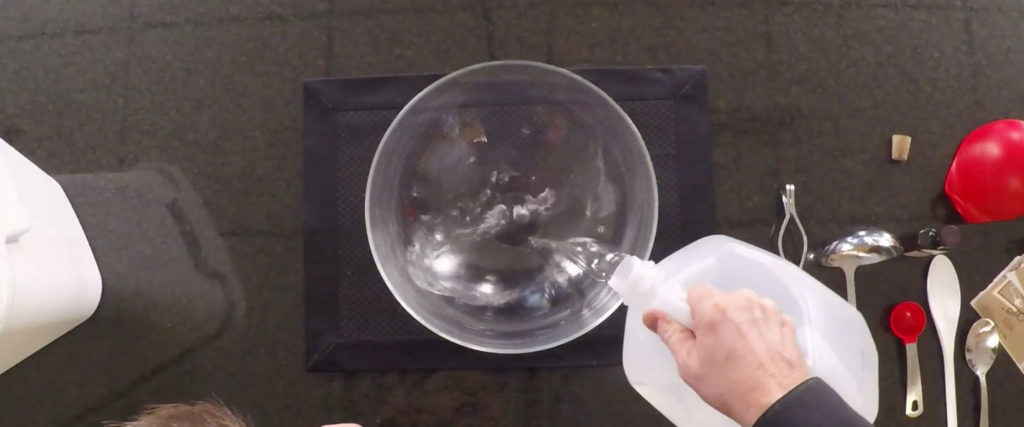
It really matters what kind of water you use for your root beer. Distilled is best because there’s very little of anything in it but water (See Additional Information below.).
Pour the water into the large bowl.
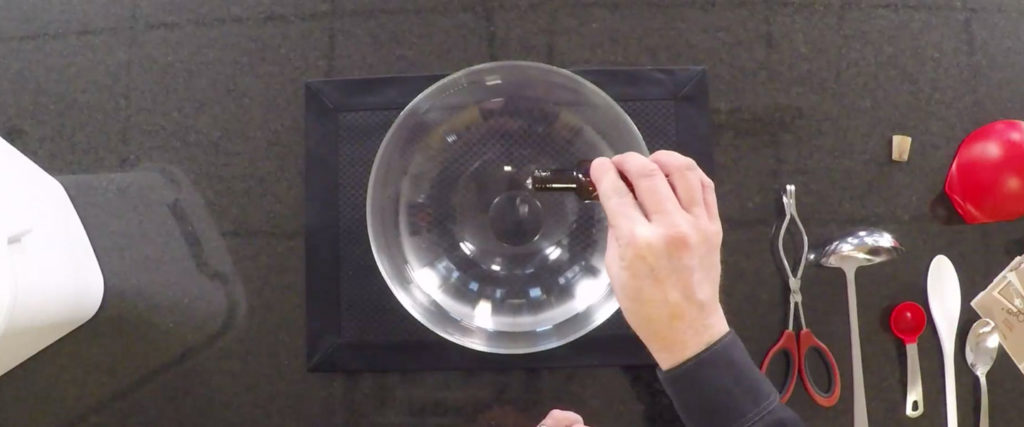
Add the root beer extract to the water and stir it well.
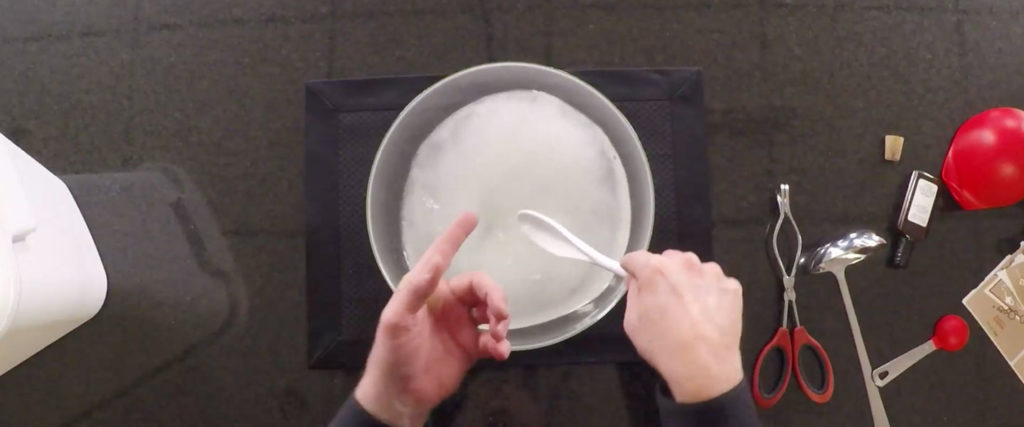
Add one full cup of sugar to the solution and stir until the sugar dissolves.
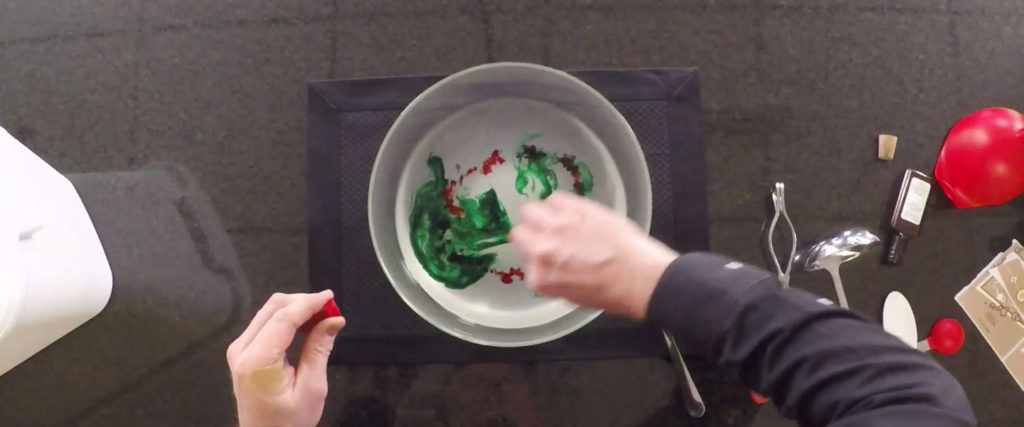
To get the brown color of root beer you want, mix red and green food colorings into the solution. Use about double the drops of the red color as the green.
Stir the solution again to get a good mix of the colors and to dissolve any remaining sugar. Of course, you may just have to taste the syrup to make sure it’s how you want it.
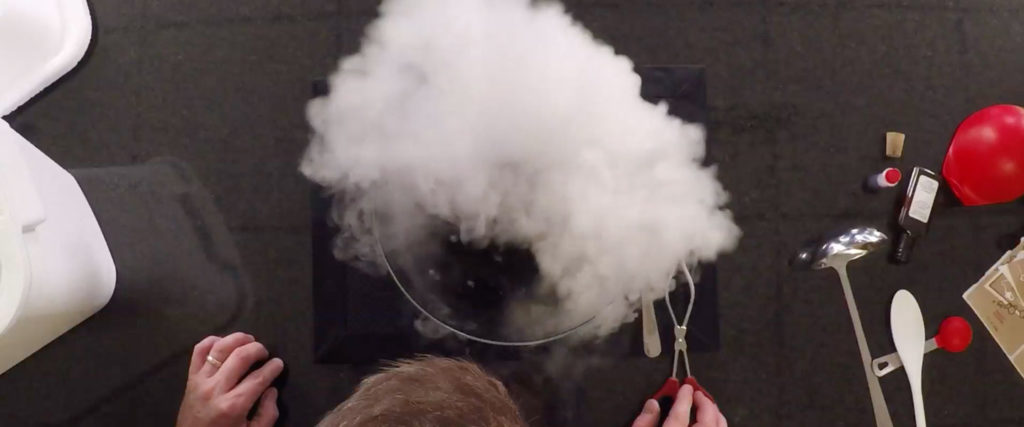
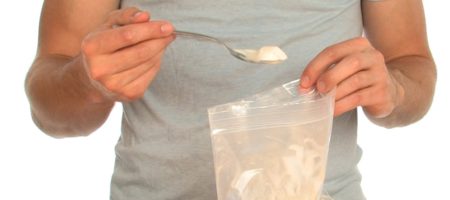
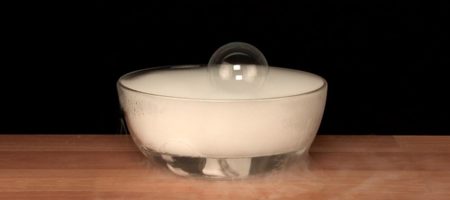
Use the tongs or wear the gloves to load the dry ice into the solution. DON’T touch dry ice with bare skin! (See the Safety Information below.) The bowl will instantly begin to give off a thick, white cloud of water vapor and CO2. Let it boil and bubble while you prepare the bottles and caps.
It’s important that the funnel, ladle, bottles, and caps you use be very clean and dry. After you wash them all, a quick dip into some boiling water will sterilize everything. Let the bottles dry upside down.
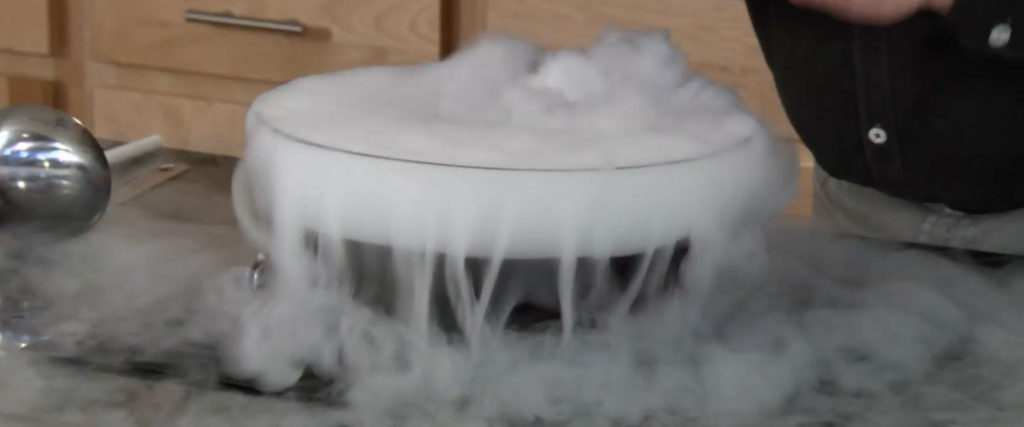
Let the bottles and caps dry and cool completely while the dry ice does its job in the bowl. It both cools and carbonates the syrup and “magically” turns it into soda that’s full of bubbles of CO2.
The dry ice must be completely dissolved before you move on to the next Step.
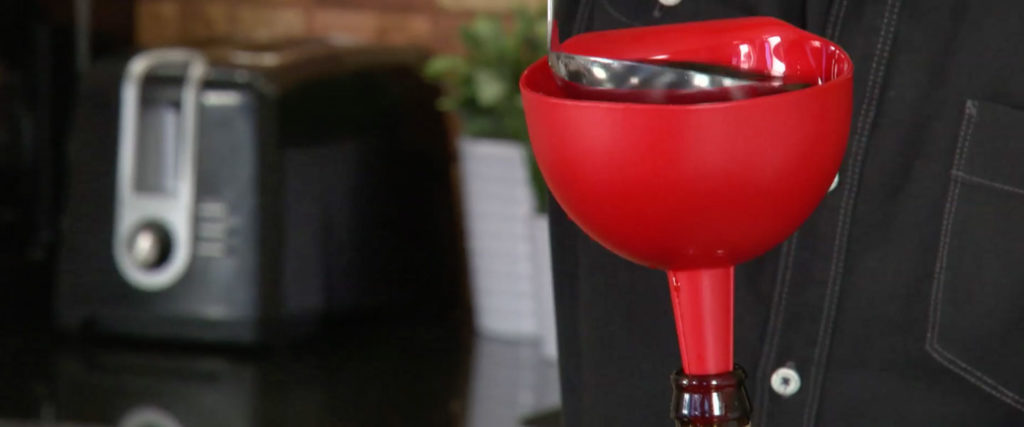
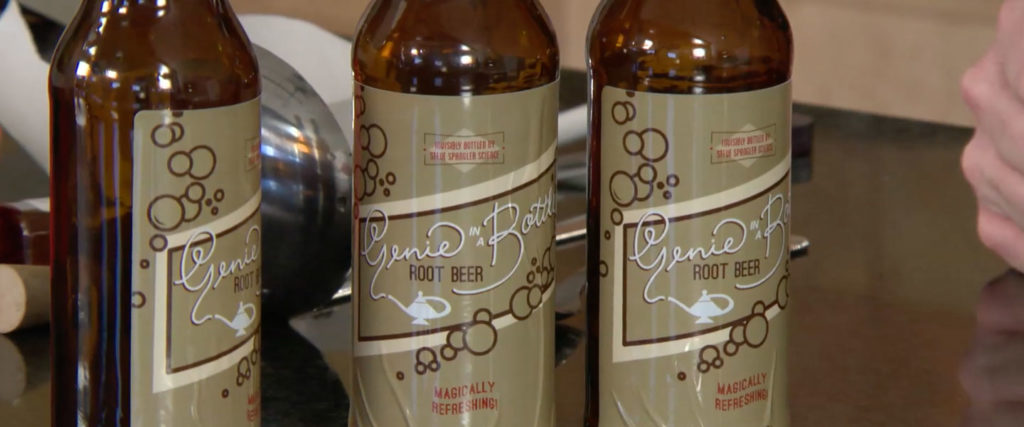
When the dry ice is gone, place the funnel into a bottle and use the ladle to fill the bottle with the root beer you made. Pour slowly so the carbonation stays in the liquid. Cap the bottle tightly and place it in the fridge to help hold the carbonation in the liquid. Finish the other bottles and enjoy your work!
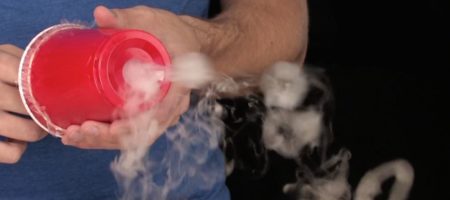
The root beer you made is probably pretty tasty but doesn’t seem to be quite the same as the ones you buy. Give yourself a break, please! Bottling companies make millions of gallons of soda a year and have some very expensive machines to do the job, too. In addition, they can bring some very high pressures and very low temperatures to bear on the production, as well. It’s likely the fizz in your brew didn’t last long but the taste was right on. Pressurizing soda with longlasting CO2 bubbles is in a science class all by itself. Besides, once you plop a scoop of ice cream into it, any CO2 will grab nucleation points on the ice cream and fill the glass with a yummy brown, creamy foam… so, who cares about disappearing fizz?
NOTE: Whenever you use dry ice, always be aware of the rules for handling it safely.
Distilled water is usually easy to obtain and not very expensive. Most grocery stores and/or pharmacies have it for about a $1 (USD) per gallon (3.78 L). Tap water is OK to use but sometimes, purifying it for people alters its taste. Distilled water has very little stuff in it but, well… water. Minerals, chemicals, and other dissolved materials are removed by distilling. It’s probably as close to using water with a truly plain taste as you can get at home.
Food always tastes better when it’s homemade, and the same is true for ice cream. We went out and got some brown sugar from Imperial […]
The Roman emperor, Nero, is credited as the first person to have a type of ice cream made for his meals. Snow was used to […]

Science is often referred to as the most fun subject in school mainly because… it is! It can be a most delicious subject, too. When […]
Exploration into the fascinating world of dry ice is never boring, and the same goes when you add in some bubbles! Bubbles will float on […]
Inspired by Steve Spangler’s original trash can smoke ring launcher, this mini version uses easy to find materials to make your vortex vapor ring launcher. […]
Create a soap film on the rim of a bucket and, with one other simple ingredient, you will have made the world’s coolest crystal ball. […]